

A fresh, organized home can make the change of seasons feel lighter, cleaner, and far more manageable.
After months of accumulated dust, clutter, and overlooked chores, certain areas often need more attention than regular weekly cleaning provides.
A planned seasonal refresh helps with deeper cleaning, improves organization, and addresses rooms or surfaces that are often missed.
Breaking the work into practical tasks also makes the process easier to fit around different schedules.
Read on for a complete spring cleaning checklist to refresh every important area of the home.
What Does Spring Cleaning Actually Mean?
The term spring cleaning describes a cleaning and organizing process that takes place at the start of spring, after a long winter.
This task usually involves tidying rooms, cleaning dirty spots in the house, improving storage, and making the home more comfortable for the months ahead.
Aside from being just another household chore, spring cleaning is viewed as an opportunity to bring some changes to the things and bring order to one’s life.
Spring cleaning is related to the traditions and customs practiced during holidays like Passover, Nowruz, and Lunar New Year, when cleaning symbolizes starting anew by ridding oneself of the old.
When to Start Spring Cleaning and How Long It Takes
The best time to start spring cleaning is usually early spring when the weather becomes comfortable, and there is enough time to refresh the home before warmer months begin.
The timeline depends on the size of the home, the amount of clutter, and the time you have.
| Approach | Best For | Estimated Time | How It Works |
|---|---|---|---|
| One Weekend | Smaller homes or quick refreshes | 1–2 days | Focus on high-priority areas like kitchens, bedrooms, bathrooms, and visible clutter. |
| Spread Over a Few Weeks | Larger homes or busy schedules | 2–4 weeks | Complete one room or category at a time without disrupting daily routines. |
| Flexible Pace | Those with changing schedules | Based on availability | Set small cleaning goals and complete tasks whenever time allows. |
Checklist for Spring Cleaning Supplies
Decluttering first creates an organized space by sorting items into categories, saving time before cleaning, dusting, and rearranging.
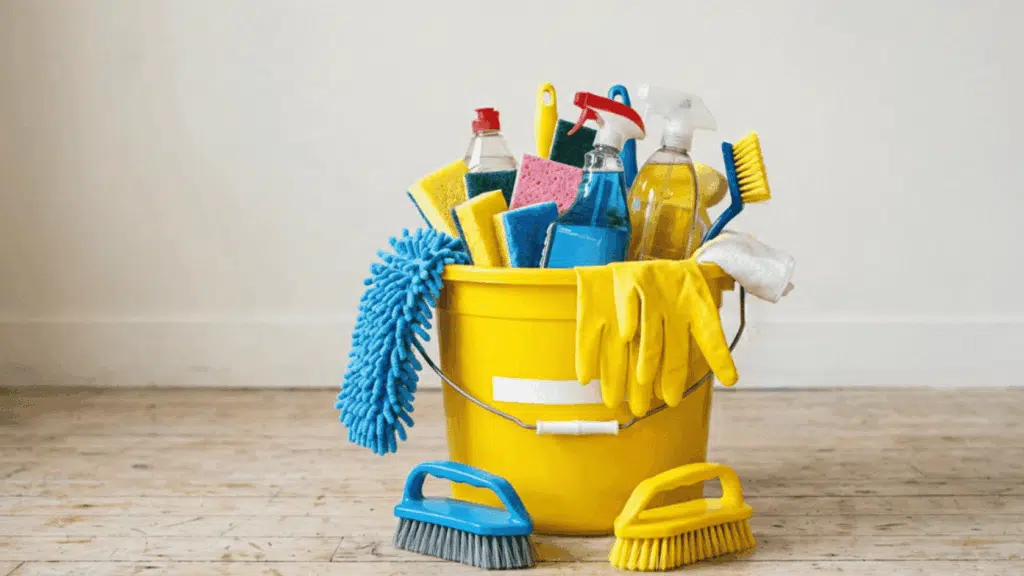
Basic Equipment
Microfiber cloths for wiping different surfaces. Use a vacuum cleaner to suck up dust, dirt, and debris.
Mop used to clean floors and other surfaces. Cleaning gloves that will protect your hands.
All Natural Solutions
Vinegar helps clean stained surfaces and remove buildup, while baking soda supports gentle cleaning and odor removal.
Lemon adds freshness and can refresh certain surfaces, making these natural options useful for simple spring cleaning tasks.
Signs Your Home Needs a Deep Spring Clean
Some signs indicate that a regular cleaning routine is not enough and a deeper spring clean is needed.
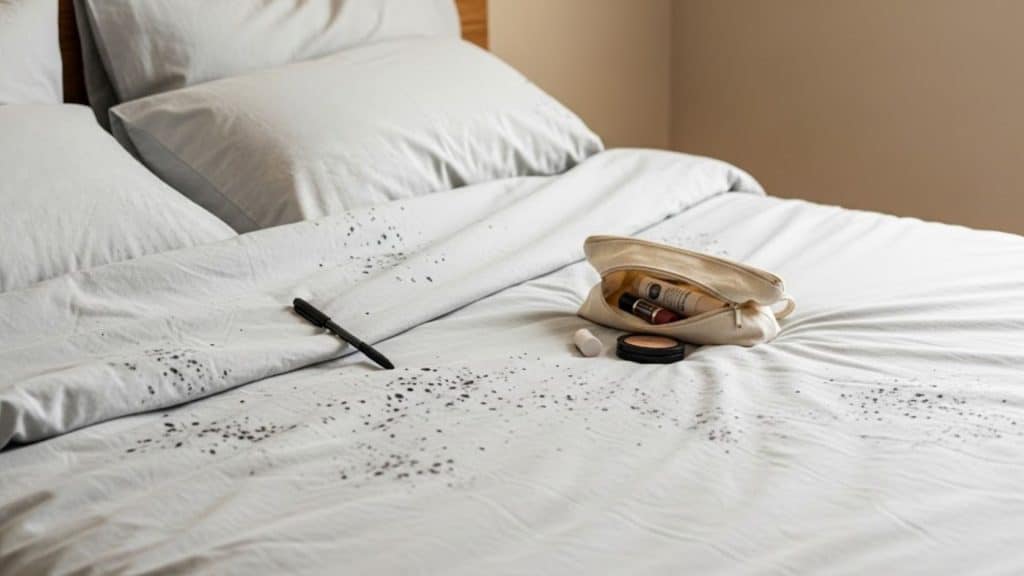
Visible dust buildup on furniture, lingering odors, mold or mildew in bathrooms, cluttered closets, and neglected corners can show that certain areas need extra attention.
Other signs include crowded storage spaces, dirty surfaces, and items that haven’t been organized in a long time.
Checking these areas helps determine whether the home needs a full spring-cleaning routine or just a lighter seasonal refresh.
Room-by-Room Spring Cleaning Checklist
Tackling spring cleaning room by room makes the task more efficient.
Kitchen
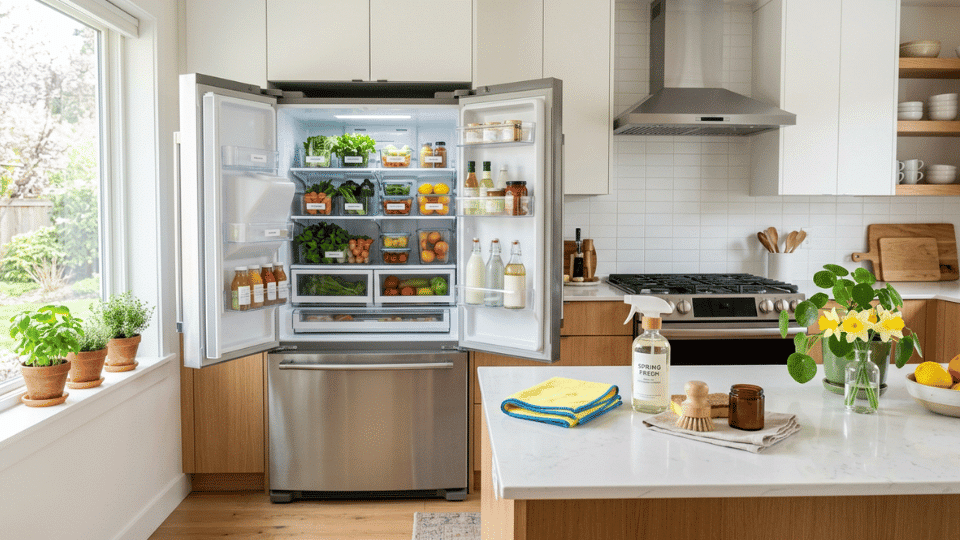
A thorough kitchen cleanup will revive your cooking area and eliminate buildup created in it.
What to Do:
- Empty the refrigerator and freezer, clean them, and throw away anything that has expired.
- Thoroughly clean the oven, stovetop, and range hood.
- Wipe and clean the inside of the cabinets and drawers before refilling.
- Scrub the coffee maker and microwave thoroughly.
How to Clean It:
- Refrigerator: Take out the shelves, wash them with warm soapy water, and wipe down the inside with a vinegar and water solution.
- Oven: Apply a baking soda paste on the built-up grease and leave it overnight.
- Microwave: Place a bowl of water with lemon slices in the microwave and cook it for three minutes. Wipe down the greasy parts.
- Stovetop: Use soap and hot water to degrease. Use a razor scraper only on glass-topped stoves.
Living Room / Family Room

An updated living space will feel more relaxing with dust-free surfaces and soft furniture put back in order.
What to Do:
- Vacuum the upholstery and turn over the cushions.
- Dust the electronics, shelves, and picture frames.
- Wash the throw blankets and pillowcases.
- Clean the baseboards and light switches.
How to Clean It:
- Upholstery: Vacuum with a crevice attachment at areas with dirt and dust buildup.
- Electronics: Clean the screen with a dry microfiber cloth and vents with a soft brush.
- Baseboards: Dust them with a dryer sheet to reduce dust accumulation.
Bedroom

Keeping the bedroom clean makes the bedroom cleaner by getting rid of dust, clutter, and unnecessary things.
What to Do:
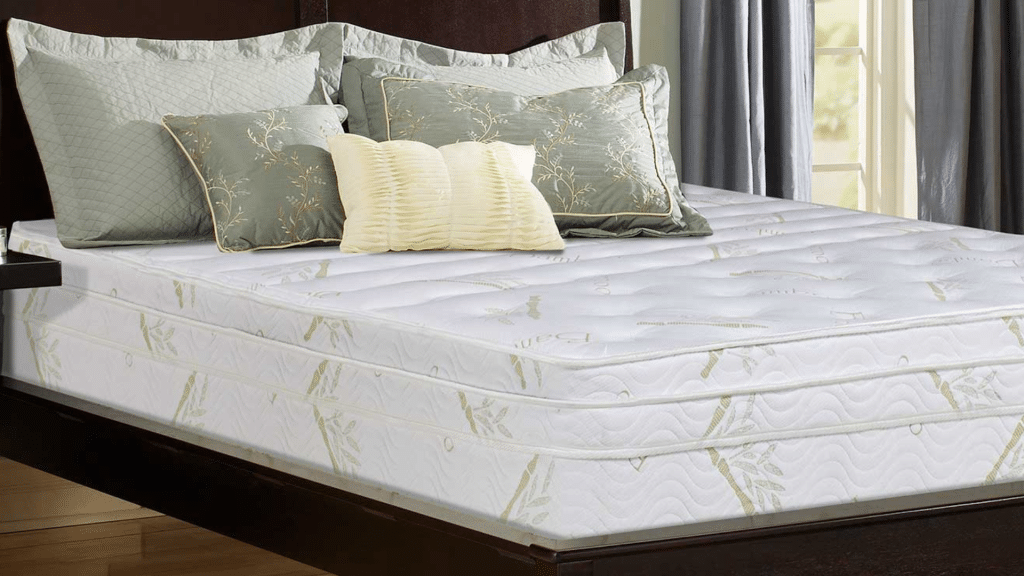
- Turn the mattress upside down and wash all the bedding materials along with the pillow protectors.
- Dust under the bed and also behind the nightstands.
- Organize the closet and give away all the things that you haven’t worn within a year.
- Clean the ceiling fans and light fixtures.
How to Clean It:
Mattress: Use a vacuum with an upholstery brush attachment to clean the mattress. Sprinkle baking soda on the mattress and leave it for one hour.
Closet: Try the hanger method where you turn all the hangers backward and donate the things that will still be backward-facing by fall.
Ceiling fans and Light Fixtures: Use a microfiber cloth or duster to clean the fan and light fixtures.
Bathroom
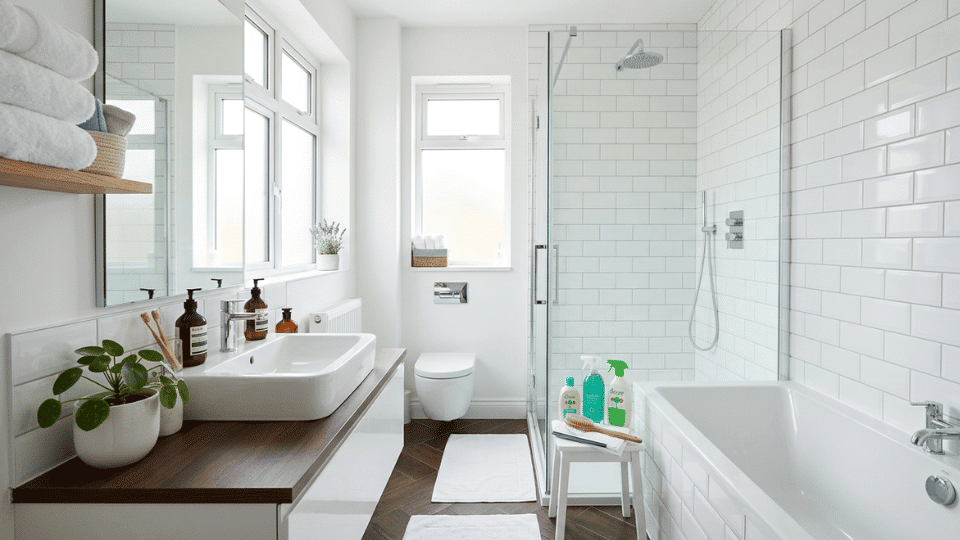
Cleaning the bathroom not only removes grime and dirt but also helps reduce moisture.
What to Do:
- Clean and disinfect the tub, showers, and grout.
- Disinfect the toilet, sink, and countertops to keep surfaces clean.
- Inspect the exhaust fan and caulk for any mold.
- Clean or replace the shower curtains and bathmats.
How to Clean It:
- Grout: Mix a paste of baking soda and water, apply it to the grout, let it sit, then scrub with an old toothbrush.
- Buildup in The showerhead: Fill a plastic bag with vinegar and put it around the showerhead during the night. Rinse it in the morning.
- Exhaust Fan: Get rid of the dust on the cover by using a vacuum cleaner, and clean the blades with a damp cloth
Laundry Room
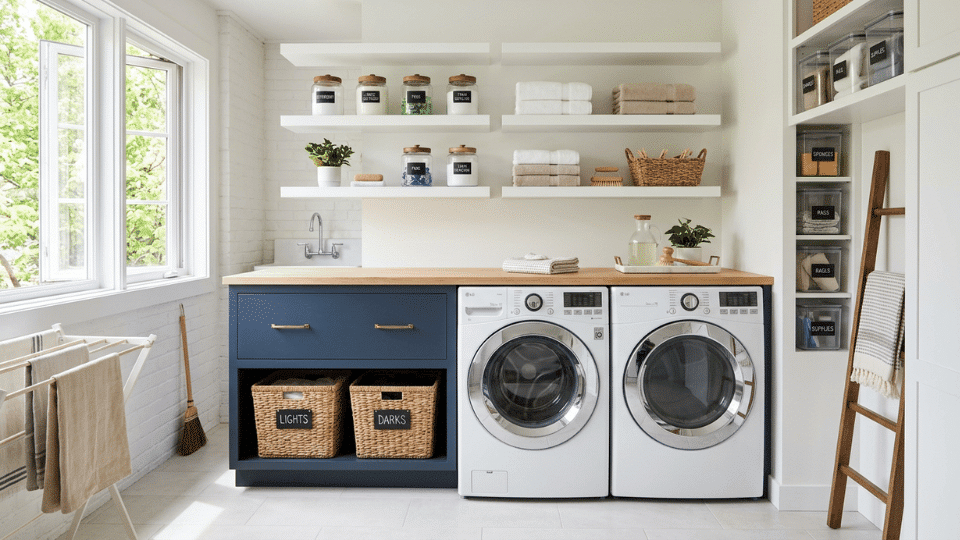
Maintaining a clean laundry room helps machines work well and keeps things organized.
What to Do:
- Clean the washer drum, detergent compartment, and seals.
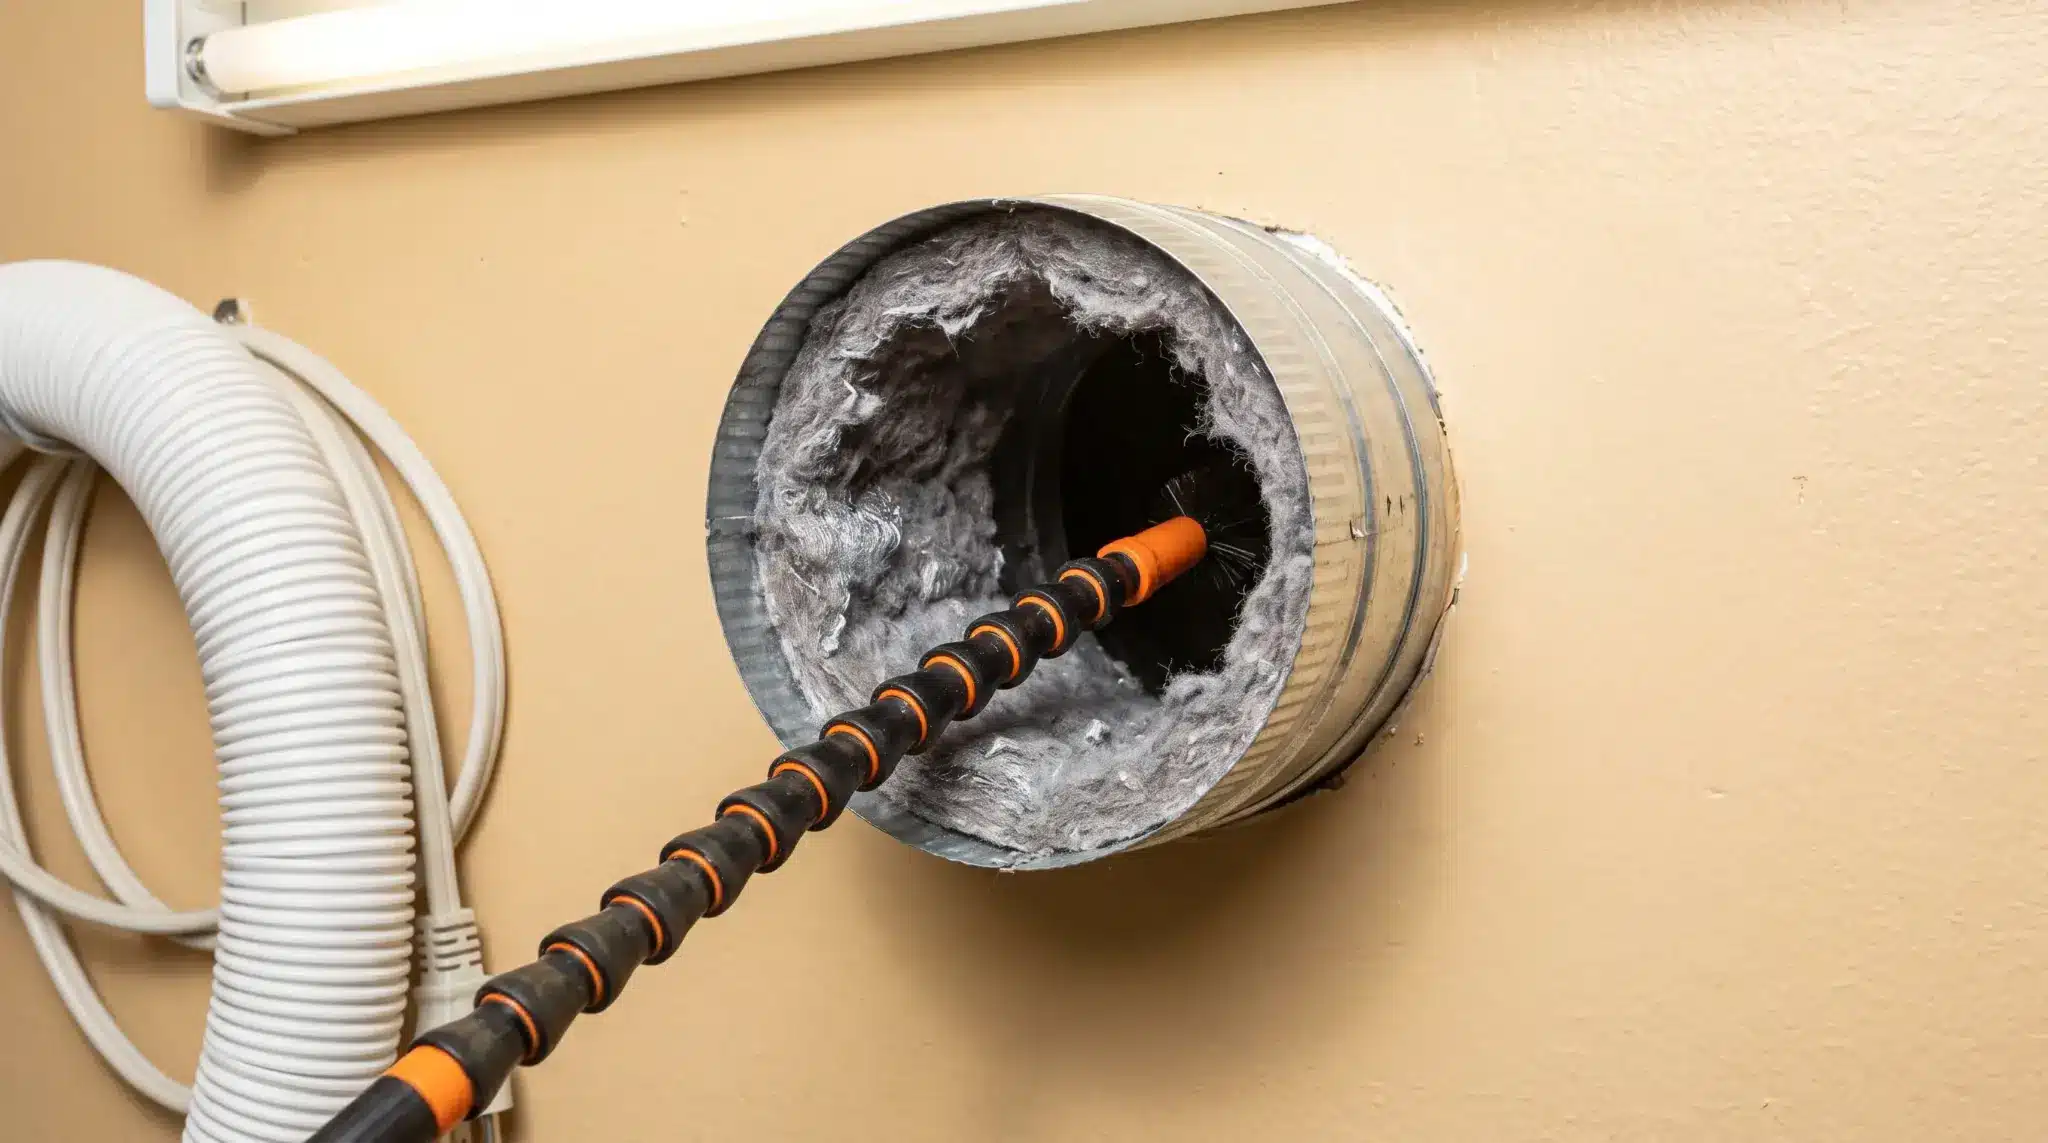
- Remove the dryer duct, which is often overlooked, along with the lint filter.
- Wipe the exterior surfaces of the machines and the area under them to remove dust and other mess.
- Arrange your laundry cleaning products neatly and keep them accessible.
How to Clean It:
- Washer: Run an empty load with hot water and white vinegar to remove residue and odor.
- Dryer vent: Disconnect and clean the duct with a vacuum cleaner to clear out any accumulated lint.
- Appliance exterior: Clean the surfaces of the appliances using a microfiber cloth and a cleaning solution.
Home Office

An organized workspace supports productivity by reducing clutter, improving focus, and keeping essential equipment clean and functional.
What to Do:
- Sort paperwork, file important documents, and shred anything no longer needed to help break the cycle of paper pile-ups that build back up between spring cleans.
- Dust electronics, keyboards, monitors, and other frequently used equipment.
- Untangle and organize cords to create a cleaner workspace.
- Clean the chair, desk surface, drawers, and storage areas.
- Remove unused office supplies and arrange frequently used items within easy reach.
How to Clean It:
- Keyboard: Use canned air to remove dust and debris between keys, then wipe the surface with a slightly damp microfiber cloth.
- Monitor and Electronics: Use a dry microfiber cloth to remove fingerprints and dust without damaging screens.
- Cords: Group and label cords to keep them organized and make future cleaning easier.
- Desk Surface: Clear everything from the desk, wipe the surface thoroughly, and return only the items that are regularly used.
Garages, Entryways, and Storage Areas
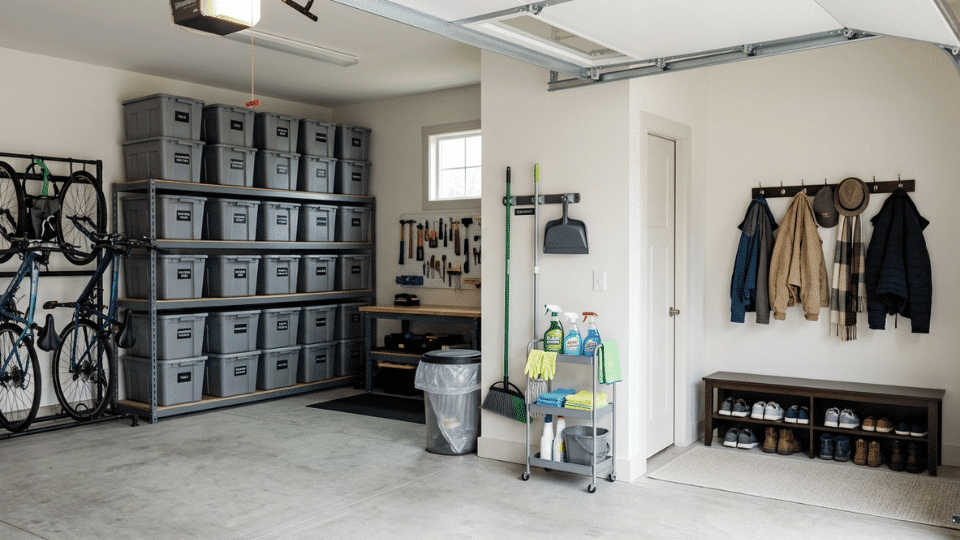
This busy area requires frequent sorting, thorough cleaning, and improved storage to keep it tidy.
What to Do:
- Sweep the floor in the garage and clean up dirt, dust, and debris from the corners and shelves.
- Degrease garage floors and remove anything that is no longer in use.
- Properly dispose of old paint, chemicals, and batteries.
- Free entryways from shoes, coats, purses, and clutter from letters.
- Sort out storage bins, group similar items, and label them.
How to Clean It:
- Stains on the garage floor: Use dish soap to treat stains, scrub using a brush, and then rinse.
- Storage areas: Clean the shelves and bins before storing anything to prevent dust buildup.
- Entryway: Follow the one basket in, one basket out principle.
Windows, Walls & Places You’ve Forgotten About

Completing the process of spring cleaning means making sure all those forgotten places in the house get cleaned up by eliminating all the dust, dirt, and grime found there.
What to Do:
- Wash the windows both inside and outside (including the glass and tracks).
- Dust the blinds, curtain rods, and any other hard-to-reach spots.
- Spot-clean walls, doors, and light switch plates to remove scuffs and fingerprints.
- Clean air vents and vacuum dust collected behind large pieces of furniture.
- Wipe dust collected in places that are usually forgotten.
How to Clean It:
- Window tracks: Use a toothbrush to get dirt out of the corners and then vacuum.
- Walls: Use a magic eraser on the scuff marks, but make sure you test it first to prevent damage.
- Vents: When possible, remove the vent covers, vacuum the dust, and wipe them down.
Use this room-by-room checklist as a quick reference during spring cleaning, and check off each task as you complete it.
Download now.
Expert Tips to Make Spring Cleaning Feel Manageable
Small changes in approach can make spring cleaning easier, faster, and less overwhelming.
1. Start with high areas first so falling dust does not dirty cleaned surfaces.
2. Break cleaning into 60–90 minute sessions to maintain energy and focus.
3. Assign each family member specific tasks to divide the workload.
4. Keep essential supplies nearby to avoid repeated trips between rooms.
5. Set small daily goals instead of completing everything in one session.
6. Play music or podcasts to make cleaning more enjoyable.
7. Take short breaks between tasks to stay motivated and productive.
Should You DIY Spring Cleaning or Call in a Professional?
Spring cleaning chores can be accomplished on one’s own through proper planning, including decluttering, dusting, arranging items, and surface cleaning.
Nevertheless, some chores need professional help, such as deep-cleaning carpets, steam-cleaning sofas, cleaning dryer vents, cleaning exterior windows, eliminating mold, and cleaning gutters.
Although professional help costs more money initially, it takes less time and often brings better results.
Outsource chores that require special equipment, pose safety risks, or are ignored every year.
Conclusion
Spring cleaning is not only a routine cleaning exercise; it is the time for rejuvenating your house, getting rid of unwanted items, and making your surroundings comfortable.
Having the proper cleaning supplies, following the room-by-room strategy, and utilizing efficient techniques make the task easier.
Whether you do it yourself or hire professionals, a good spring clean will pay off in the long run.
Start with small steps, follow a routine that fits the schedule, and share in the comments how spring cleaning helps create a fresher home.
Frequently Asked Questions
How Often Should a Home be Deep Cleaned?
A home should be deep cleaned once or twice a year, depending on habits, household size, and maintenance needs.
What is The Difference Between Regular Cleaning and Spring Cleaning?
Regular cleaning handles routine tasks, while spring cleaning focuses on deeper cleaning, organizing, and overlooked areas.
How Can Spring Cleaning be Easier with a Busy Schedule?
Break tasks into smaller sessions, prioritize key areas, and clean gradually without feeling overwhelmed.