

Evenly spaced recessed lights do not always create even lighting. A room may still have dark corners, glare, or weak light over counters and work areas.
This happens because light placement depends on more than distance. Room size, ceiling height, furniture, fixture output, and beam spread all affect the final layout.
This blog explains how to plan a recessed lighting layout step by step. It covers spacing rules, calculator tips, room plans, safety checks, and practical layout examples.
Use these tips to place each light correctly before marking or cutting the ceiling.
Understanding Recessed Lighting Before Planning the Layout
Recessed lighting is installed in the ceiling so that only the trim and the light opening are visible. These fixtures can provide general lighting, illuminate work areas, or highlight walls and decor.
A recessed lighting layout shows how many lights a room needs, where each fixture should sit, and how much space to leave between them.
The plan should match the room size, ceiling height, furniture, beam angle, and fixture output. A clear layout helps reduce dark spots, glare, and uneven light.
It also makes the room easier to use and helps prevent costly placement changes during installation or future repairs.
Recessed Lighting Layout Rules
Spacing rules work only as starting points. Always check fixture output, beam angle, ceiling height, room use, furniture, and nearby surfaces before final placement decisions.
- Recessed lighting spacing formula: Begin with half the ceiling height: 4 feet for 8-foot ceilings, 4.5 feet for 9-foot ceilings, 5 feet for 10-foot ceilings, and 6 feet for 12-foot ceilings. Treat these as estimates.
- Distance from walls: Start wall distance near half the fixture spacing, then adjust for wall washing, artwork, tall cabinets, shadows, glare, and bright scallops.
- Beam angle and light overlap: Narrow beams may need more fixtures and tighter spacing, while wide beams cover larger areas and give more even light across floors or worktops.
- Placement over work areas: Place lights in front of users over counters, islands, desks, vanities, reading chairs, and benches so bodies do not cast shadows across tasks.
- Placement around furniture: Avoid placing fixtures directly over sofa seats, pillows, screens, or behind desk users. Reflective surfaces can also create glare and visual discomfort.
- Lights near ceiling fans: Keep lights outside the full sweep of the ceiling fan blades. Moving blades can interrupt the beam, causing flicker, flashing, or a strobe-like effect.
- Balanced and useful layouts: Keep rows visually balanced, but move fixtures when cabinets, beams, islands, uneven walls, furniture zones, or open-plan areas need more useful placement.
These measurements are not fixed rules. A spacing calculator can estimate the number of rows, columns, wall distance, and fixture count, but the final plan should fit the actual room.
How to Plan a Recessed Lighting Layout Step-by-Step
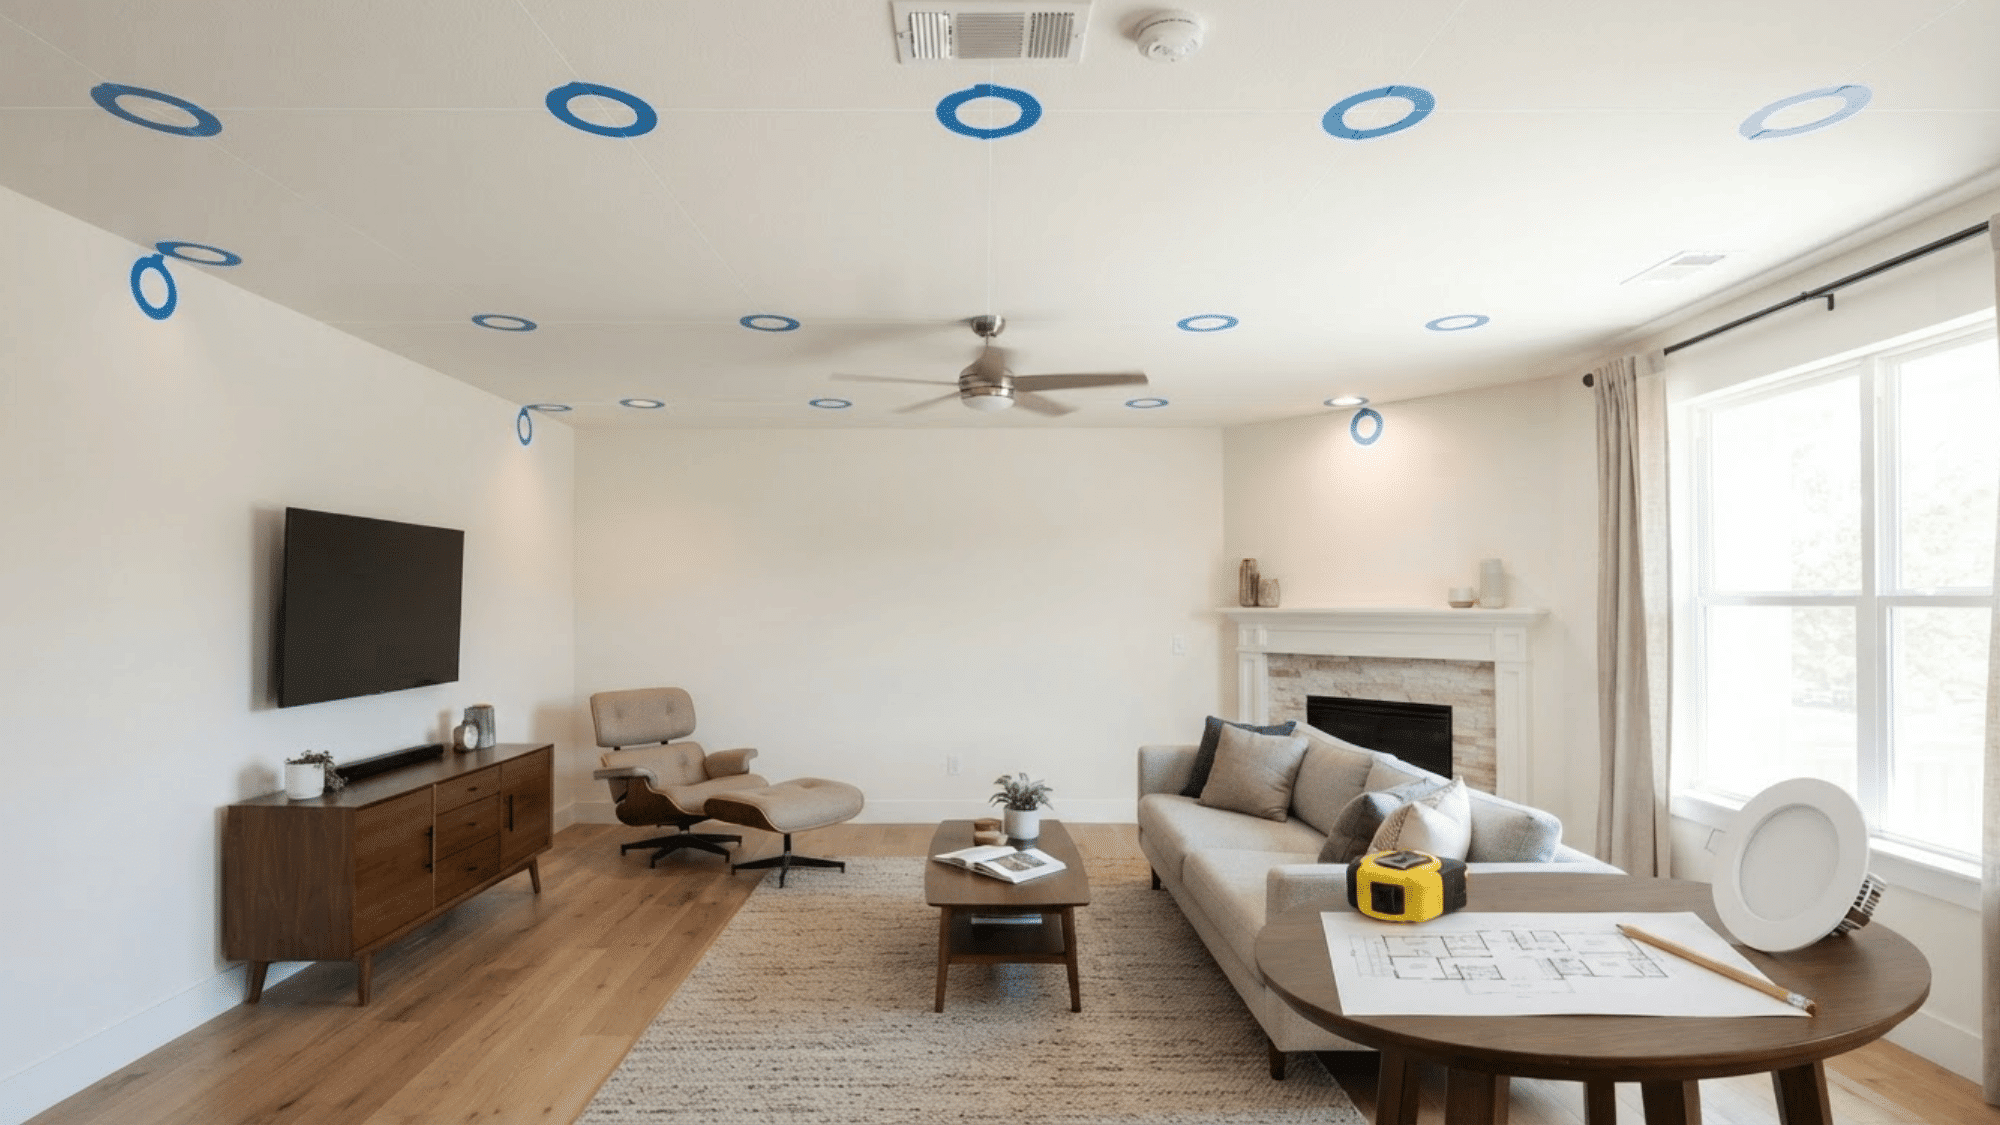 1. Define the Purpose of Each Light
Start by deciding what each light should do. General lighting brightens the whole room. Task lighting supports work at counters, desks, or mirrors. Accent lighting draws attention to artwork, shelves, or a fireplace.
Wall wash lighting spreads light across a vertical surface. Many rooms need two or more layers of lighting.
Set these roles first, since they affect fixture type, beam direction, spacing, and the final number of lights needed for comfort.
2. Measure the Room and Ceiling
Measure the room before planning any light positions. Record the full length, width, and finished ceiling height. Note sloped or vaulted areas, alcoves, and spaces that connect to nearby rooms.
In kitchens, measure cabinets, islands, and countertops as well. Draw a simple top view of the ceiling on graph paper. Add the measurements and mark each fixed feature.
This plan will help you test rows, spacing, and wall distances more accurately.
3. Mark Furniture, Work Areas, and Key Features
Add the main furniture and work areas to your ceiling plan. Mark kitchen counters, islands, dining tables, sofas, televisions, beds, desks, vanities, artwork, and fireplaces.
These items show where light is most useful and where glare may become a problem. Do not place lights only to fill empty ceiling space. Plan each fixture around the activity below it.
This helps reduce shadows and gives the room light where people actually need it.
4. Locate Ceiling Obstacles
Check the ceiling structure before working out the exact spacing. Mark joists, beams, plumbing lines, HVAC ducts, ceiling fans, smoke alarms, sprinklers, speakers, skylights, and existing electrical boxes.
Some items may block the planned fixture location or require extra clearance. A stud finder, building plan, or small inspection camera may help.
Complete this check before using a spacing formula. It is easier to adjust a drawing than to move a hole after it has been cut.
5. Choose the Fixture Before Setting the Spacing
Pick the recessed fixture before setting the final spacing. Compare its size, lumen output, beam angle, trim, and light direction. Decide between can and canless models, as well as fixed or adjustable fixtures.
Check dimmer support and required ratings, such as IC, airtight, damp, or wet location. Two fixtures can light the same room very differently.
A wider beam may allow more space, while a narrow beam may need closer placement.
6. Estimate the Number of Recessed Lights
Estimate the light count by looking at the whole room, not its floor area alone. Consider the room’s purpose, ceiling height, desired brightness, fixture lumens, wall and ceiling colors, and other light sources.
Dark finishes absorb more light, while pale surfaces reflect more. Lamps, pendants, and daylight may reduce the number of ceiling lights needed.
Use a calculator for an early estimate, then adjust the count after checking the fixture details and room plan.
7. Select a Layout Pattern
Choose a pattern that matches the room shape and how the space is used. A simple grid often works in a plain square or rectangular room.
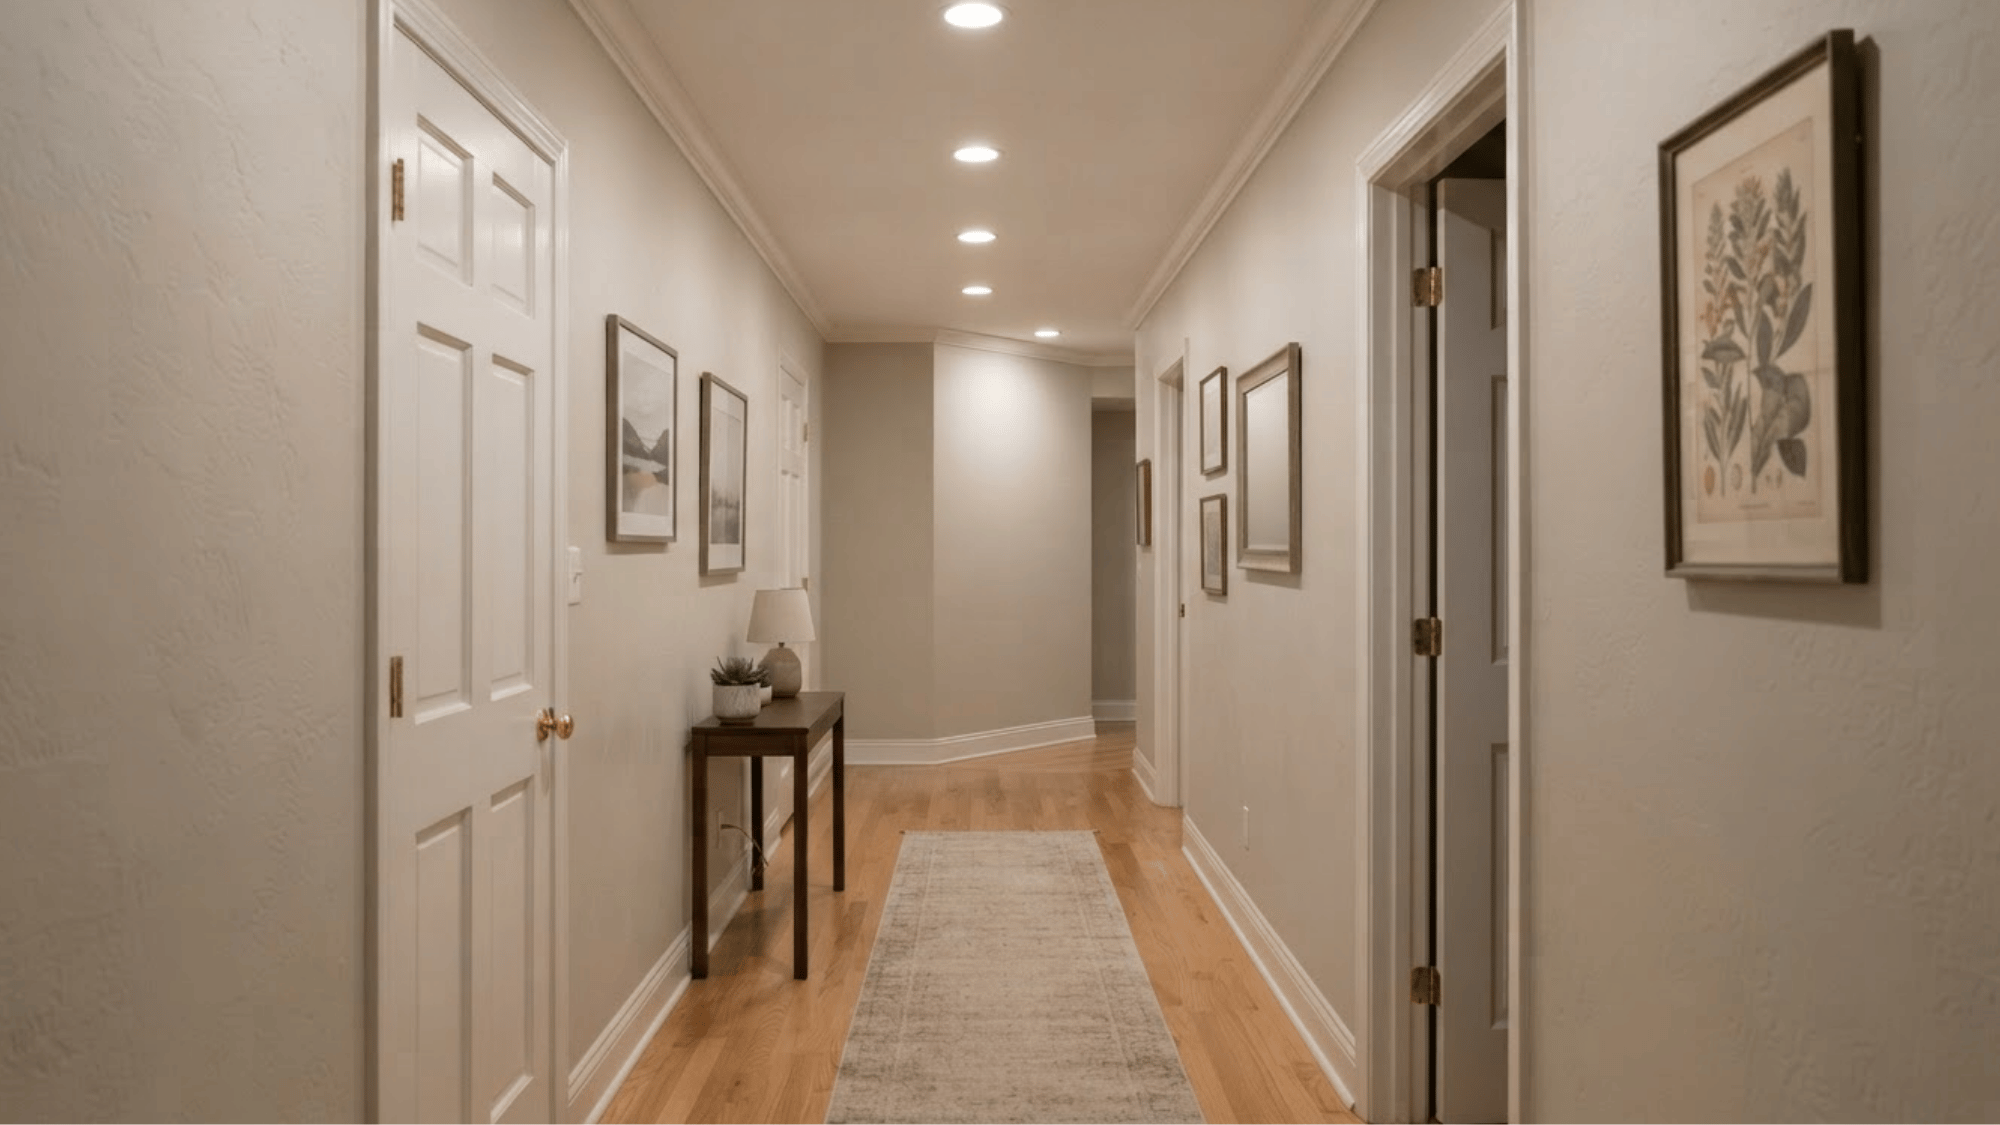
A single row may suit a hallway, while a perimeter plan can keep the center softer. Kitchens and open rooms often need task-based or mixed patterns.
Do not force every light into a strict grid. Move fixtures when needed to support counters, seating areas, artwork, or other important parts of the room.
8. Set the Wall Offset and Fixture Spacing
Begin with a basic spacing estimate, then adjust it for the real room. Check how the beams overlap and how much light reaches the walls.
Allow for cabinet depth, ceiling height, seating positions, artwork, doorways, and walking paths. Lights near walls may need different spacing from lights in the room’s center.
Mark each point on the ceiling plan and look for dark gaps, glare, or uneven rows before choosing the final positions.
9. Divide the Lights Into Control Zones
Divide the lights into groups based on how each area is used. General lighting may need one switch, while kitchen counters, an island, artwork, or a reading area may need separate controls.
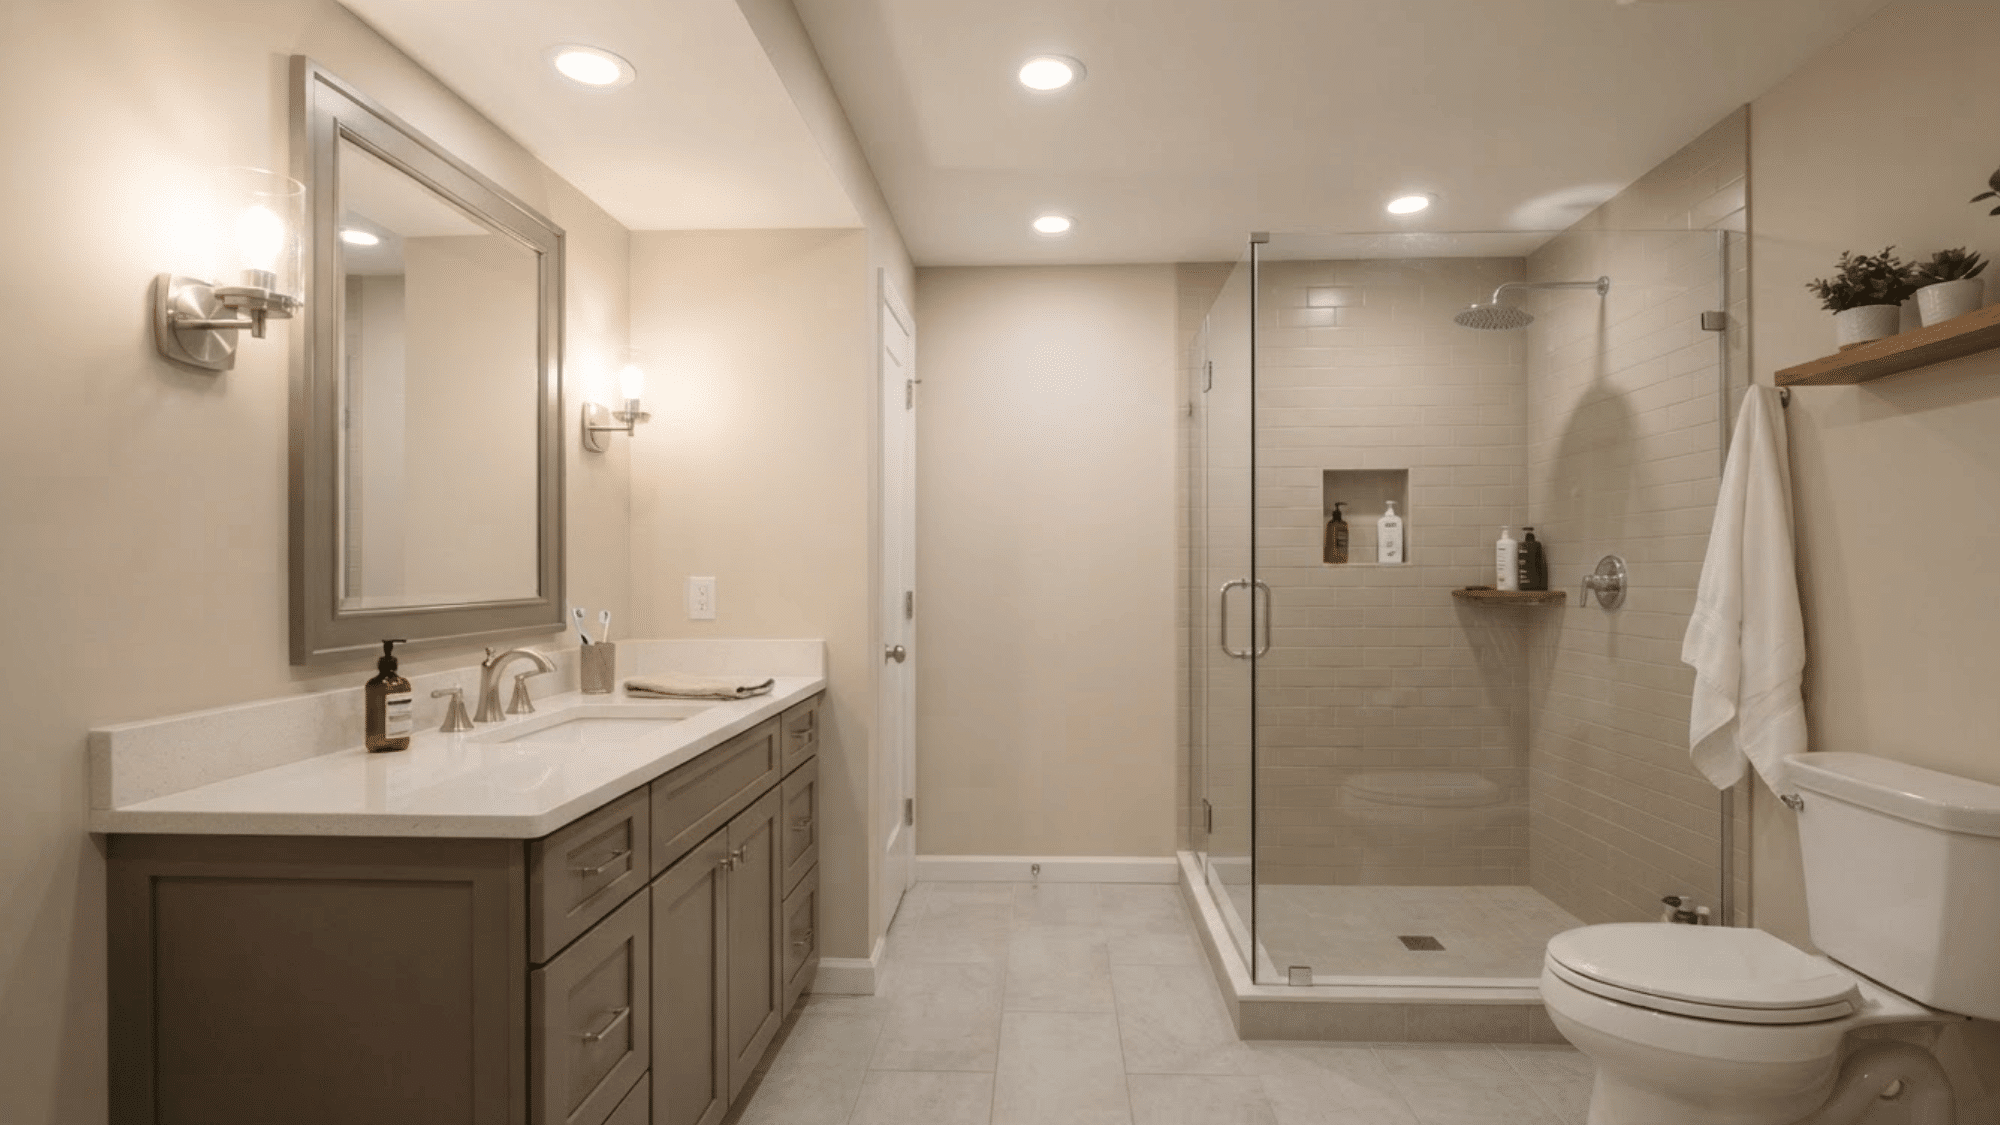
Bathrooms can have different groups for the shower and vanity. Hallways and entries may also work better on their own switch.
Separate zones let you brighten one area without turning on every fixture. Compatible dimmers also help change the light level for different tasks.
10. Test the Plan Before Cutting
Test the full plan before cutting any ceiling holes. Use painter’s tape or paper circles to mark each fixture position. A laser level can help keep rows straight.
Temporary work lights may show how shadows fall around counters, furniture, and walls. Check the fixture maker’s beam details as well.
View the marks from the main entrance, seating area, and work zones. Move any point that looks uneven or poorly placed before installation begins.
Recessed Lighting Spacing Formula and Wall Distance
A common starting rule is to divide the ceiling height by two.
This gives about 4 feet between lights for an 8-foot ceiling, 4.5 feet for a 9-foot ceiling, 5 feet for a 10-foot ceiling, and 6 feet for a 12-foot ceiling.
These numbers are only a first estimate. Beam spread, lumen output, room colors, and task needs can change the final spacing.
Wall distance often begins at half the space between fixtures.
Move lights as needed for wall washing, artwork, tall cabinets, and seating. Poor placement may create dark edges, hard shadows, glare, or bright scallops along the wall in the room.
Recessed Lighting Spacing Calculator
A recessed lighting spacing calculator provides an initial estimate of light count, rows, columns, and wall spacing. A common formula is:
Spacing Between Lights = Ceiling Height ÷ 2
For example, an 8-foot ceiling gives a starting spacing of 4 feet. The wall offset often starts at half the spacing, so 4 feet between lights gives about 2 feet from the wall.
Enter the room length, width, ceiling height, fixture lumens, and beam angle when possible. Use the result as a starting point.
Furniture, cabinets, joists, dark surfaces, and work areas may require changes before installation.
Recessed Lighting Layout for Different Rooms
Each room needs a different lighting plan. Use these room-by-room tips to place recessed lights where they support daily tasks and reduce glare and shadows.
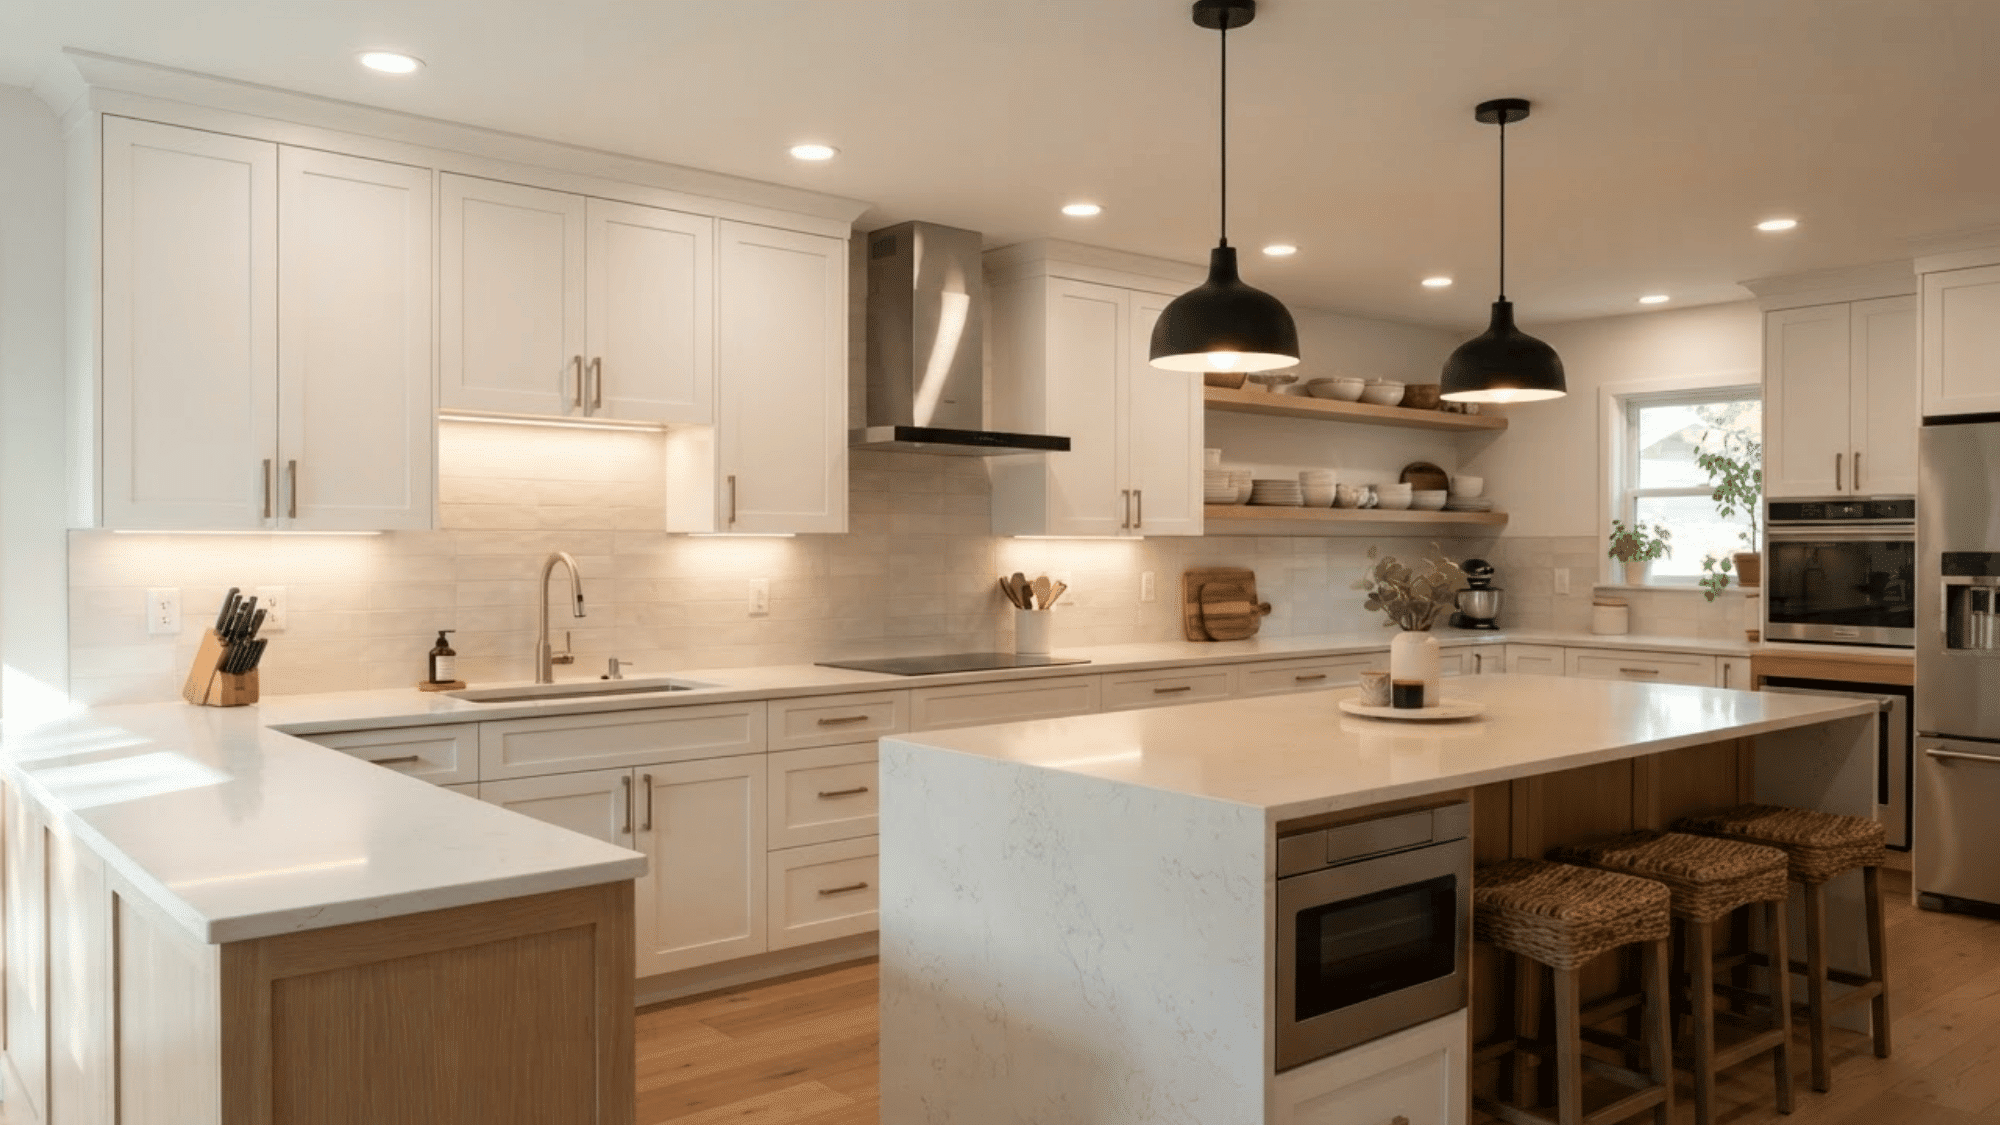
Kitchen Recessed Lighting Layout
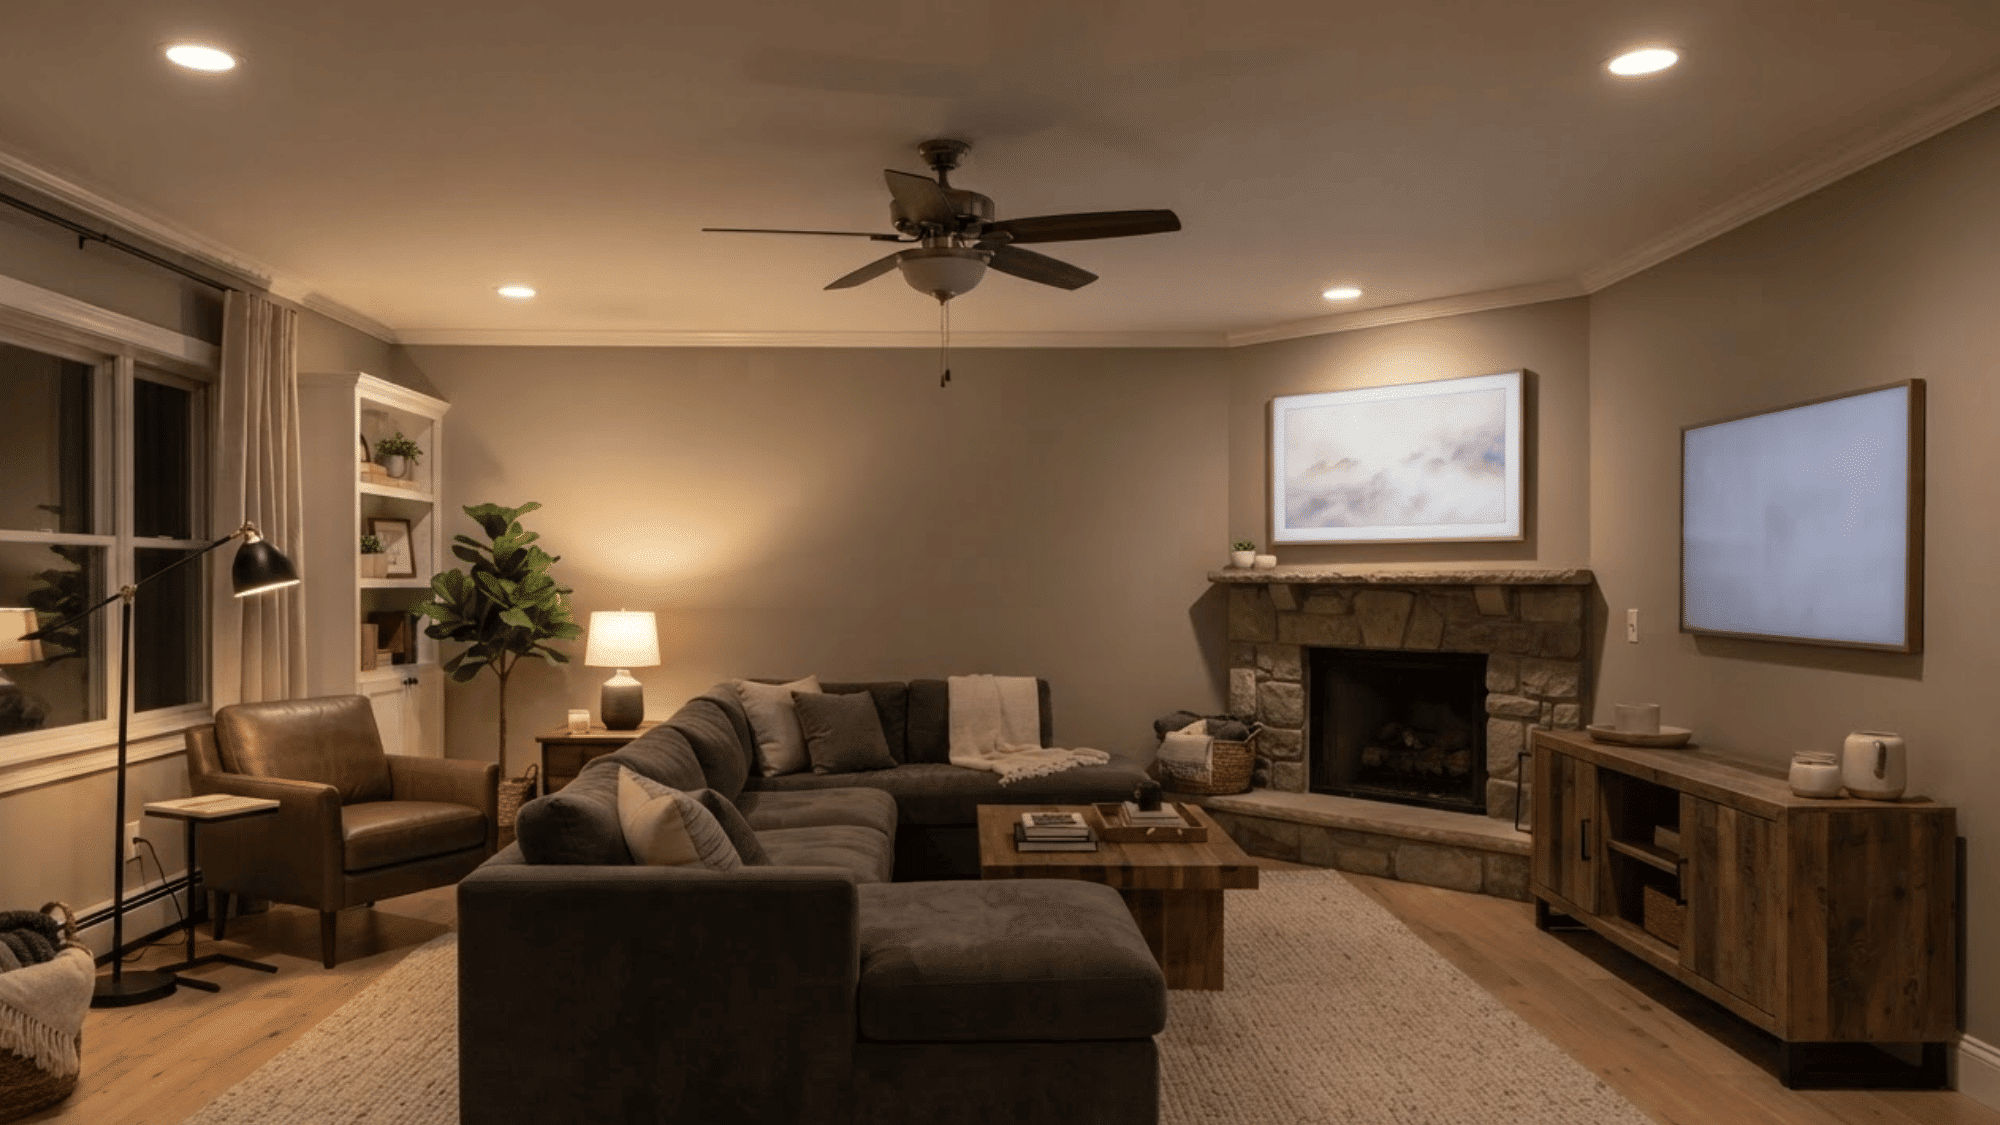
 Living Room Recessed Lighting Layout
 Bedroom Recessed Lighting Layout
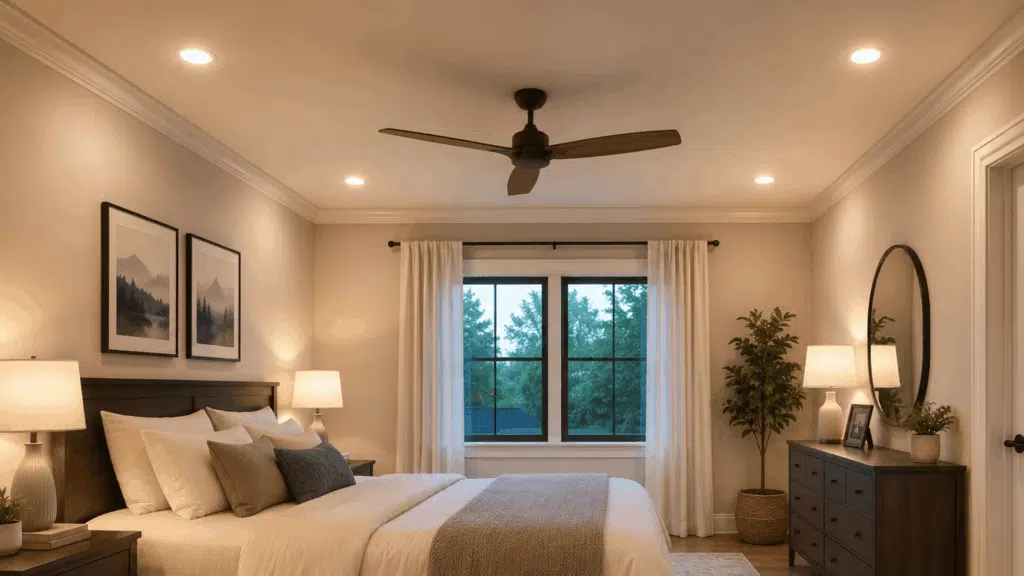
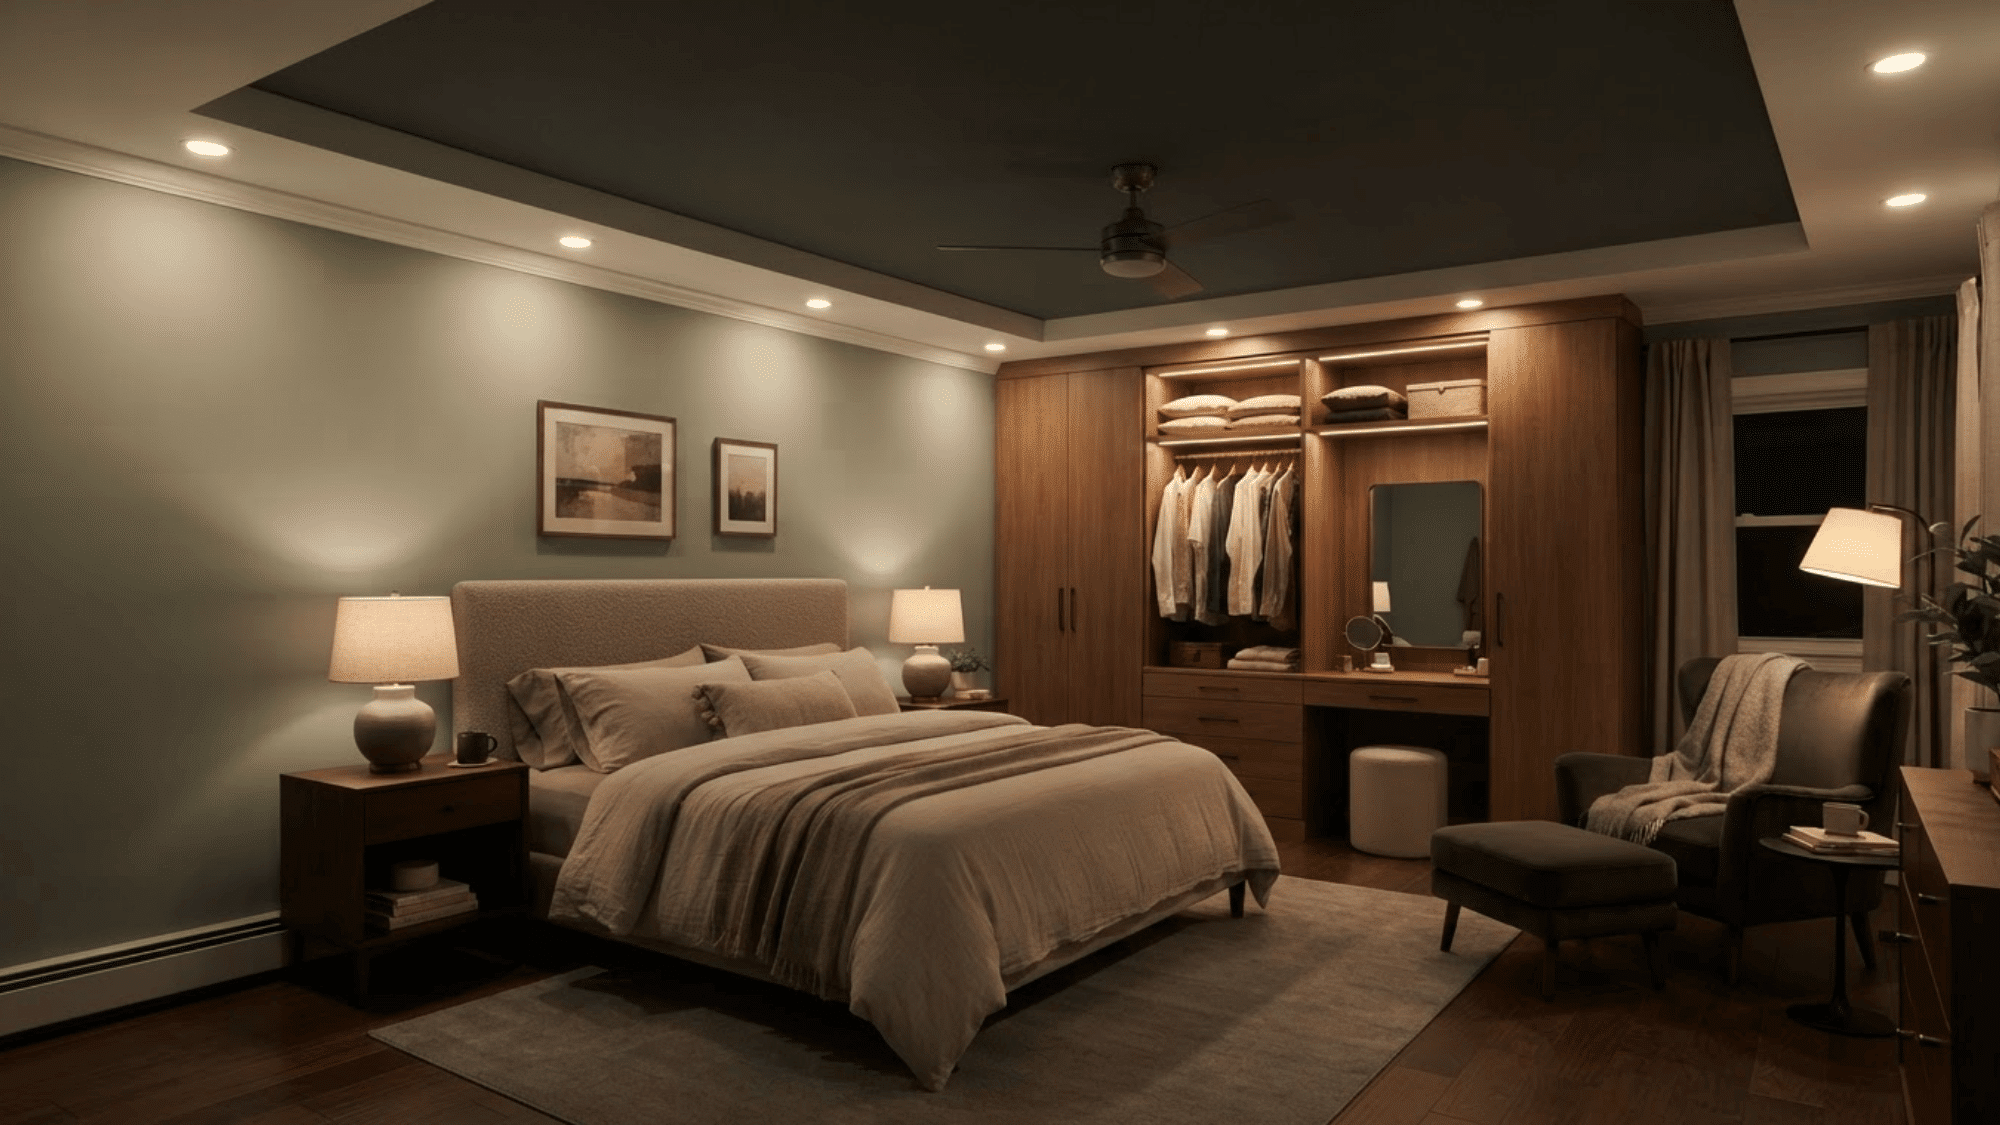 bedroom recessed lights around the edges of the room to create soft, even light. Keep fixtures away from the area directly above pillows.
Add focused light near wardrobes, dressing spaces, and reading chairs. Use dimmers so the room can stay bright when needed and softer before sleep.
Bathroom Recessed Lighting Layout
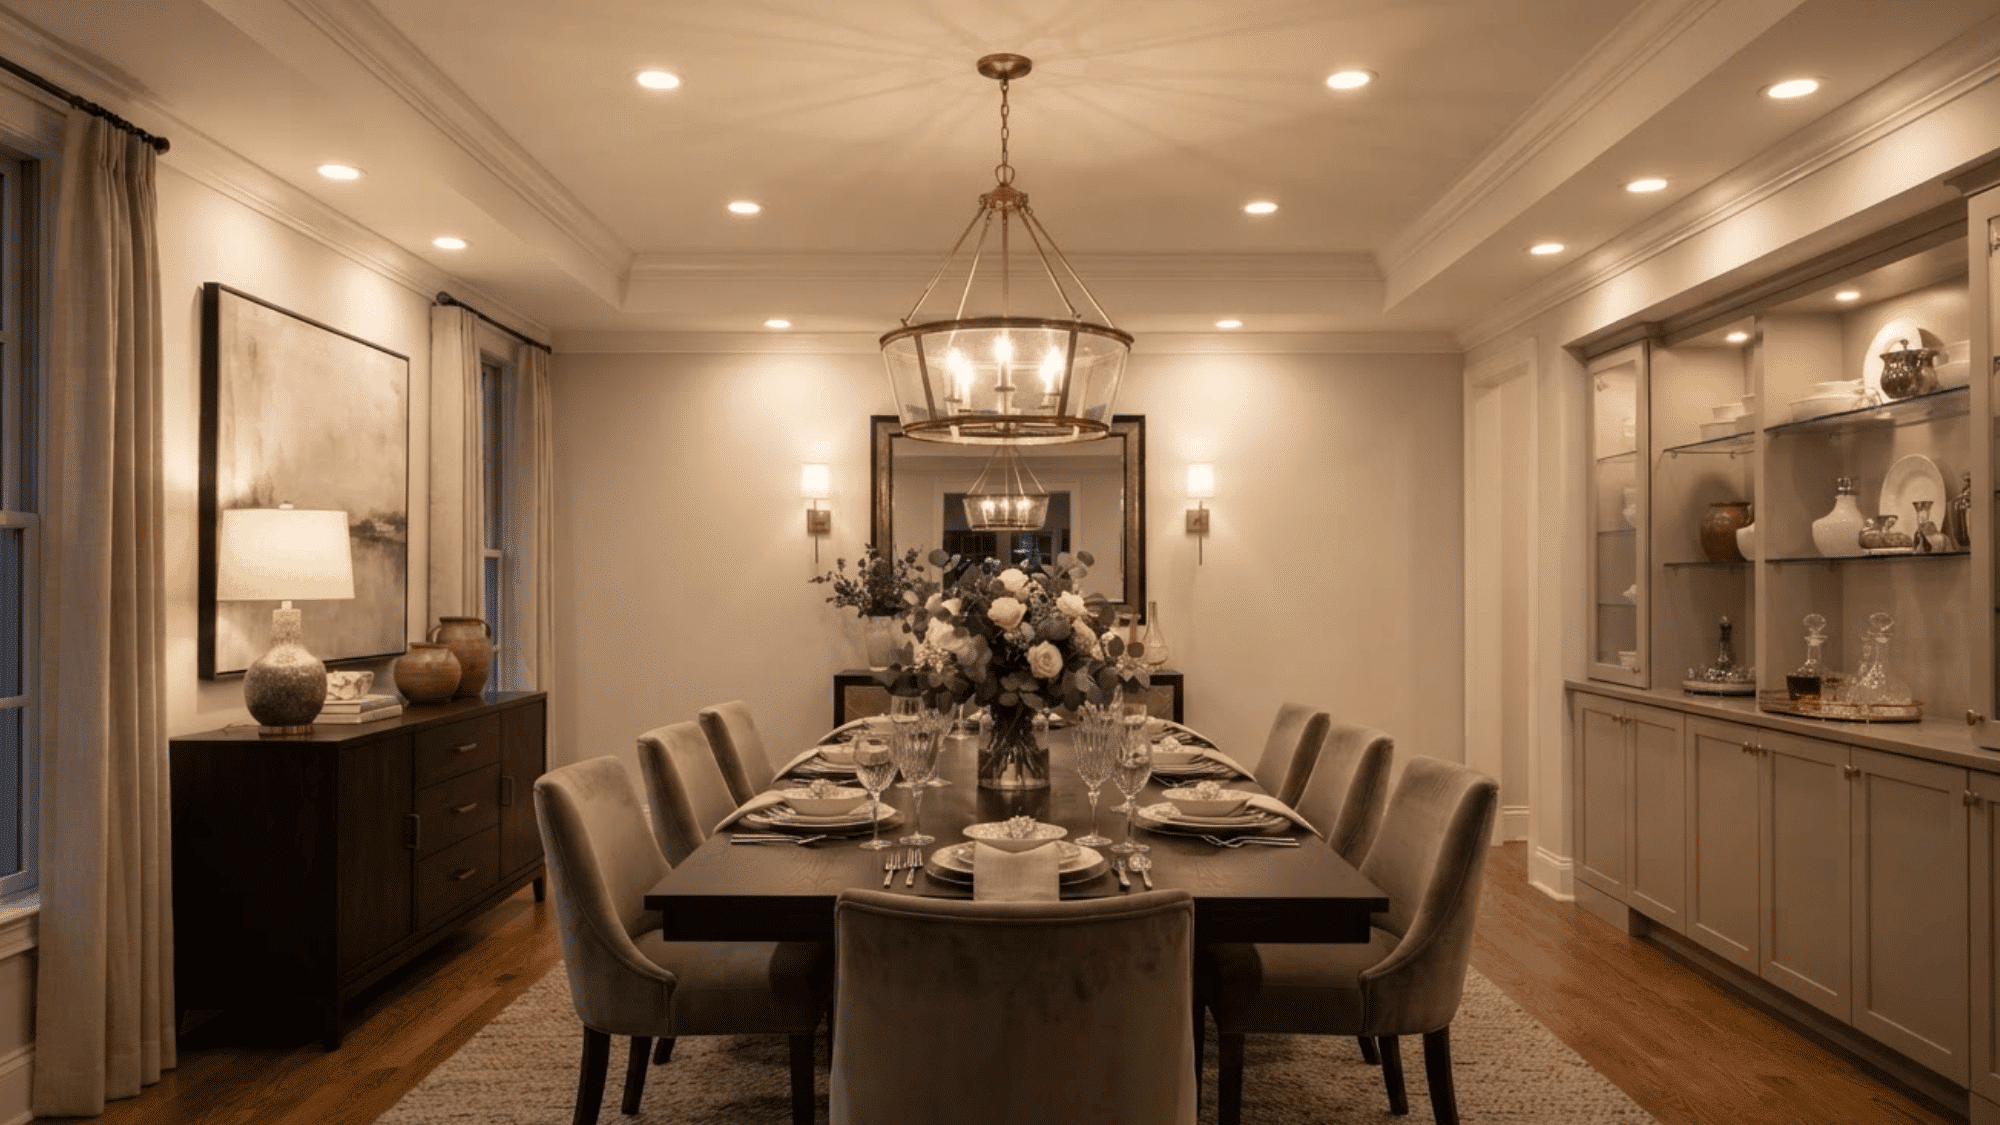
 Dining Room Recessed Lighting Layout
 Hallway Recessed Lighting Layout
 Common Recessed Lighting Layout Mistakes
Small planning errors can cause glare, dark spots, wasted fixtures, and costly ceiling changes. Avoid these common mistakes before marking or cutting any ceiling openings.
1. Using one spacing rule everywhere: Beam angle, lumen output, ceiling height, room color, and daily tasks can all change the right fixture spacing.
2. Choosing fixtures too late: Select the fixture before marking the ceiling. Its size, beam spread, trim, and rating affect spacing, wall distance, and light count.
3. Placing lights in the wrong spots: Light kitchen counters instead of walkways. Keep fixtures away from screens, seating, pillows, and the full sweep of ceiling-fan blades.
4. Ignoring hidden ceiling conditions: Check joists, pipes, ducts, vents, insulation, and moisture before cutting. Use fixtures with the correct IC, damp, or wet-location rating.
5. Using too many lights on one switch: Include lamps, pendants, chandeliers, and daylight in the plan. Add dimmers and separate controls for different areas.
6. Cutting before testing the layout: Mark every position first. Do not force perfect symmetry when furniture, tasks, artwork, or room features need better placement.
Final Thoughts
A well-planned recessed lighting layout can make each room brighter, safer, and easier to use. Start with the room’s size, ceiling height, furniture, and main tasks.
Then check fixture output, beam angle, wall distance, and ceiling obstacles before marking the final spots.
Use spacing formulas and calculators only as starting points, since every room and fixture works differently.
Test the layout before cutting, and group lights on separate switches or dimmers for better control. Which layout tip helped you most? Share your answer or room plan in the comments below.
Frequently Asked Questions
What is the 5–7 Lighting Rule?
The 5–7 lighting rule suggests using five to seven light sources in one room, mixing ceiling lights, lamps, and task lighting for balanced coverage.
How Many Recessed Lights Do You Need for a 12×12 Bedroom?
A 12×12 bedroom often needs four to six recessed lights, depending on ceiling height, fixture lumens, beam angle, room colors, and added lamps.
Should You Get Four or Six Recessed Lights in a Bedroom?
Choose four lights for softer general lighting with bright fixtures and lamps. Choose six for more even coverage, larger task zones, or lower-output fixtures.