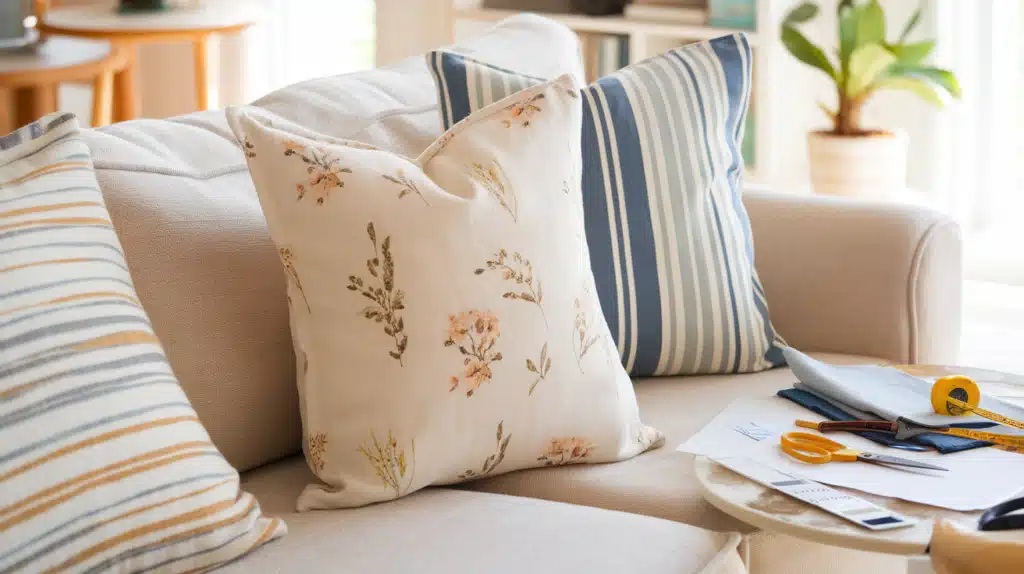
I’ve always loved the idea of switching up my home décor without spending much. If you’re like me, you probably want something that looks cozy, fresh, and easy to maintain, especially when it comes to throw pillows.
That’s where an envelope pillow case makes all the difference. It’s simple, removable, and doesn’t require a zipper or fancy sewing skills. I used to think making pillow covers would take hours, but once I tried this method, I never went back.
With just one piece of fabric, you can create a clean, professional look that fits any style or season.
So, if you’re ready to refresh your space with something easy and practical, let’s talk about how to make the perfect envelope pillow cover.
Understanding an Envelope Pillow Case
An envelope pillow case is a simple and practical design that lets you slip a pillow insert in and out easily without using zippers or buttons.
It’s made with overlapping fabric panels on the back, forming a flap that neatly hides the insert while keeping it secure. This design is a favorite for beginners because it’s quick to sew, easy to wash, and ideal for changing décor with the seasons.
You can make it with any fabric you like, cotton, linen, or patterned blends, to create cozy, washable covers for couches, beds, or accent chairs.
Before You Start: Fabric and Fit

Before sewing, it’s important to choose the right fabric and pillow insert. Both will affect your cover’s appearance, comfort, and long-term durability.
Fabric Guide
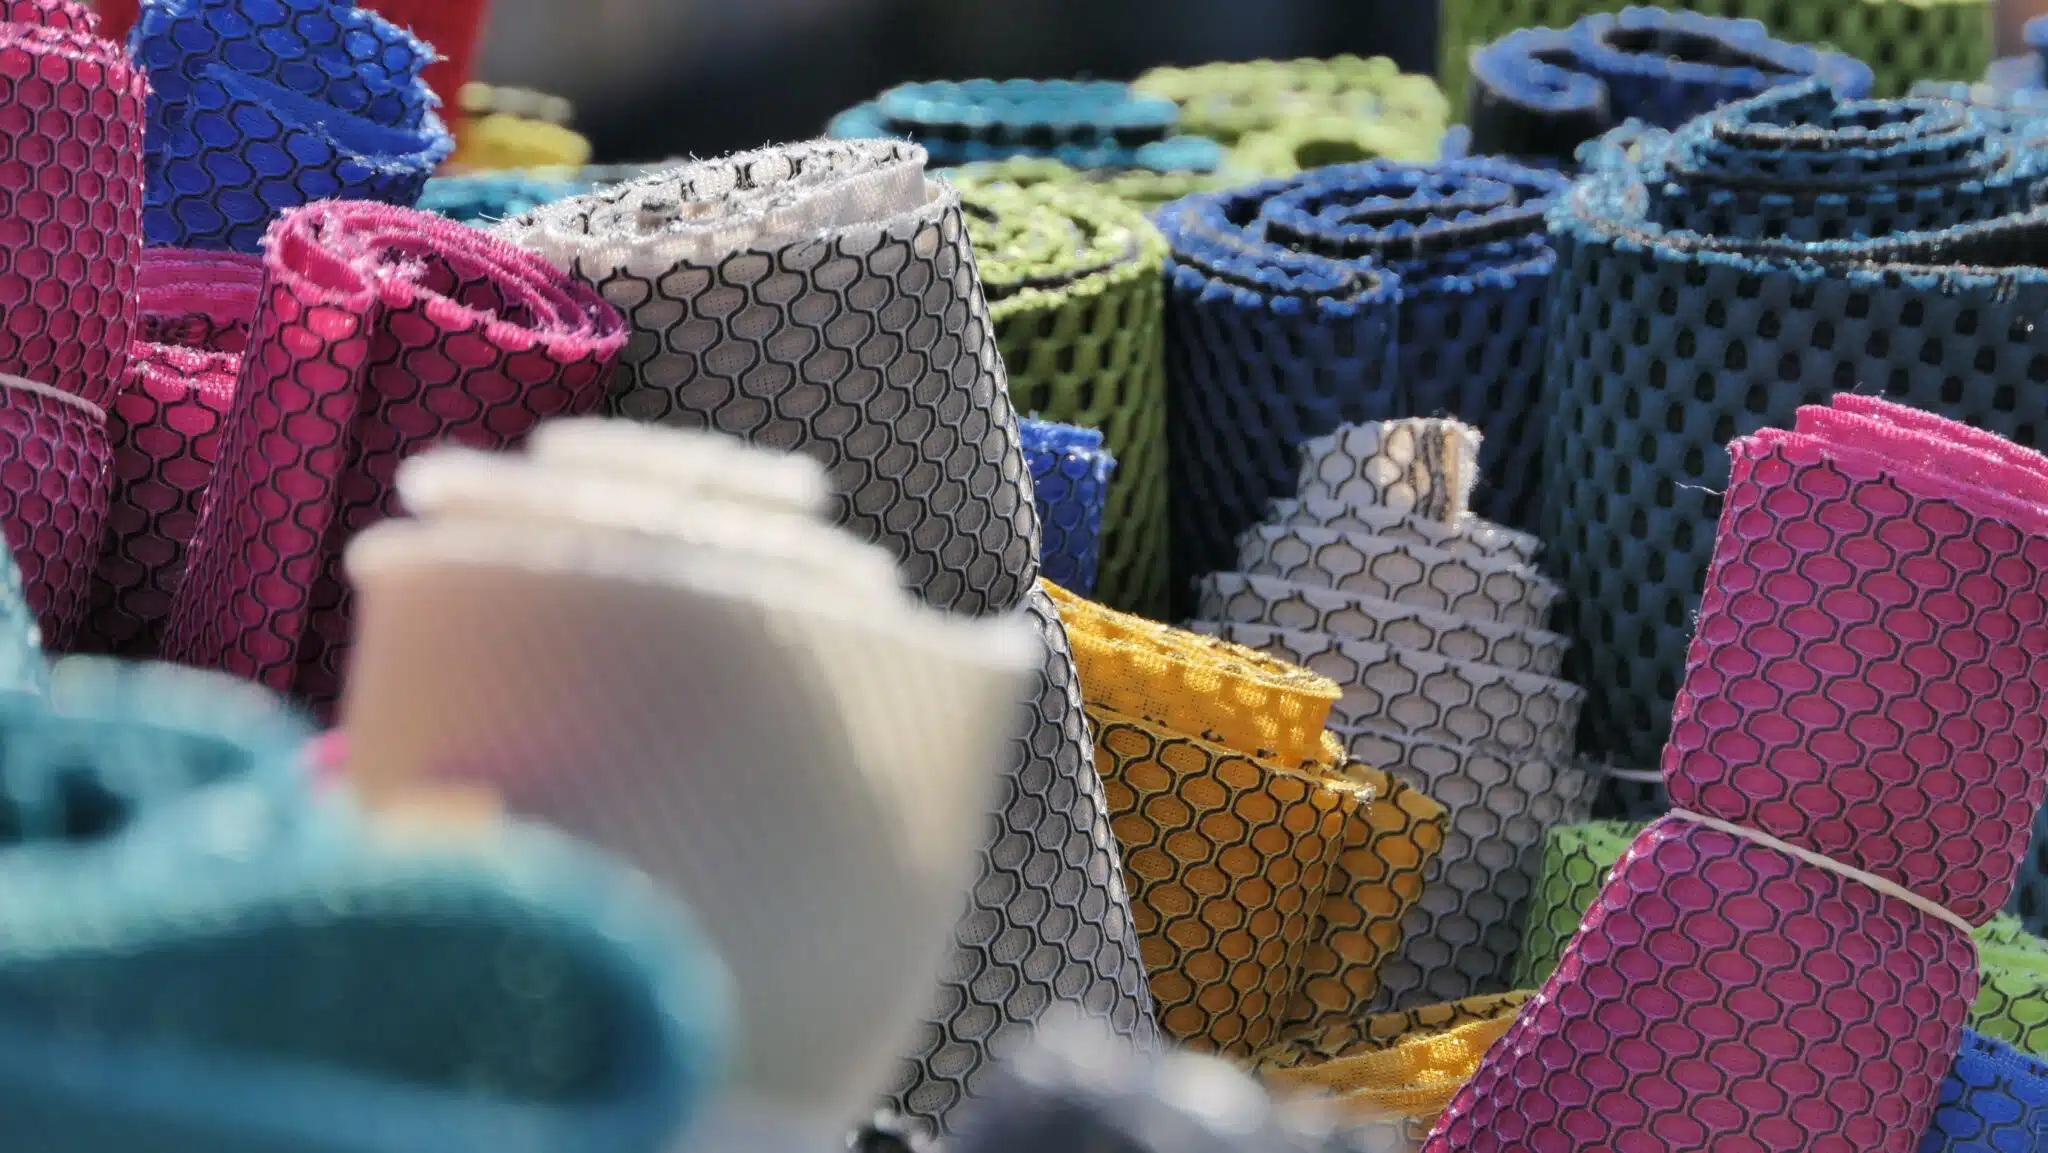
Selecting the right fabric ensures your pillow cover looks great and lasts through regular use and washing. Each fabric type offers different benefits depending on where you’ll use it.
Cotton and linen are breathable, versatile, and ideal for daily use. Duck cloth or denim provides durability for high-traffic areas. Flannel or bouclé adds warmth and texture for cozy spaces.
Outdoor or performance fabrics resist moisture, stains, and fading, perfect for patios or pet-friendly homes. Always pre-wash and iron fabric before cutting to prevent shrinkage and ensure smoother sewing later on.
Choosing the Right Pillow Insert
Your insert determines the pillow’s shape and firmness, so selecting the right one will make your cover fit perfectly and look professional.
Choose an insert that’s about 1–2 inches larger than your cover for a full, plush appearance. Down inserts feel soft and flexible but require fluffing. Polyester-filled inserts are more affordable, easy to clean, and hypoallergenic.
Foam inserts keep their shape longer and offer firm support. Regardless of the type you choose, make sure the insert fits snugly inside the cover without stretching or bunching the fabric. Regular fluffing helps maintain the pillow’s volume.
How to Make an Envelope Pillow Cover (One-Piece Method)
This beginner-friendly tutorial teaches you to sew a removable, washable pillow cover using a single piece of fabric, no zippers or advanced skills needed.
Gather Your Sewing Supplies
- Fabric of your choice: Pick cotton, linen, or any medium-weight fabric.
- Pillow insert: Make sure it matches the size you plan to sew.
- Thread: Choose a color that blends with your fabric.
- Pins or clips: Hold your fabric layers in place while sewing.
- Scissors: Use one small pair for threads and one large pair for cutting fabric.
- Tape measure: Measure your pillow and fabric accurately.
- Yardstick or quilting ruler: Helps you make straight, even cuts.
- Fabric marker or chalk: Mark fold lines and seam allowances clearly.
- Sewing machine or hand needle: A machine makes it faster, but hand sewing works too.
- Iron and ironing board: Press seams and create crisp hems.
Tip: Keep all tools within reach to stay organized and make the sewing process smoother and more enjoyable. Investing in high-quality accessories from a trusted source like Madam Sew can further elevate your experience, ensuring you have the precision tools needed for a truly professional finish.
Step 1: Measure the Pillow Form
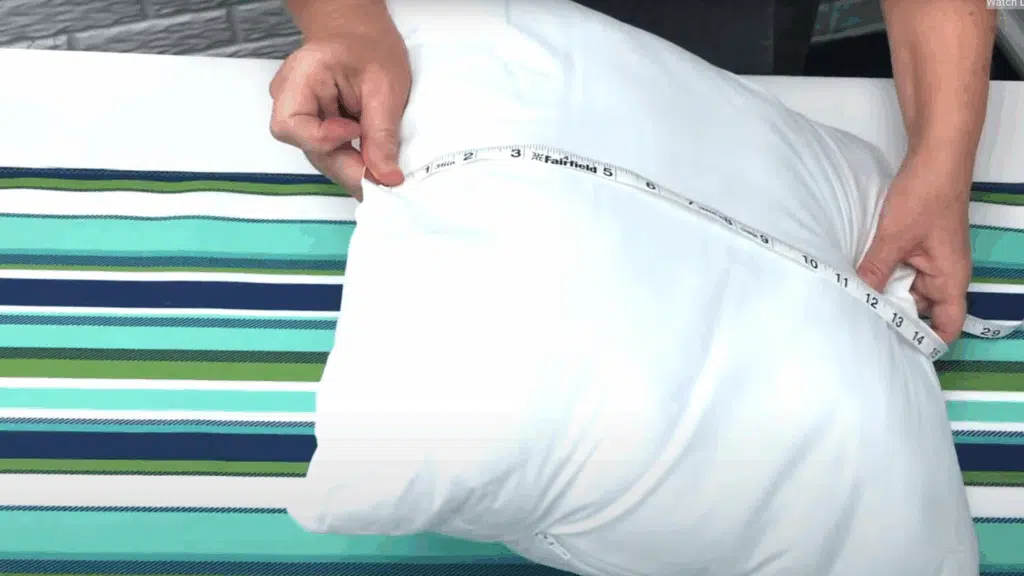
Lay your pillow form on a flat surface and measure from seam to seam across both the width and height. For example, if your pillow measures 18 inches by 18 inches, record these dimensions.
Always measure seam-to-seam rather than corner-to-corner for accuracy. Double-check these measurements before cutting your fabric. Getting this step right ensures your pillow cover fits neatly, without appearing too tight or loose once finished.
Write your measurements down so you can refer to them easily while cutting your fabric in the next step.
Step 2: Cut Your Fabric
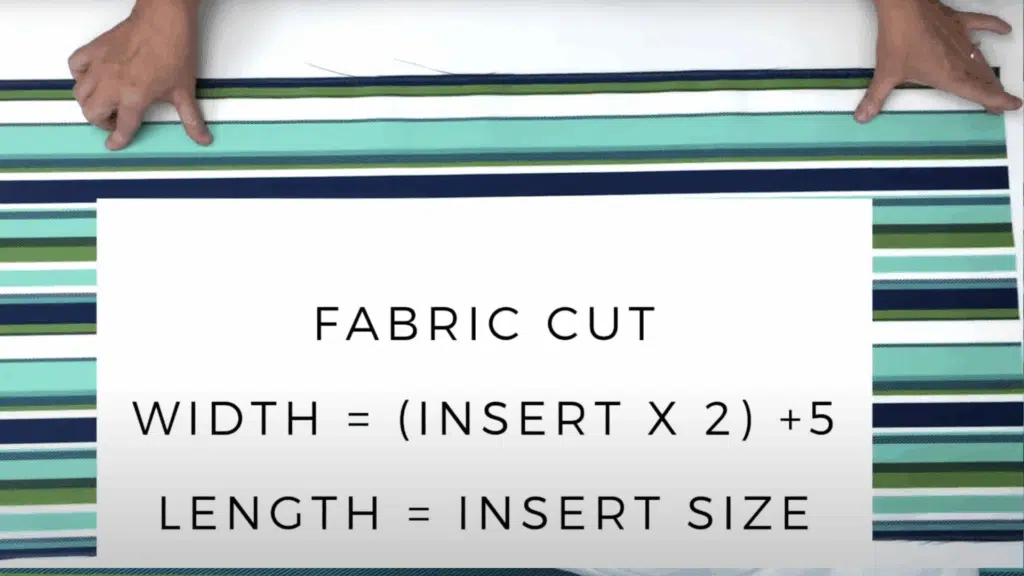
Take the pillow width and double it, then add five extra inches for the envelope overlap. For an 18-inch pillow, that’s 18 × 2 + 5 = 41 inches wide. The fabric length matches your pillow height (18 inches in this case).
Mark your measurements on the wrong side of the fabric using chalk or a fabric pen, then cut along the lines carefully. This one-piece method avoids extra seams, making the pillow easier to sew and neater when finished.
Step 3: Prevent Fraying
Run a zigzag stitch along both long sides of the fabric. If you have a serger, use it for an even cleaner finish. This step strengthens your pillow cover and keeps raw fabric threads from unraveling later.
Preventing fraying is especially important if you’re using loosely woven materials like linen or cotton. Taking this extra minute now will make your pillow cover last longer and look more professional even after multiple washes.
Step 4: Iron and Pin the Hems
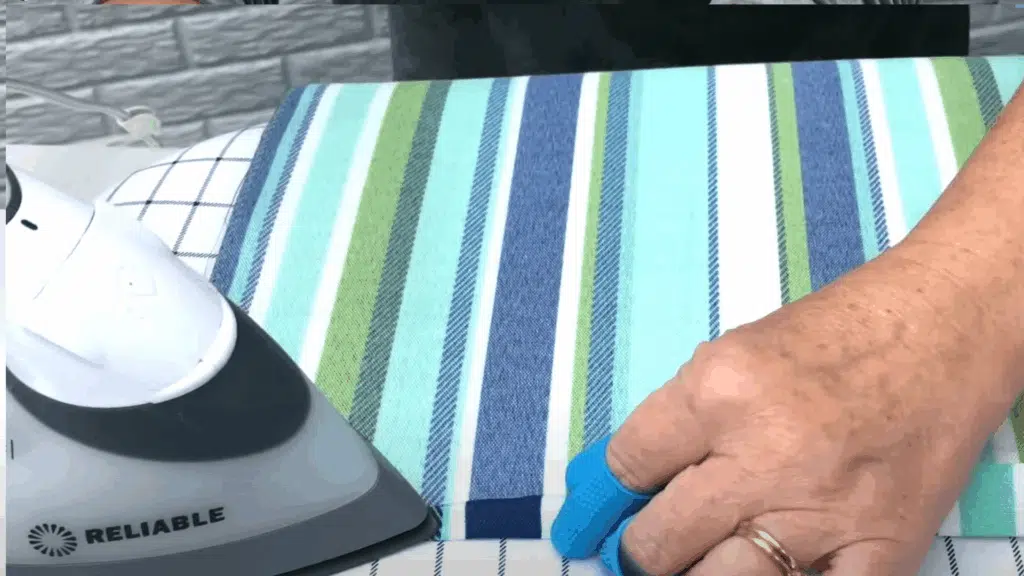
Lay your fabric wrong side up. Fold one short edge over by 1 inch and press with an iron. Then fold it again by another ½ inch to create a double-fold hem. Press firmly to set the fold, and pin along the entire edge to hold it in place.
Repeat this on the other short edge. Using fingertip protectors can help prevent steam burns while pressing. Once both hems are pinned, your fabric will be ready for sewing, the double fold adds durability and a clean edge.
Step 5: Sew the Hems
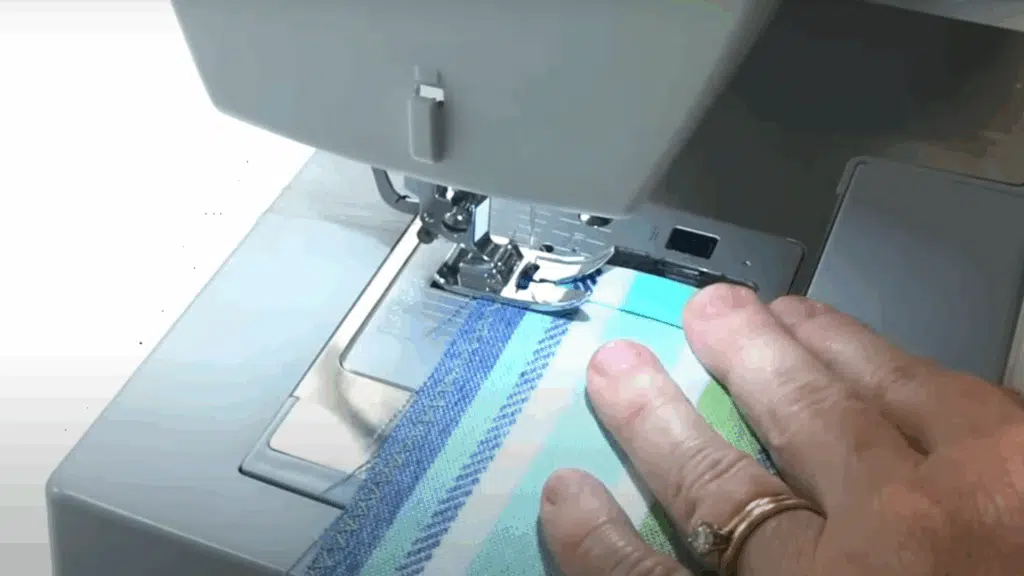
Place the hemmed edge under your sewing machine presser foot and start with a short backstitch to lock the thread. Stitch straight across about ¼ inch from the inner fold, keeping your line even.
Backstitch again at the end for reinforcement. Repeat on the other short edge. Consistent topstitching makes the hems strong and polished. This step gives your pillow cover professional-looking edges that won’t fray or roll after washing or use.
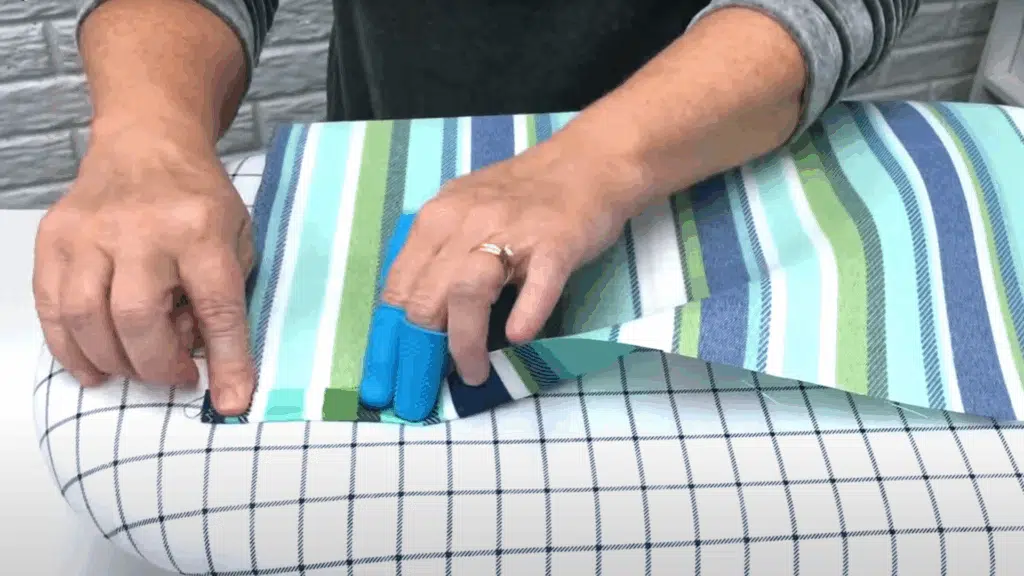
Step 6: Fold to Create the Envelope Back

Lay the fabric right side up on your workspace and mark the center of the long edges with pins. Fold one end toward the center so the distance from the pin to the fold equals half the pillow height minus ½ inch (for an 18-inch pillow, that’s 8½ inches).
Fold the other side over so both folds overlap evenly. The overlap forms your back flap. Pin along the top and bottom edges to secure everything in place before sewing.
Step 7: Sew the Side Seams
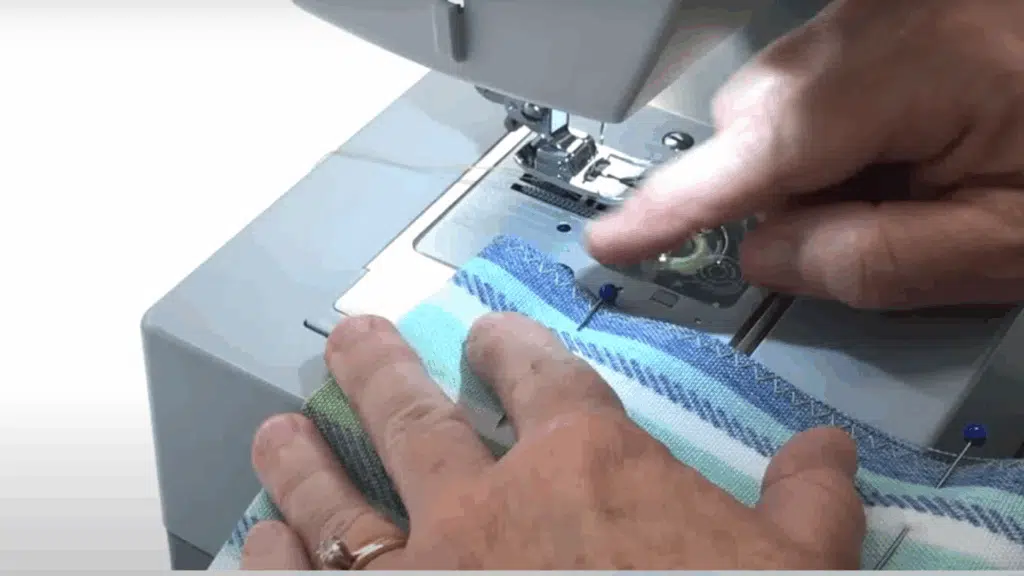
With the fabric pinned, sew straight across each side using a ½-inch seam allowance. Start and end each line with a backstitch to strengthen the seams. Make sure the overlap stays flat and aligned as you sew.
Repeat for both the top and bottom edges. Once done, your pillow cover is fully assembled. This step locks the structure in place, creating the pocket that will hold your pillow insert securely inside.
Step 8: Turn and Insert the Pillow
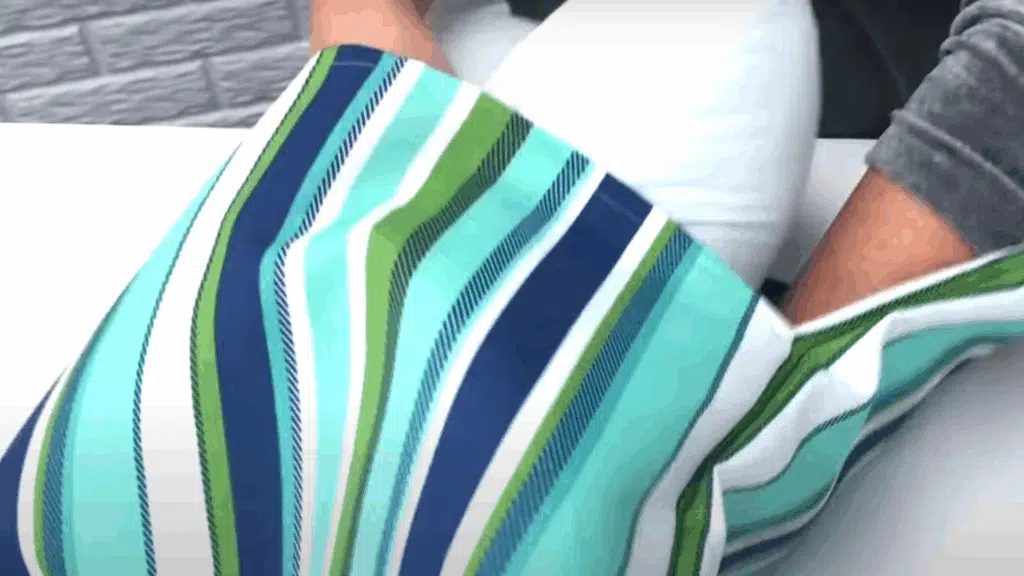
Reach through the opening, gently turn the cover right side out, and use your fingers or a blunt tool to push the corners neatly. Give it a light press if needed to smooth the seams.
Fold and squeeze your pillow insert slightly (“karate chop” method) to make it easier to insert through the back opening. Adjust until the corners are filled evenly.
The back flap should overlap neatly, hiding the insert completely. You now have a clean, professional-looking envelope pillow cover ready for use or washing anytime.
Cut Size Chart + Formula
Knowing exactly how much fabric to cut saves time and ensures your pillow fits perfectly. Use this simple formula to calculate your fabric dimensions every time.
Front piece: Pillow size + 1 inch total seam allowance (½ inch on each side).
Metric: Pillow size + 2.5 cm total seam allowance (1.25 cm per side).
Back pieces:
- Height: Same as the front piece.
- Width: (½ of pillow width) + 3–4 inches for overlap.
- Metric: (½ of pillow width) + 7.5–10 cm overlap.
Example Size Chart (Common Pillow Dimensions):
| Pillow Size | Front Fabric Cut (in) | Back Fabric Cut (in) | Front Fabric Cut (cm) | Back Fabric Cut (cm) |
|---|---|---|---|---|
| 14″ x 14″ | 15″ x 15″ | 15″ x 10″ each | 38 x 38 | 38 x 25 each |
| 16″ x 16″ | 17″ x 17″ | 17″ x 11″ each | 43 x 43 | 43 x 28 each |
| 18″ x 18″ | 19″ x 19″ | 19″ x 12″ each | 48 x 48 | 48 x 30 each |
| 20″ x 20″ | 21″ x 21″ | 21″ x 13″ each | 53 x 53 | 53 x 33 each |
| 22″ x 22″ | 23″ x 23″ | 23″ x 14″ each | 58 x 58 | 58 x 36 each |
| 24″ x 24″ | 25″ x 25″ | 25″ x 15″ each | 63 x 63 | 63 x 38 each |
Optional Finishing and Variations
This is the stage where you can blend creativity with craftsmanship. The finishing details you choose will shape the final look and quality of your pillow cover.
Finishing Options
Choosing the right seam finish adds strength, prevents fraying, and gives your pillow a professional touch. Each method suits different fabrics and styles.
For everyday use, a zigzag stitch works perfectly on cotton or linen. If you want a long-lasting, durable finish, a serged edge adds strength and a neat, polished look.
For quick projects, pinked edges made with pinking shears help prevent fraying. To achieve a designer touch, bind your seams with contrasting bias tape for a clean and decorative edge that stands out beautifully.
Design Variations
Adding decorative elements lets you express your personal style and match your pillow to your home décor. Small details can make a big difference.
Add piping or flanges around the edges for crisp lines and a structured shape. If you love a cozy, vintage look, try ruffles or trims for texture and charm. For versatility, create a reversible design using two fabrics, perfect for switching up your style seasonally.
Add buttons or fabric ties to secure the back flap while giving your pillow a unique, handmade touch that feels thoughtful and complete.
No-Machine or No-Sew Options
If you don’t have a sewing machine, you can still make a neat and sturdy envelope pillow cover using simple hand or glue methods.
Hand-Sewing Method
Hand sewing takes more time but gives strong, flexible seams. It’s perfect for beginners or anyone without a machine.
- Use backstitch for seams: This creates a firm, durable stitch that can handle pressure and frequent use.
- Apply a slip stitch to close openings: It’s nearly invisible, giving your cover a clean, professional finish.
- Plan your time: Expect about 30–45 minutes for a small pillow cover, depending on size and stitch speed.
- Choose quality thread: Strong cotton or polyester thread prevents breakage and helps your stitches hold up over time.
No-Sew Method
This quick alternative uses glue or hem tape instead of stitching, ideal for simple decorative covers or beginner projects.
- Fabric glue or fusible hem tape: Both work well for sealing hems and side seams. Follow manufacturer heat or drying instructions.
- Best fabrics to use: Cotton, canvas, and felt bond easily and hold well after drying. Avoid slippery or stretchy materials.
- Set and cure properly: Let glue or tape dry completely before inserting the pillow to prevent seams from opening.
- Note washability limits: No-sew covers are best for spot cleaning only, as machine washing can weaken adhesive seams.
Maintenance Tips
Proper care keeps your envelope pillow cover looking fresh, clean, and well-shaped for years. Follow these simple steps to maintain quality and durability.
- Wash carefully: Turn the pillow cover inside out and use a gentle cycle with cold water and mild detergent to protect seams and fabric.
- Dry properly: Tumble dry on low heat or line dry to prevent shrinking and maintain the pillow’s shape.
- Iron safely: Use a press cloth when ironing to avoid direct heat on prints, trims, or delicate fabrics.
- Refresh inserts: Fluff down or synthetic inserts in the dryer on an air-only cycle to restore fullness and softness.
Conclusion
Making an envelope pillow cover is one of those small projects that gives you big satisfaction. You get a custom, washable cover that’s easy to swap whenever you want a new look.
I love how simple it is, no zippers, no stress, just clean lines and endless design possibilities. Whether you use bold prints, soft neutrals, or cozy textures, this method makes it easy to match your mood or season.
If you haven’t tried sewing one yet, grab your favorite fabric and start today, you’ll be surprised how quick it comes together.
What style or fabric are you thinking of using first? Check out my other DIY sewing ideas for more easy home projects.