

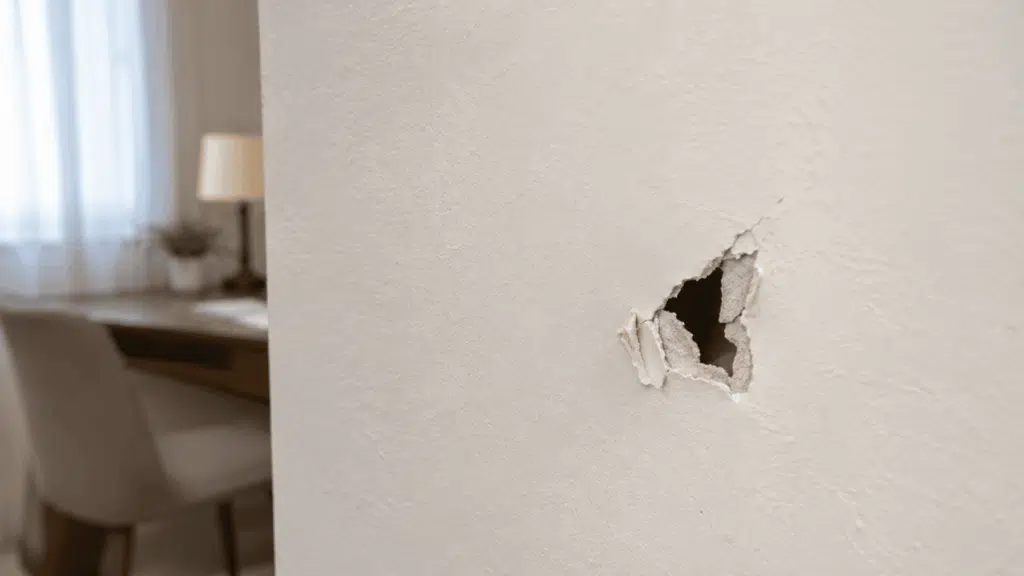
A hole in the wall is one of the most common repair headaches and knowing how to fix it remains one of the most searched drywall repair topics.
Repairing drywall is usually straightforward when the damage is assessed correctly and the right patching method is used.
Along with the steps, homeowners are also curious about tools, how to repair larger holes, and how much the project costs.
This blog breaks down every step from the first cut to the final coat. Keep reading for the complete process.
Tools and Materials Needed for This Repair
This method uses a short list of tools most homeowners already have. A drywall saw cuts the hole into a clean square, while a ruler or straightedge and a utility knife shape the patch itself.
A couple of putty knives, one smaller and one wider, spread and scrape the joint compound at different stages.
A sanding block smooths the dried compound between coats better than loose sandpaper.
For materials, a scrap piece of drywall, joint compound, primer, and matching paint cover the entire repair from start to finish.
How to Patch a Hole in Drywall
Each step builds on the last, so follow them in order to keep the final result flat and blended into the wall.
Step 1: Cut The Hole Square
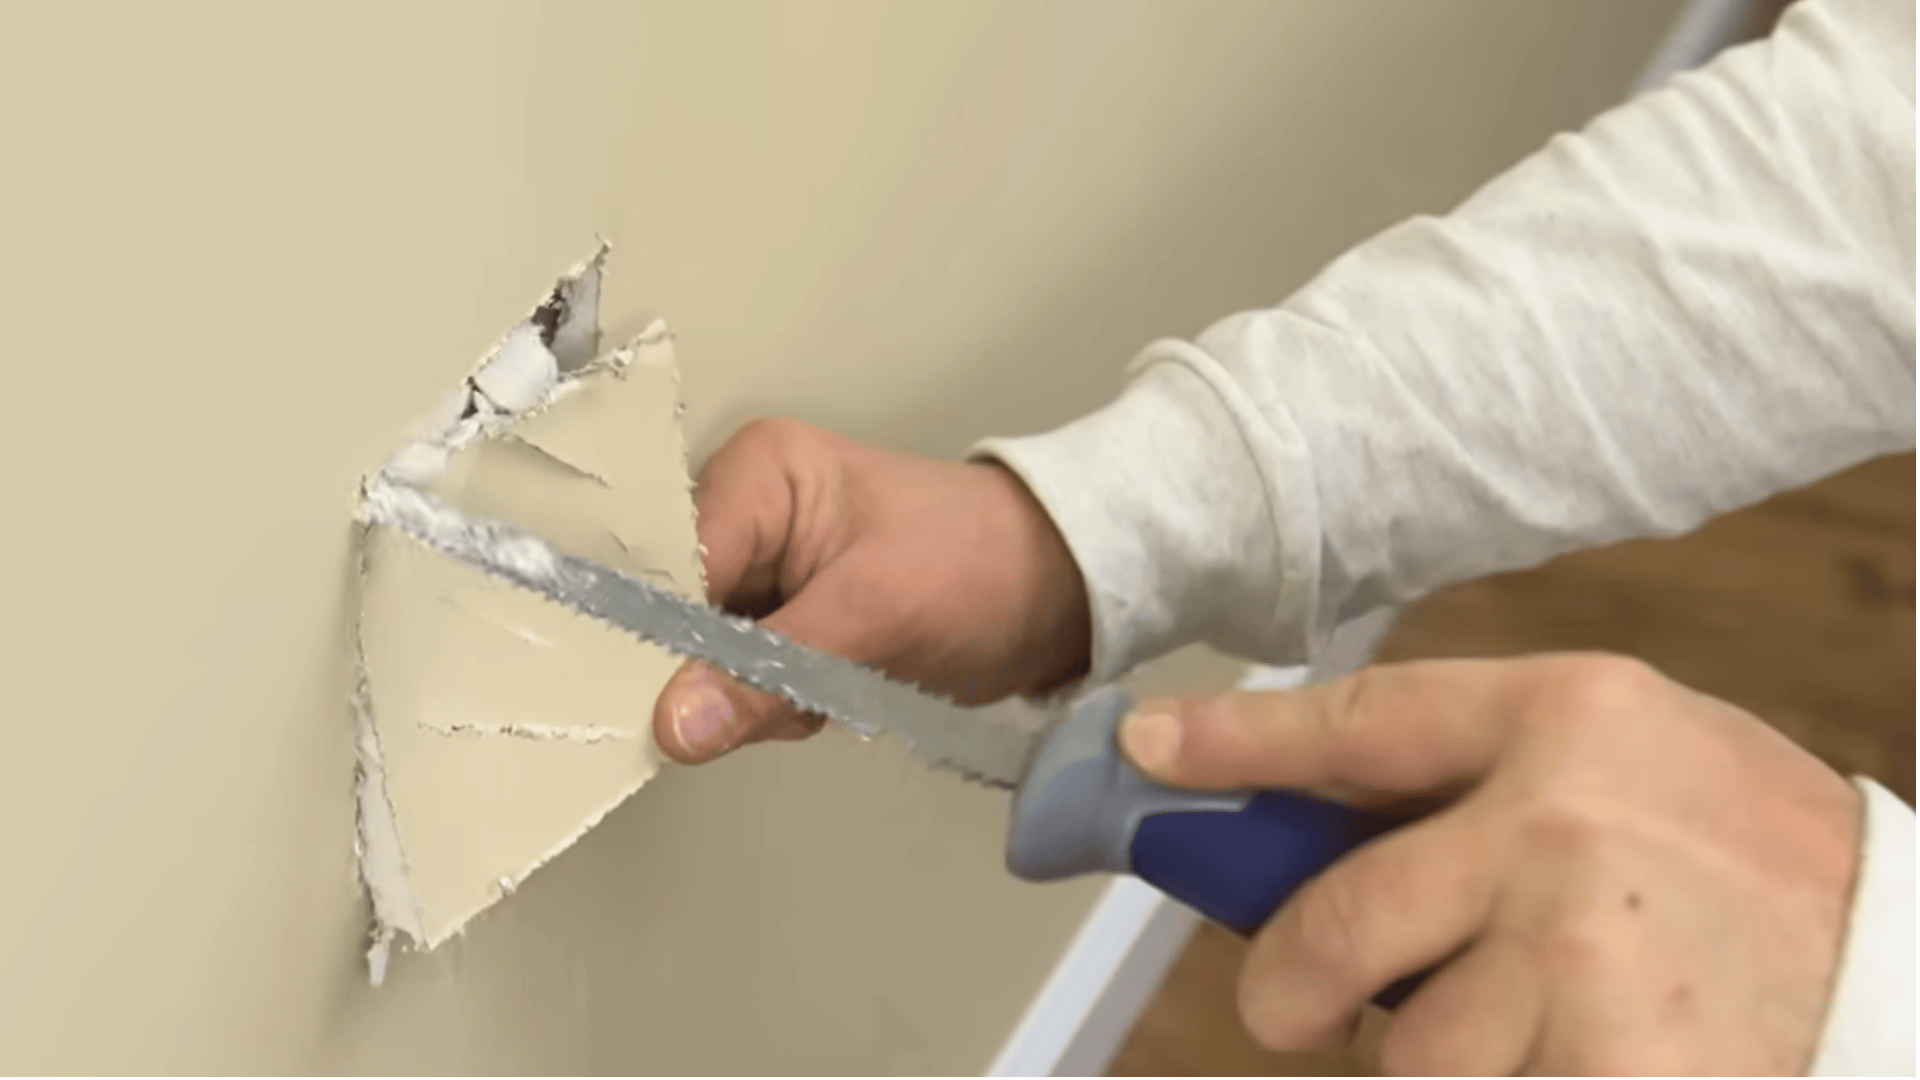
Use a drywall saw to cut the damaged area into a clean square or rectangle. Use caution when cutting into a wall because electrical wiring and plumbing may be located behind the drywall.
A square shape is easier to match with a new patch than an uneven hole. Straight edges line up better and help reduce gaps around the patch.
Once the cut is complete, measure the opening carefully. These measurements determine the patch size needed for the next step.
Step 2: Cut The Drywall Patch with Paper Flaps
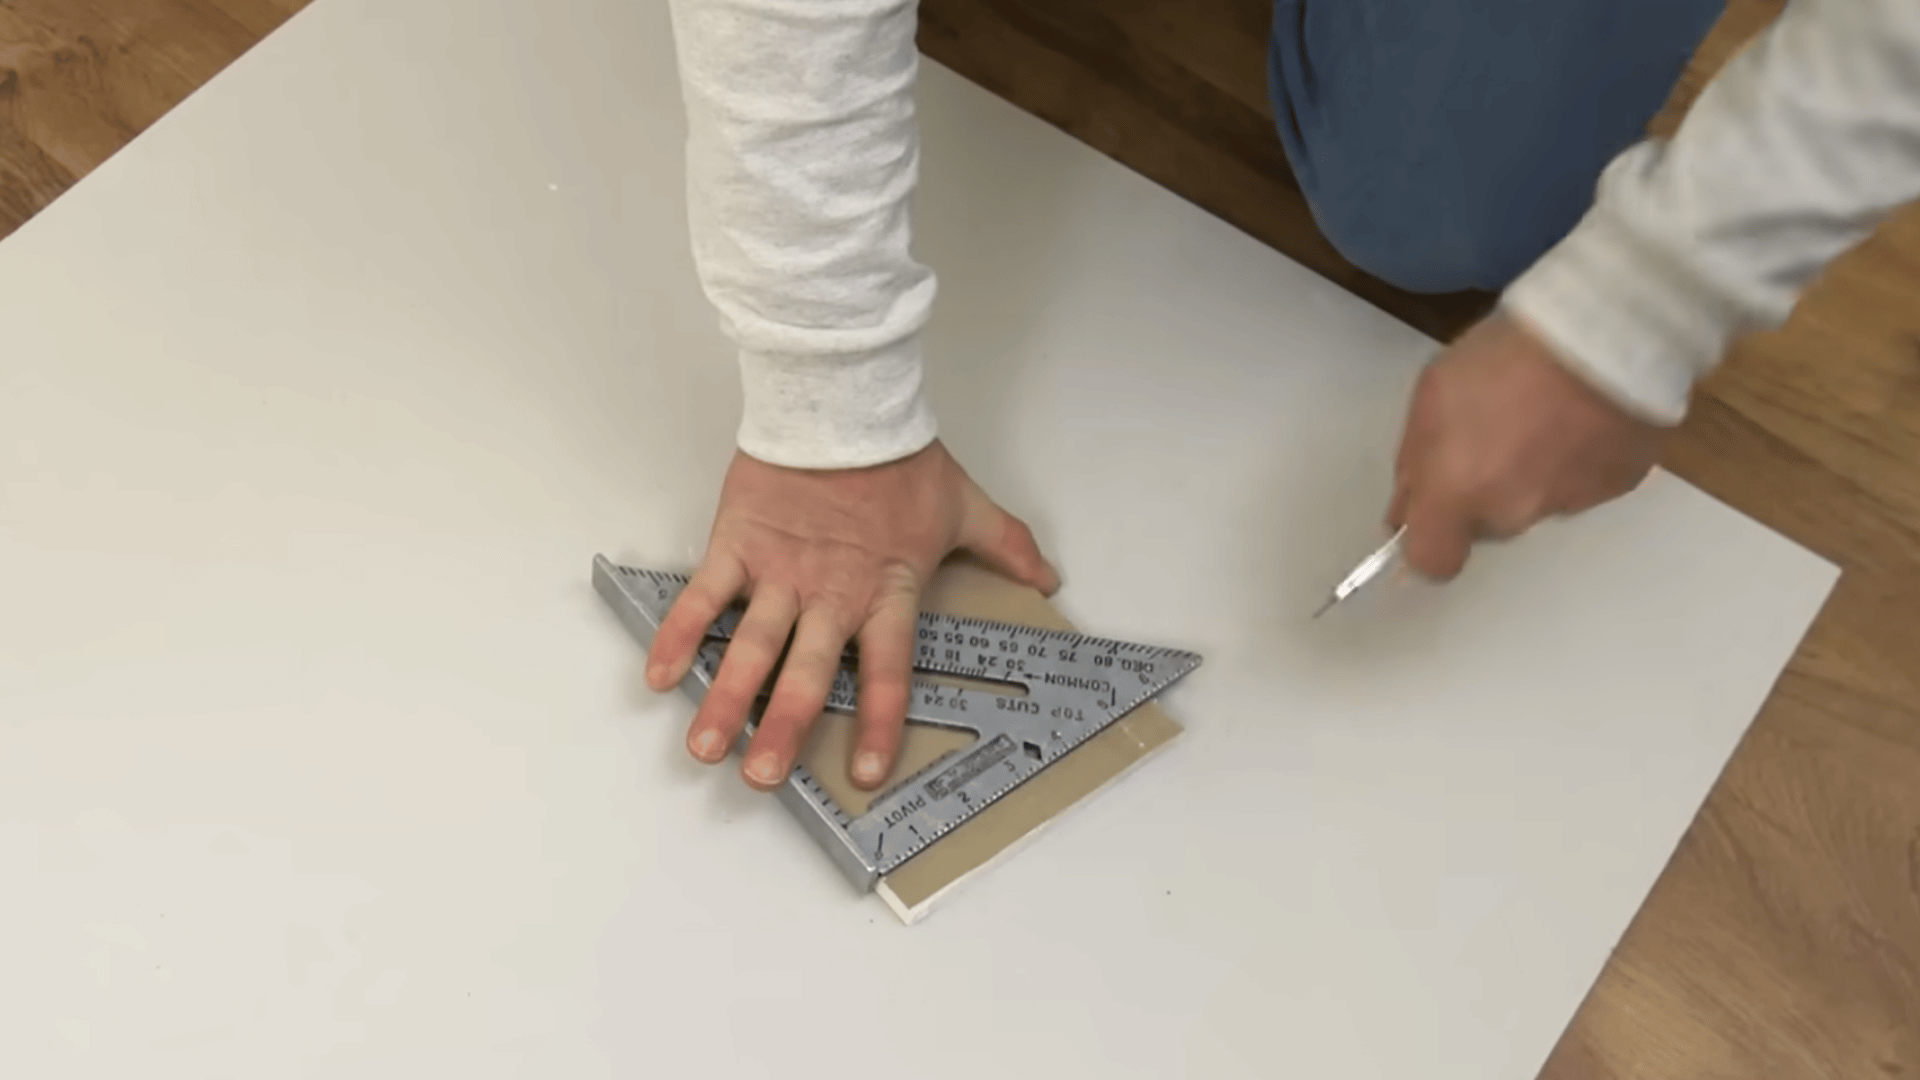
Cut the patch so the drywall core matches the opening while leaving roughly 1.5 to 2 inches of paper around each side for the flaps. This extra space gives the paper flaps enough room to overlap the surrounding wall.
Score the back of a scrap piece of drywall with a utility knife. Then snap it along the score over the edge of a table for a cleaner break.
Flip the piece over and cut through the paper without cutting into the drywall core. Fold the flaps outward, then remove the core so only the paper remains on all four sides.
Step 3: Affix The Patch Using Joint Compound
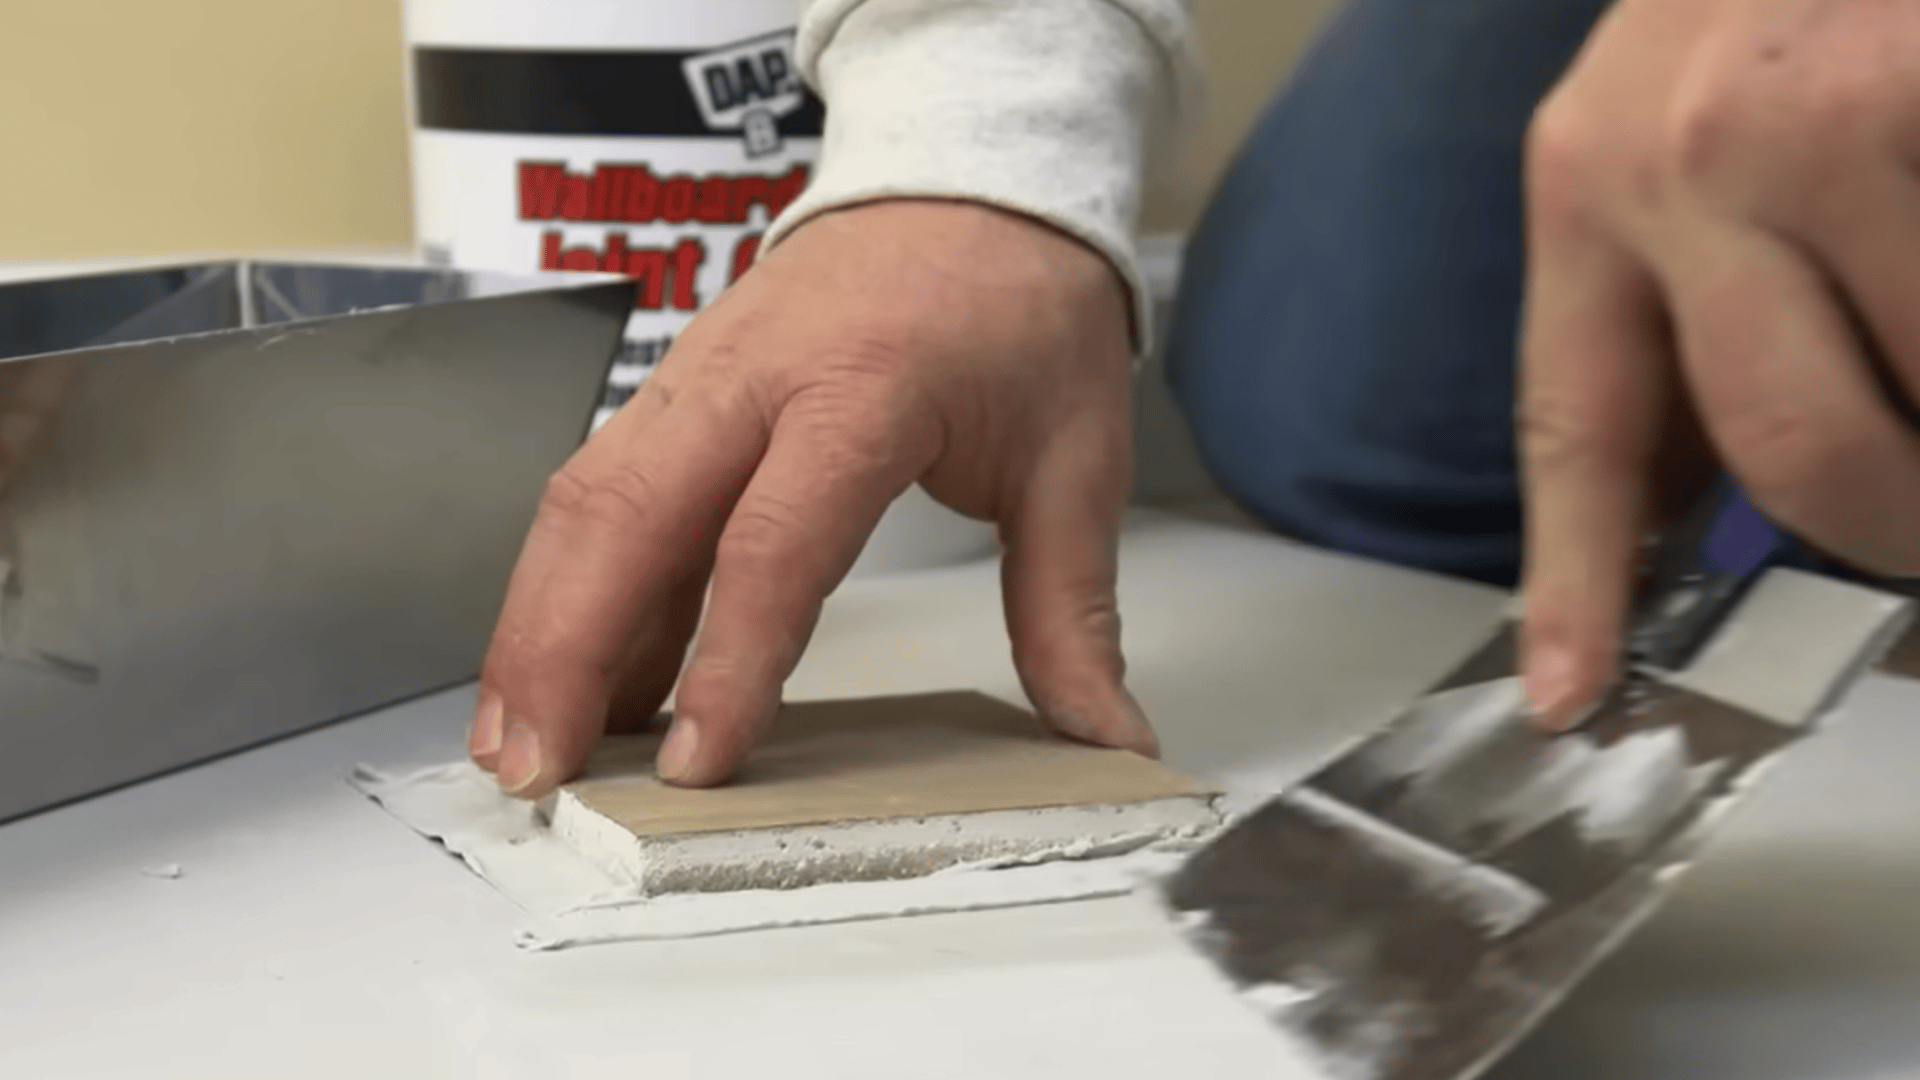
Test-fit the patch in the hole. Trim the patch if necessary, depending on how tight the fit is or how well the patch lies flush in the hole.
Spread joint compound generously over the paper flaps. Press the patch firmly into place so the paper flaps bond with the surrounding drywall.
Apply enough joint compound to secure the paper flaps and cover the patch area without creating an unnecessarily thick layer. Use a large putty knife to scrape off the excess, then let it dry completely.
Step 4: Feathering The Edges in Two Stages
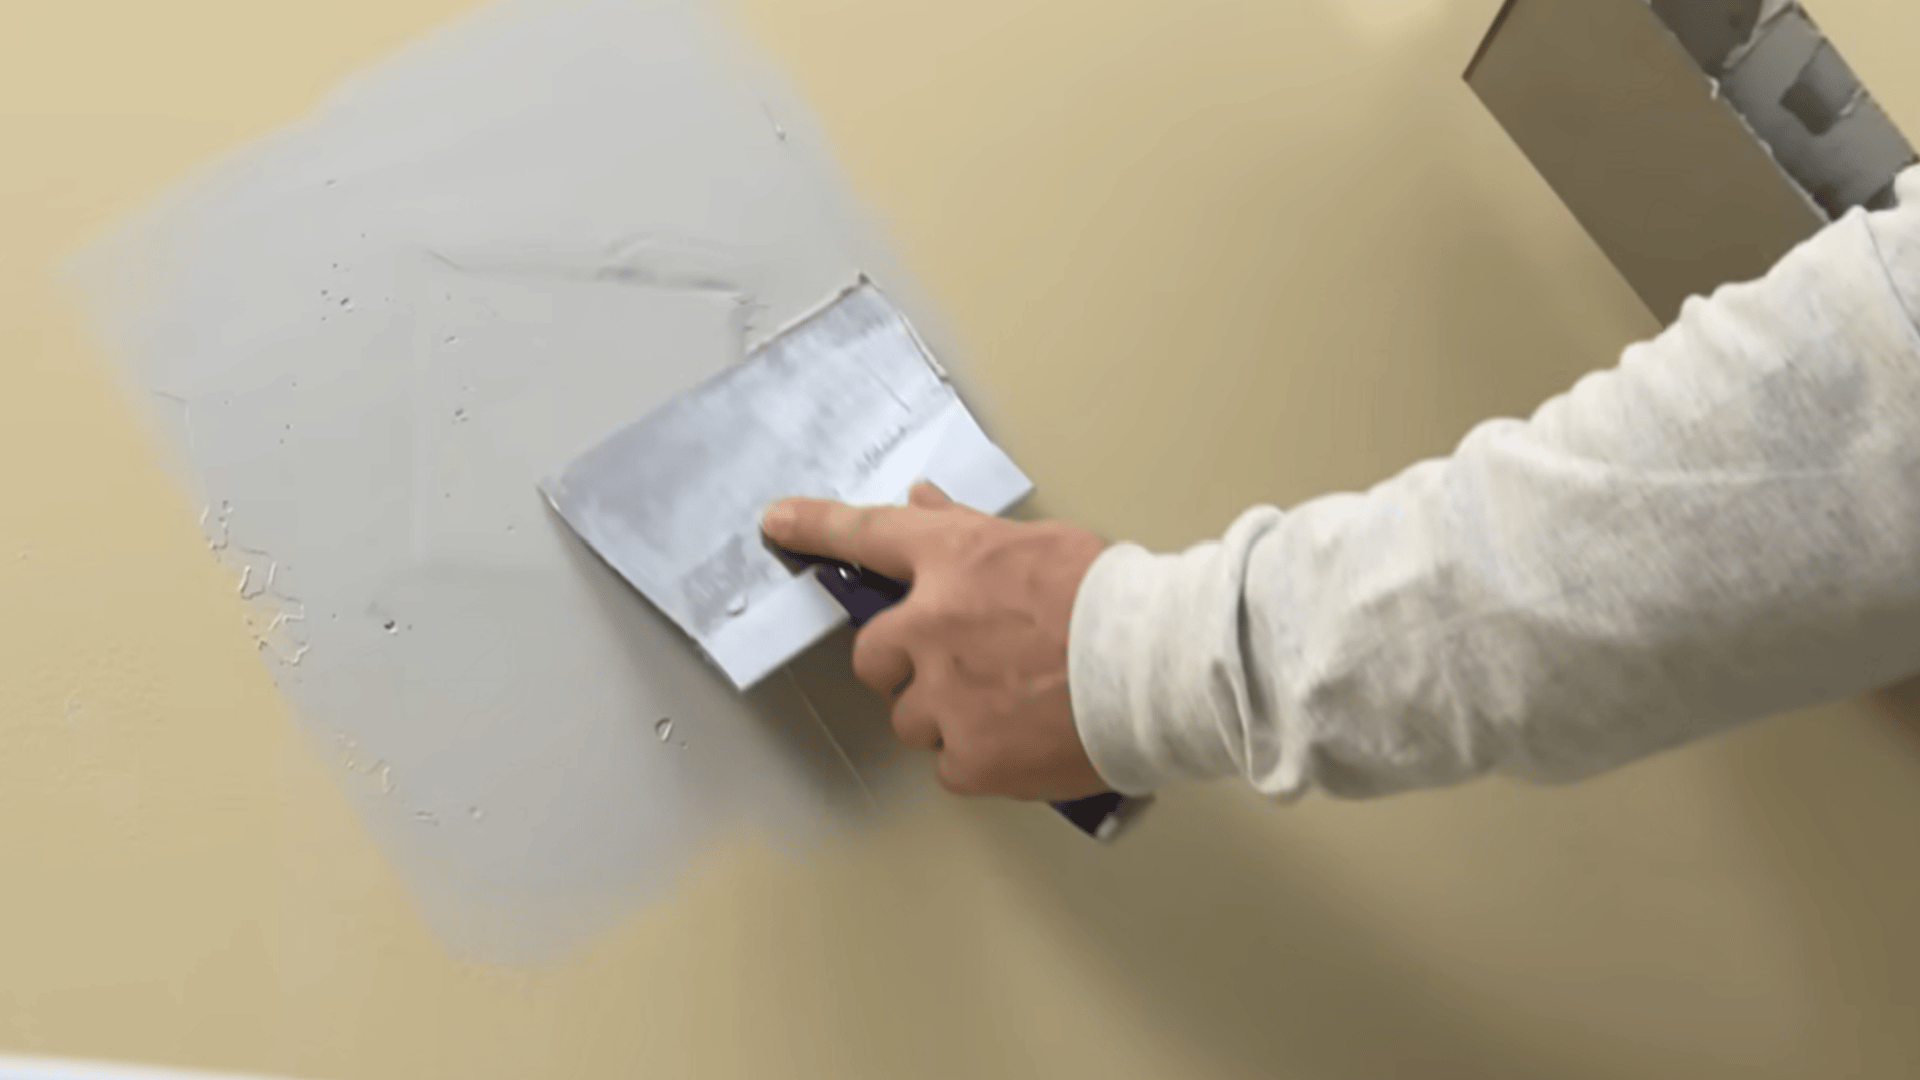
Once the base layer is dry, spread joint compound around the patch edges. Fill any low spots to even out the surface.
Use a broad putty knife to remove the extra material around all four edges. Allow it to dry completely before inspecting it again.
Do the same thing for a second application. Spread the compound more, blending it easily with the rest of the wall.
Feathering means spreading the compound progressively farther from the repair so the transition becomes less noticeable.
Step 5: Sand and Prime The Patch
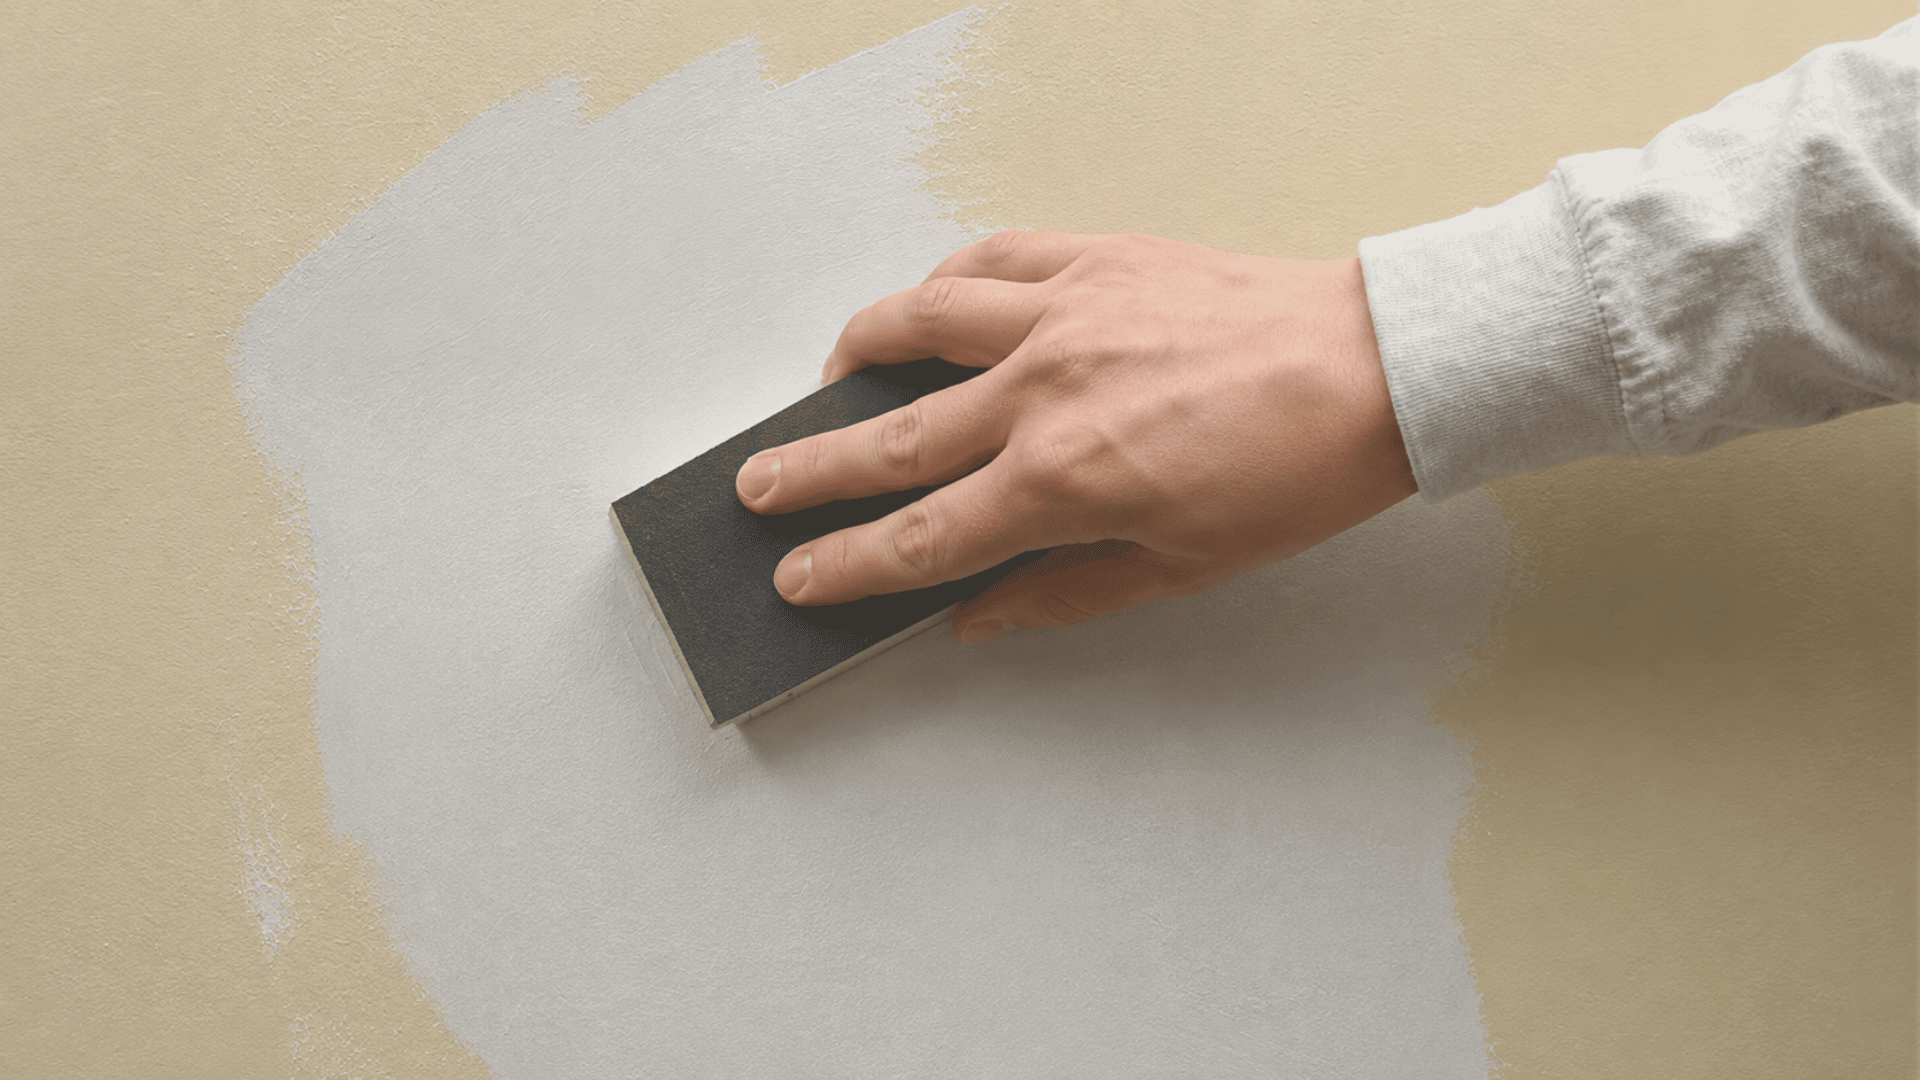
Once the final coat is dry, sand the area with a sanding block until it’s even with the wall and run your hand over it to feel for any ridges.
Apply primer once the final coat is dry and sanded. Joint compound can absorb paint differently from the surrounding wall, which may leave a visible patch without proper priming.
It also highlights any tiny bumps or dips that may exist and can be corrected before painting the final coat.
Step 6: Paint to Match The Wall
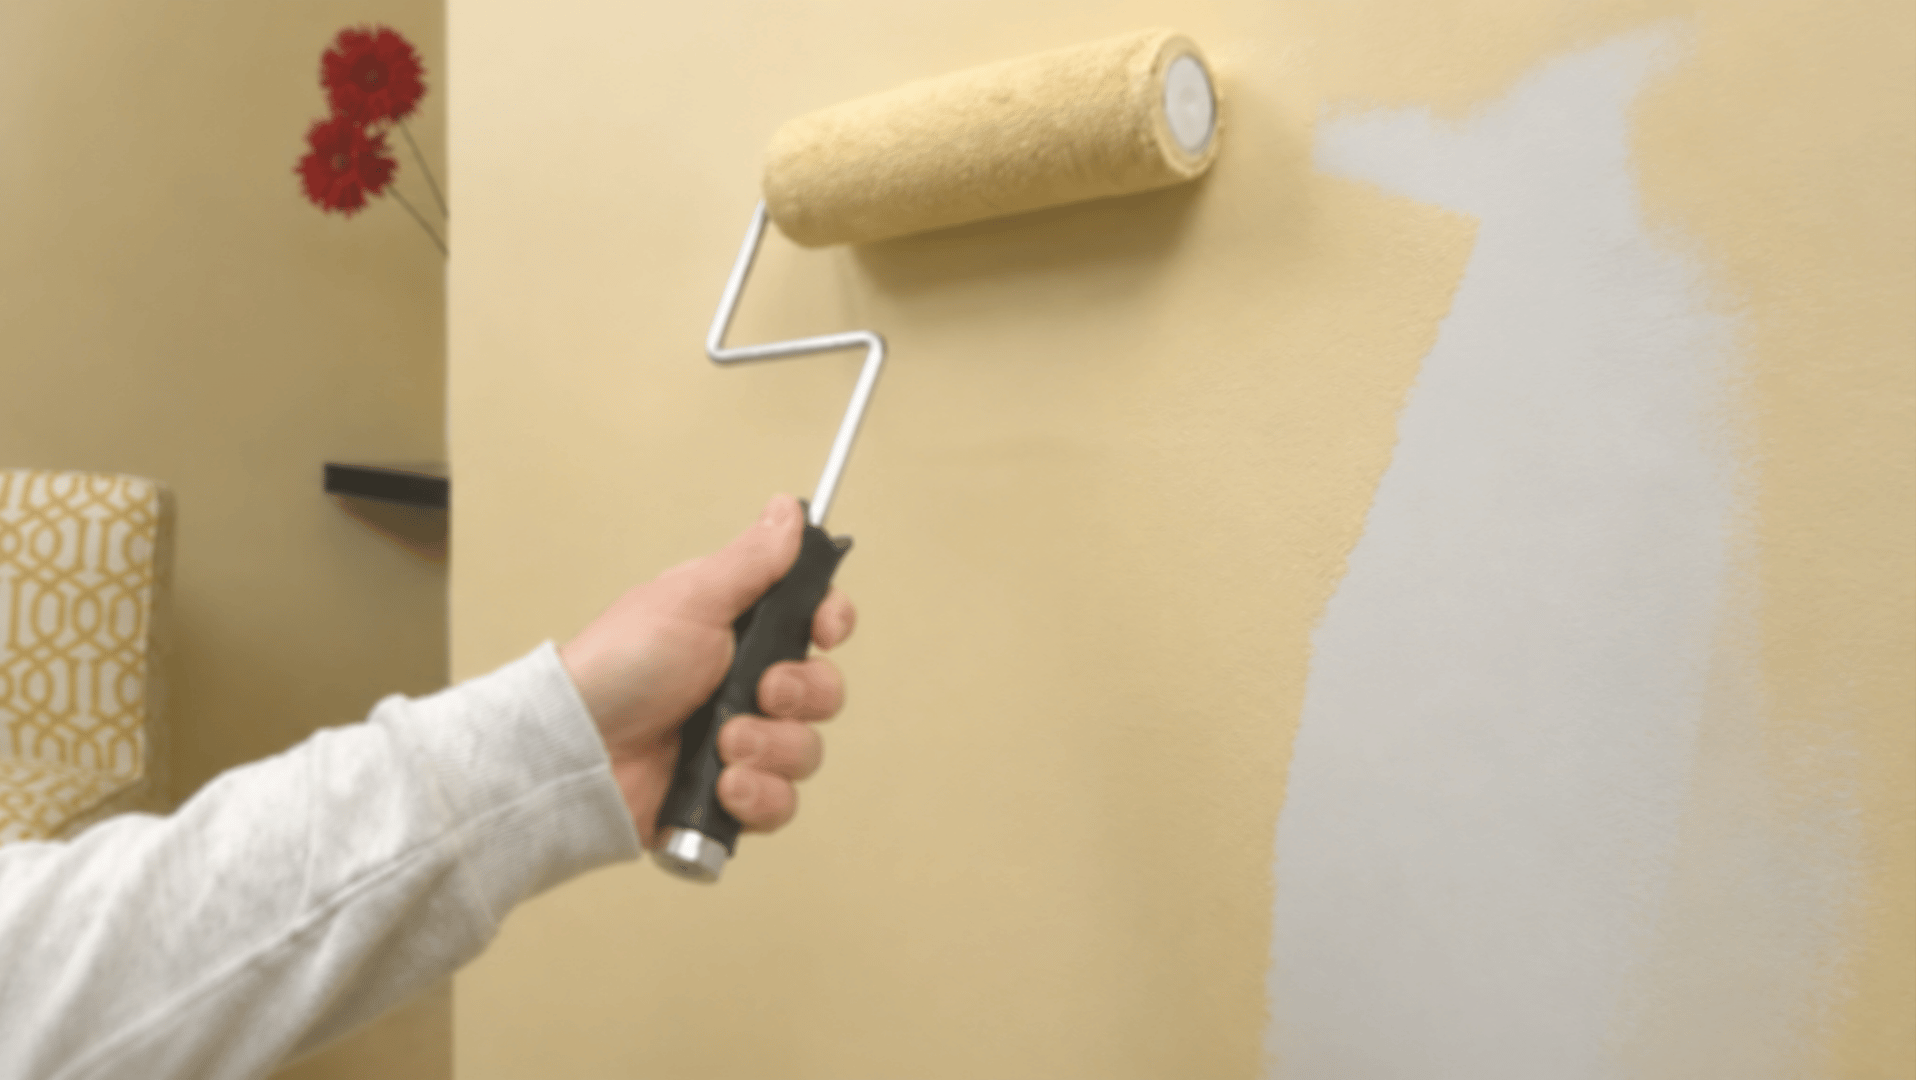
Once the primer has dried, paint the patched area the same color and sheen as the rest of the wall, applying an even coat across the entire section.
Using the same type of roller nap as the original paint job also helps the texture of the new section match the rest of the wall more closely. If the surrounding wall has orange peel, knockdown, or another texture, reproduce that finish before painting.
A patch that has been feathered and primed properly should blend in well enough to be difficult to spot once the paint is fully dry.
Watch Lowe’s Home Improvement’s video, How to Repair Drywall, for a step-by-step guide.
How Much It Costs to Repair Drywall Yourself
DIY drywall repairs can stay affordable when the damage is small and basic supplies are already available.
- Small Hole Repair: Basic materials may cost around $10–$30 for a minor hole.
- First-Time Repair: Buying primer, paint, tools, or a patch kit can bring the total closer to $20–$55.
- Multiple Repairs: Joint compound, tape, and sanding supplies often come in quantities that can cover several repairs.
- Professional Repair: Hiring a professional may cost around $100–$250 or more for a small repair.
- Factors Affecting Cost: Location, minimum service charges, paint matching, wall texture, and damage size can increase professional repair costs.
Repairing Larger Holes that Need Extra Support
Holes larger than a fist usually need extra support because paper flaps alone may not hold the patch securely.
Start by cutting the damaged area into a clean square or rectangle. Place furring strips or pieces of scrap wood behind the surrounding drywall and secure them with drywall screws.
Cut a new piece of drywall to fit the opening then screw it firmly into the backing. Once the patch is secure, apply joint tape and compound over the seams.
Finish by feathering the edges, sanding the surface smooth and painting the repaired area.
Expert Tips for a Smooth, Long-Lasting Drywall Patch
A few extra habits help any drywall patch hold up better and blend in almost perfectly with the surrounding wall.
- Work in a well-lit area to catch uneven spots before the paint goes on and hides them.
- Photograph the wall before removing damaged sections to help match texture and paint.
- Keep the putty knife wiped clean between coats so dried compound does not scratch the surface.
- Sand lightly after each coat instead of saving all the sanding for the very end.
- Apply a coat of primer before the final check, since it reveals dips and ridges more clearly than bare compound ever does.
- Match the paint sheen and roller nap already used on the wall for the closest possible blend, or check what a handyman typically charges to paint a room.
- Let each coat dry fully before adding the next, since rushing often leads to cracking later.
Conclusion
Patching a hole in the wall can restore a damaged surface and leave it looking clean again.
A well-cut patch creates a solid fit, while joint compound, feathering, and sanding help the repaired area blend with the surrounding wall.
The right drywall repair method depends mainly on the size and condition of the damaged area. Small holes can often be handled with basic patching supplies while larger openings need additional support.
With careful preparation and a smooth finish, you can repair most drywall damage using basic tools and materials.
Have you repaired a drywall hole yourself? Share what worked in the comments below.
Frequently Asked Questions
Can a Drywall Patch be Stronger than The Original Drywall?
A properly supported patch can be very strong, but its strength depends on backing, fastening, compound application, and overall installation quality.
Why Does a Drywall Patch Keep Cracking?
Drywall patches often crack because of movement, poor seam support, thick compound layers, insufficient drying time, or improper tape application.
Can Someone Patch Drywall without Using Tape?
Small drywall repairs may not require tape, but larger seams generally need drywall tape to reduce cracking and strengthen the repair.