
Most home gyms start with the fun equipment: a barbell, a rack, or perhaps a secondhand bike that finally has a purpose. The floor is often the last consideration and the first thing people wish they had handled properly.
Choosing suitable flooring does not have to be complicated. Start with how you plan to train and the type of floor beneath the gym. You can then select a thickness and format that provide the right balance of protection, stability, and ease of installation.
Start with thickness: match the mat to how you train
Thickness affects noise, impact protection, and equipment stability. Your training style should guide the decision.
Light training, cardio, and machines
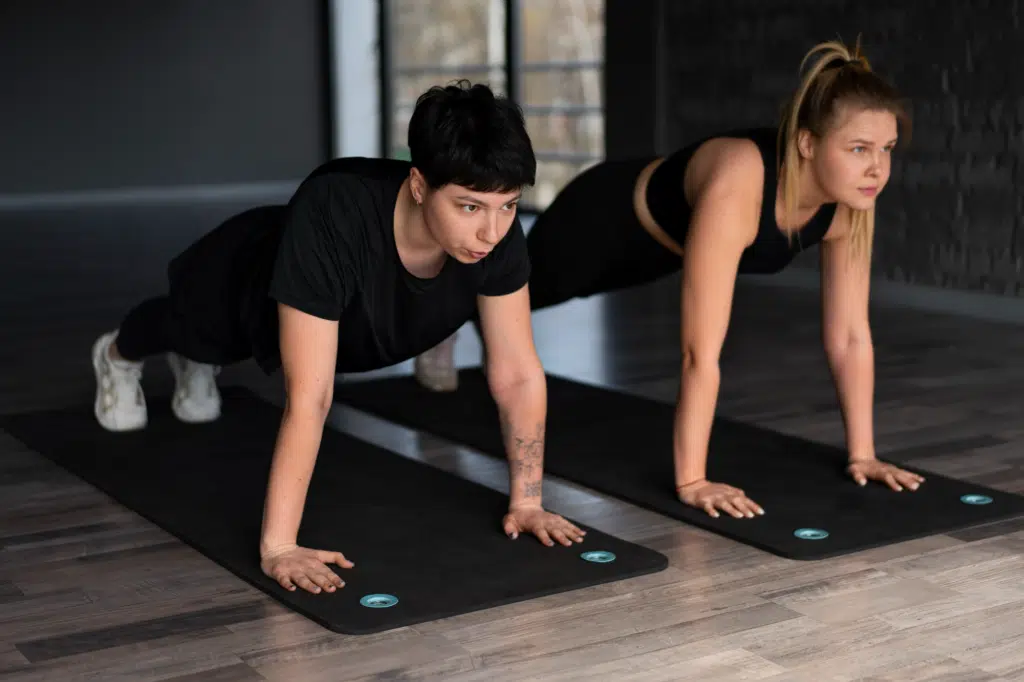
For bodyweight exercises, stretching, cardio machines, or dumbbells that you set down gently, rubber between 1/4 inch (6 mm) and 8 mm thick is usually sufficient. It can protect finished floors from scuffs and equipment feet, reduce some machine vibration, and remain easy to cut and carry.
Barbell work and heavier kettlebells
For regular barbell work and heavier kettlebells, consider 3/8 inch (10 mm) or 1/2 inch (12 mm) rubber. The extra material provides more protection from plates that are bumped or set down firmly. It can also create a more settled base under a rack or bench.
If you plan to drop weights on purpose
If dropped deadlifts, cleans, or similar lifts are part of your routine, use rubber at least 3/4 inch (19 mm) thick and consider a dedicated lifting platform. Crash pads may provide additional protection where appropriate. No rubber floor can prevent every dent, crack, or vibration, so account for the weight being dropped, the height of the drop, and the subfloor below.
Tiles, rolls, or one big mat?
The best format depends on the room, your installation plans, and whether you may need to move or expand the gym later.
Interlocking tiles: the easiest do-it-yourself option
Interlocking tiles are often sold in 2-by-2-foot and 3-by-3-foot squares, with thicknesses ranging from about 8 mm to 3/4 inch. Many can be laid without adhesive. They work well in irregular rooms, allow you to expand the covered area later, and make it possible to replace one damaged section.
When comparing options, look at a rubber gym mat in 15 to 20 mm tiles alongside an 8 mm roll. This helps you evaluate thickness and format as separate choices. Kinta Fitness, for example, lists 15 mm and 20 mm gym tiles as well as 8 mm rolls, making those differences easy to compare.
Rolls: fewer seams, more handling
Rubber rolls are commonly available in widths of about 4 feet (1.2 metres) and in several thicknesses. They can provide a continuous appearance with fewer seams and may cost less per square foot for a larger room. However, full rolls are heavy and awkward. Plan to use a helper, a straightedge, and a sharp utility knife.
Single mats: one protected zone
If you only need protection beneath a rack or lifting area, one heavy mat may be the simplest option. A 4-by-6-foot mat that is 3/4 inch thick can weigh about 100 pounds (45 kg), which helps it remain in place without adhesive. Kinta Fitness and similar suppliers often separate these zone-style mats from tiles and rolls, making it easier to compare products by intended use.
Check the room: concrete, wood, or carpet
The same mat can behave differently depending on the surface below it. Check the room for moisture, slope, and movement before ordering.
Concrete and garages
Concrete provides a firm base, but inspect it for damp areas and uneven sections. Garage floors often slope toward the door, so a rack or platform may need careful levelling. Rubber can make a cold slab more comfortable underfoot, but it provides limited thermal insulation and is not a substitute for heating or proper insulation.
Wood floors
Rubber can protect a wood floor from scuffs, but trapped grit or moisture may still cause damage. Clean and dry the floor before installation, and check it periodically if the setup is temporary. For heavy lifting, consider how much weight the floor structure can support, especially in an upstairs room.
Over carpet
Low-pile carpet may work beneath thicker tiles or a heavy single mat. Plush carpet compresses unevenly and can make equipment feel unstable. A layer of plywood beneath the rubber can create a flatter base, although the edges should be finished carefully to avoid a trip hazard. This removable approach can also suit renters.
Upstairs or close to neighbours
Thicker rubber and a lifting platform can reduce some noise, but they will not stop all vibration. When possible, keep heavy lifting on the lowest level and avoid dropping weights at disruptive times. Remember that flooring can shape how your home feels, including how footsteps, equipment, and vibration travel through nearby rooms.
Install the flooring carefully
A clean subfloor, accurate measurements, and patient cutting matter more than speed. Review the flooring manufacturer’s instructions before starting.
Prepare the room and tools
Sweep and vacuum the floor, then measure the room twice and sketch the layout. Useful tools include a tape measure, chalk line, metal straightedge, and utility knife with fresh blades. Ask someone to help with heavy mats or rolls. If the rubber arrives rolled or tightly stacked, let it rest in the room so it can flatten before installation.
Lay interlocking tiles
Dry-lay a full row before making cuts, then work outward from the straightest wall. Do not force the joints together. A staggered seam pattern can create a tidy appearance, while transition strips or suitable double-sided flooring tape can help secure exposed edges. Cut perimeter tiles slightly long and trim them gradually for a close fit.
Fit rolls and secure edges
In a small, low-traffic room, suitable perimeter tape may be enough to hold rolls in place. Adhesive is more common in larger or busier spaces, but it makes removal harder and must be compatible with both the rubber and subfloor. Cut away from your body, replace dull blades promptly, and use help when moving heavy pieces.
Clean the floor and manage the rubber smell
Vacuum regularly to remove grit, then damp mop with a pH-neutral cleaner or mild soap that is approved for rubber. Avoid soaking seams because trapped water can take a long time to dry. Do not use solvents or oil-based products, which may damage the surface or leave it slippery.
Some rubber flooring has a noticeable smell when new. Ventilate the room, unpack the material before installation when practical, and follow the manufacturer’s care guidance. Choosing interlocking tiles or loose-laid mats may also reduce the need for adhesives and their associated odours.
A short checklist before you order
- Record the room dimensions and total square footage.
- Identify the heaviest item you expect to set down or drop.
- Choose a thickness based on your actual training style.
- Decide between tiles, rolls, and a single zone mat.
- Plan how you will finish exposed edges and doorways.
- Note the subfloor type, slope, moisture, and uneven areas.
- Check equipment and flooring manufacturer requirements.
- Keep a rubber-safe, pH-neutral cleaner available.
Suppliers arrange their listings in different ways. Having these details ready can make comparing formats and thicknesses on a site such as Kinta Fitness faster and more useful.
Putting it all together
You do not need to become a flooring expert to make a sound choice. Match the thickness to your training, select a format that suits the room, and install it on a clean, stable base. This process helps you avoid paying for thickness you do not need while giving the subfloor and equipment appropriate protection.