

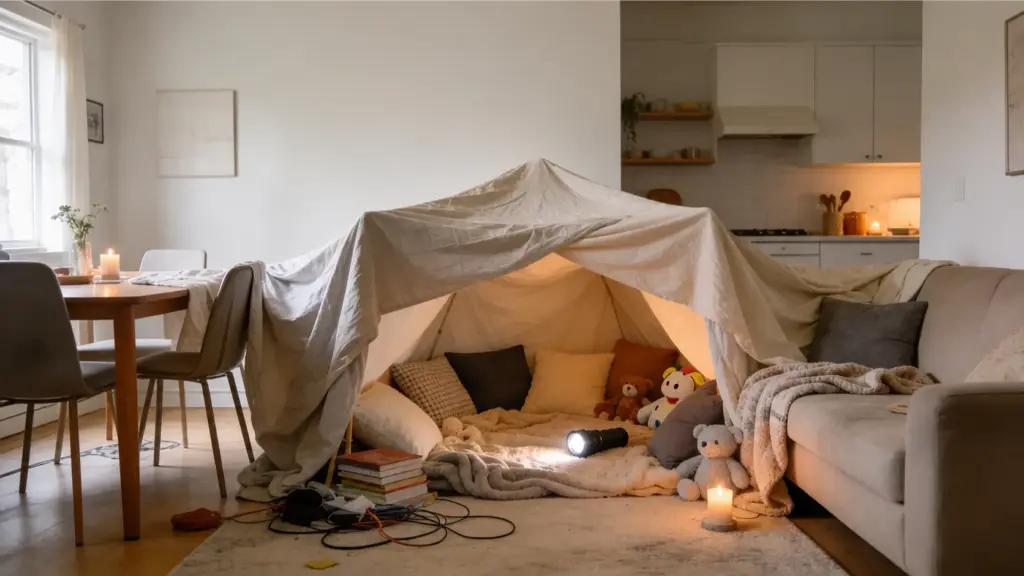
A blanket fort can turn a normal afternoon into the best kind of indoor play. All it takes is a few soft things, a safe corner, and a little patience.
If your kids keep asking for something fun to do at home, this is one of those ideas I always like because it uses items you already have. The key is knowing how to make a fort that stays up, feels comfortable, and leaves room for games, books, or movie time.
I’ll keep the steps simple, so you can build one on the floor, on a bed, or near a couch without making a big mess. That makes the whole setup feel easy, not stressful.
Pick the Right Fort Spot Before the Blankets Go Up
The best blanket fort starts with the right spot. You do not need a large room, but you do need a safe area where kids can move in and out without knocking things over.
A living room works well because couches, chairs, and coffee tables can help hold the shape. A bedroom is great for a smaller fort, especially if you use the bed as one side. If you want a quick setup, a dining table can do most of the work for you.
Before you start, check the area for anything that could cause trouble. Move lamps, sharp objects, loose cords, glass items, and small furniture out of the way. Keep the fort away from heaters, candles, fans, loose cords, and plug-in lights.
A safe spot makes the whole fort easier to build. It also means kids can enjoy it longer while you feel more relaxed nearby.
How to Make a Fort Step by Step
Building a blanket fort is easier when you think of it in three parts: the frame, the roof, and the inside space. Once those are set, you can add small details that make it feel special.
Things You Need for a Simple Blanket Fort
You can build a great fort with everyday home items. Start with what you already have before buying anything new. Here are the best items to use:
- Large bedsheets
- Light blankets
- Pillows
- Couch cushions
- Dining chairs
- A sofa or bed
- Clothespins or binder clips
- Heavy books
- A flashlight
- Battery-powered string lights
- A soft rug or extra blanket for the floor
Light sheets work best for the roof because they are easier to hold up. Thick blankets are better for the floor because they make the inside soft and comfortable.
Clips are helpful when the fabric keeps slipping. Books can hold sheet edges in place, but keep them low on the floor. Do not place heavy items above the fort, since they can fall.
Step 1: Build the Base
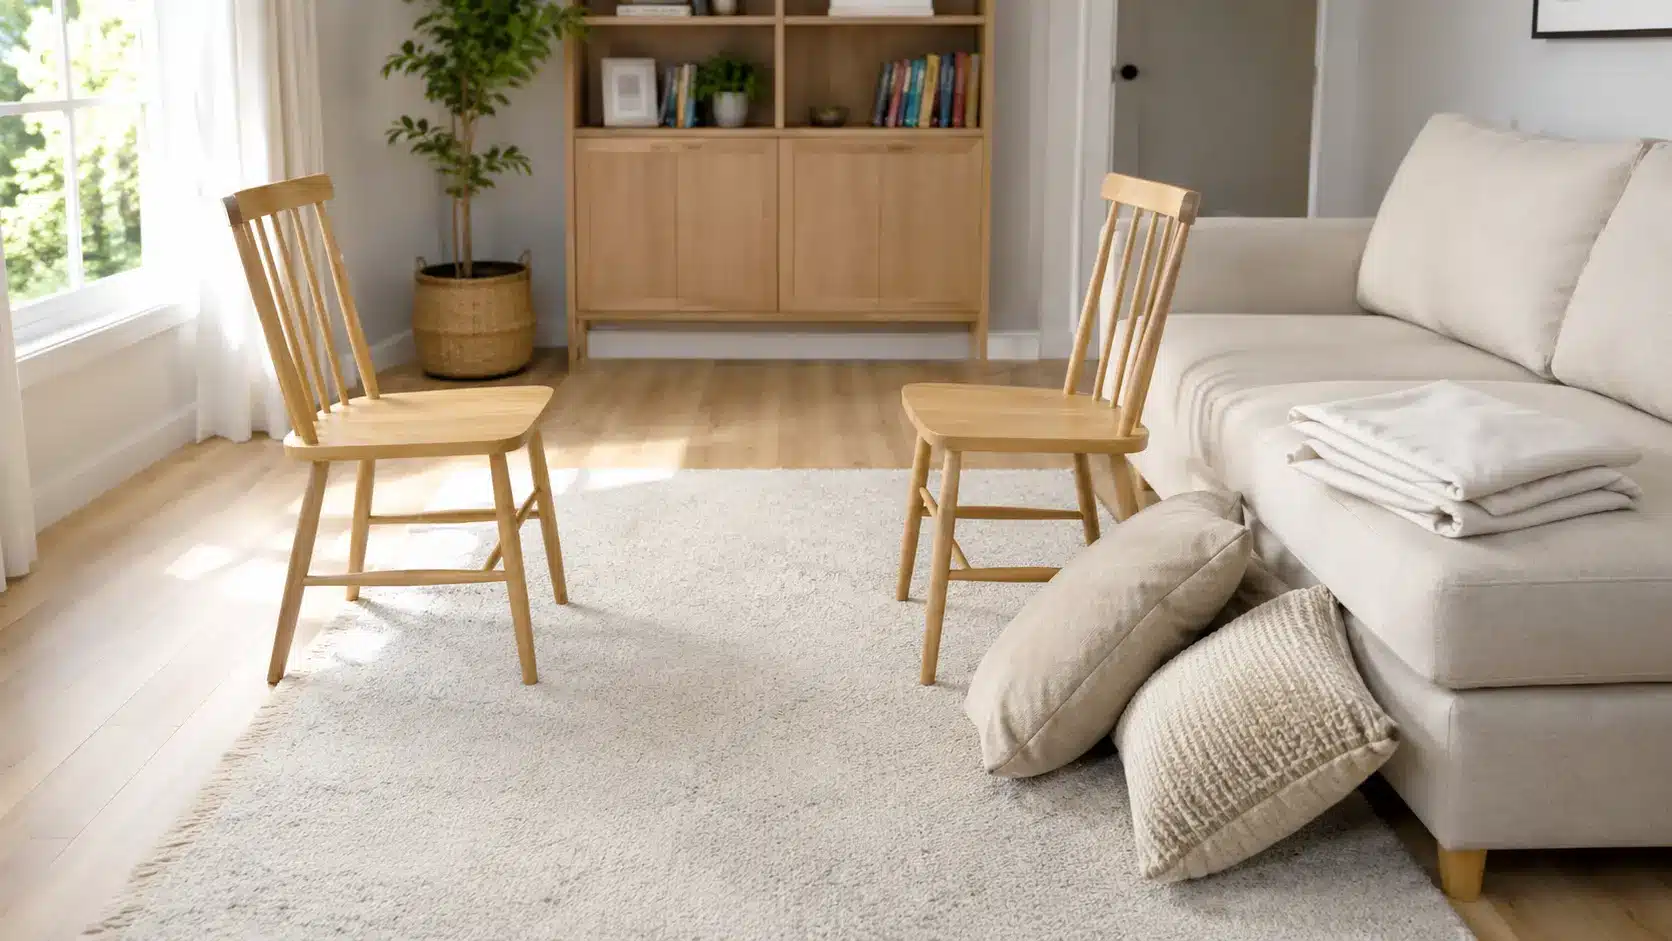
Start by placing two chairs across from each other. Keep enough space between them so a child can sit or lie down inside.
You can also use a couch, bed, or table as part of the base. A sofa works well because it is steady and soft. A table is the fastest option because it already gives you height and shape. Make sure each support feels stable before adding fabric.
Step 2: Add the Roof
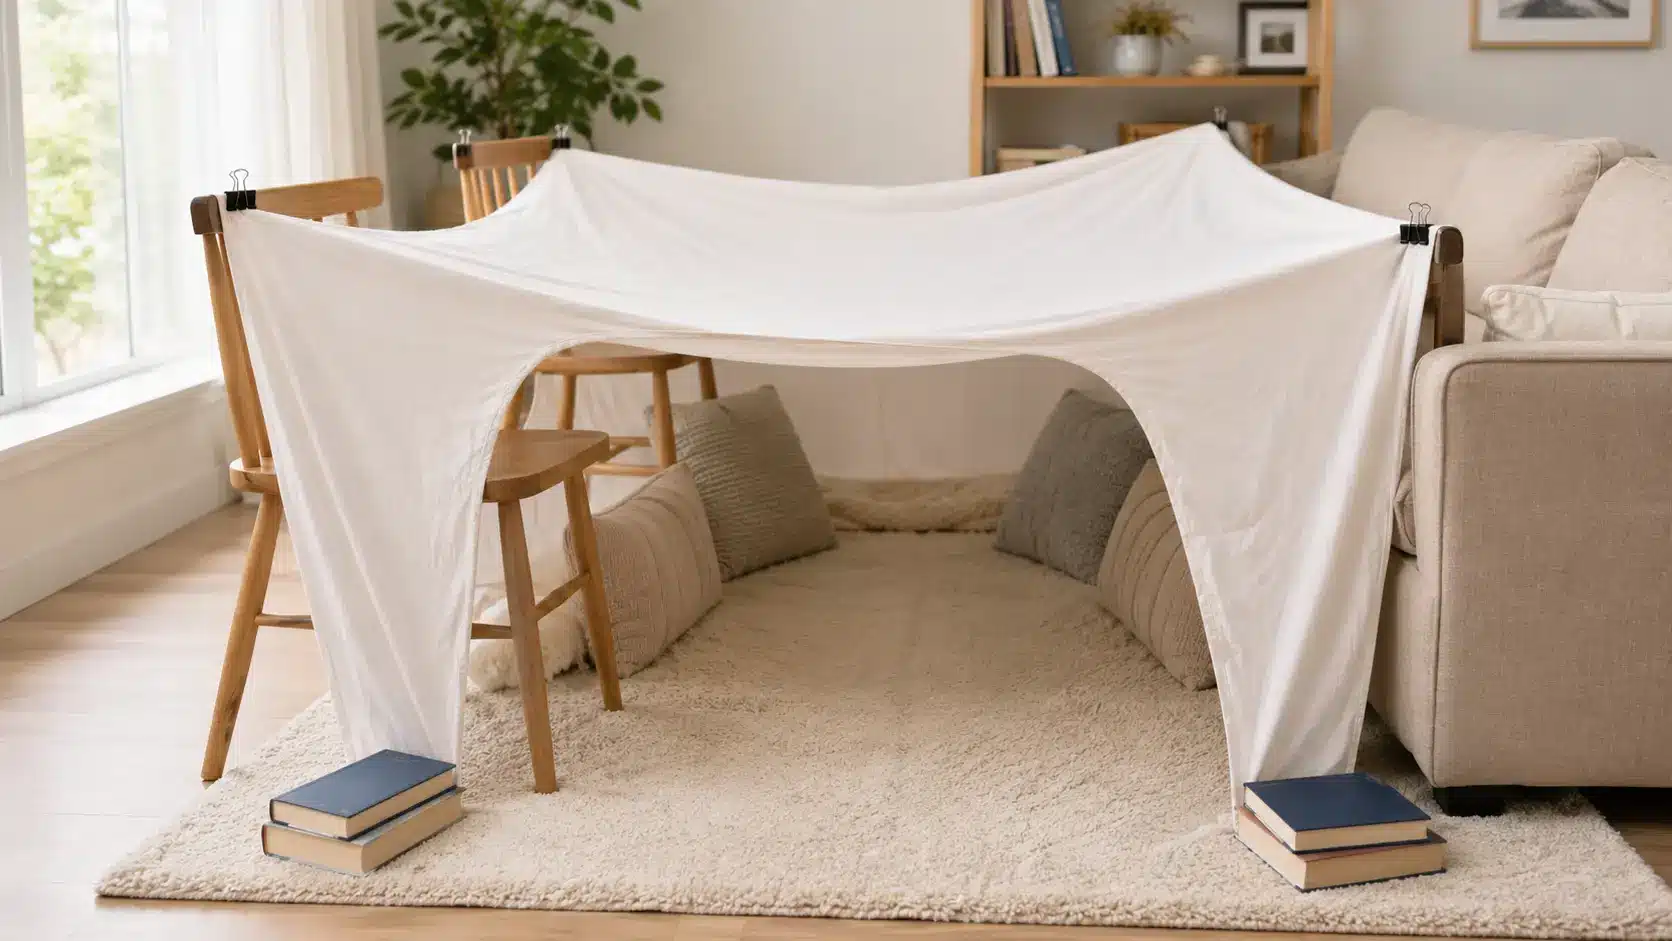
Drape a large sheet over the chairs, couch, or table. Pull it tight enough so it does not sag too much in the middle.
If the roof keeps falling, use a lighter sheet. Heavy blankets often pull down the frame. Secure the corners with clips, cushions, or books placed on the floor. Leave one side open for the entrance.
Step 3: Make the Inside Soft
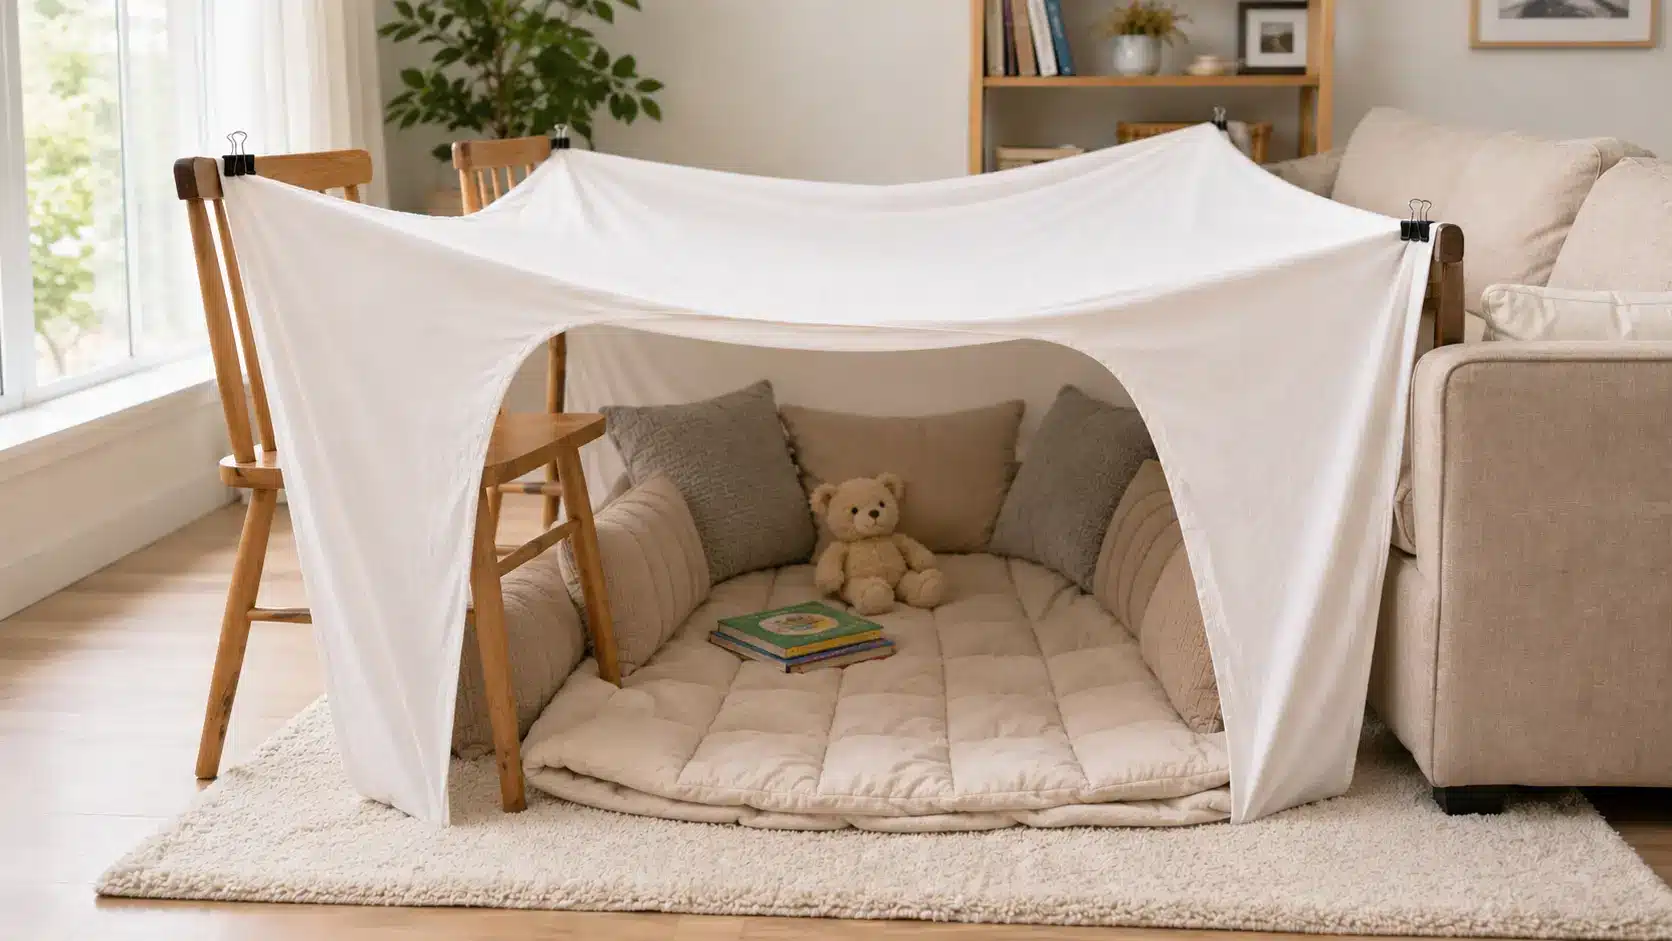
Place a blanket, rug, or folded comforter on the floor. Add pillows along the sides so the space feels snug.
You can also use couch cushions to make soft walls. This works well for younger kids because the fort feels more enclosed without being too hard to enter. Keep the middle open enough for sitting, reading, or playing.
Step 4: Add Safe Lighting
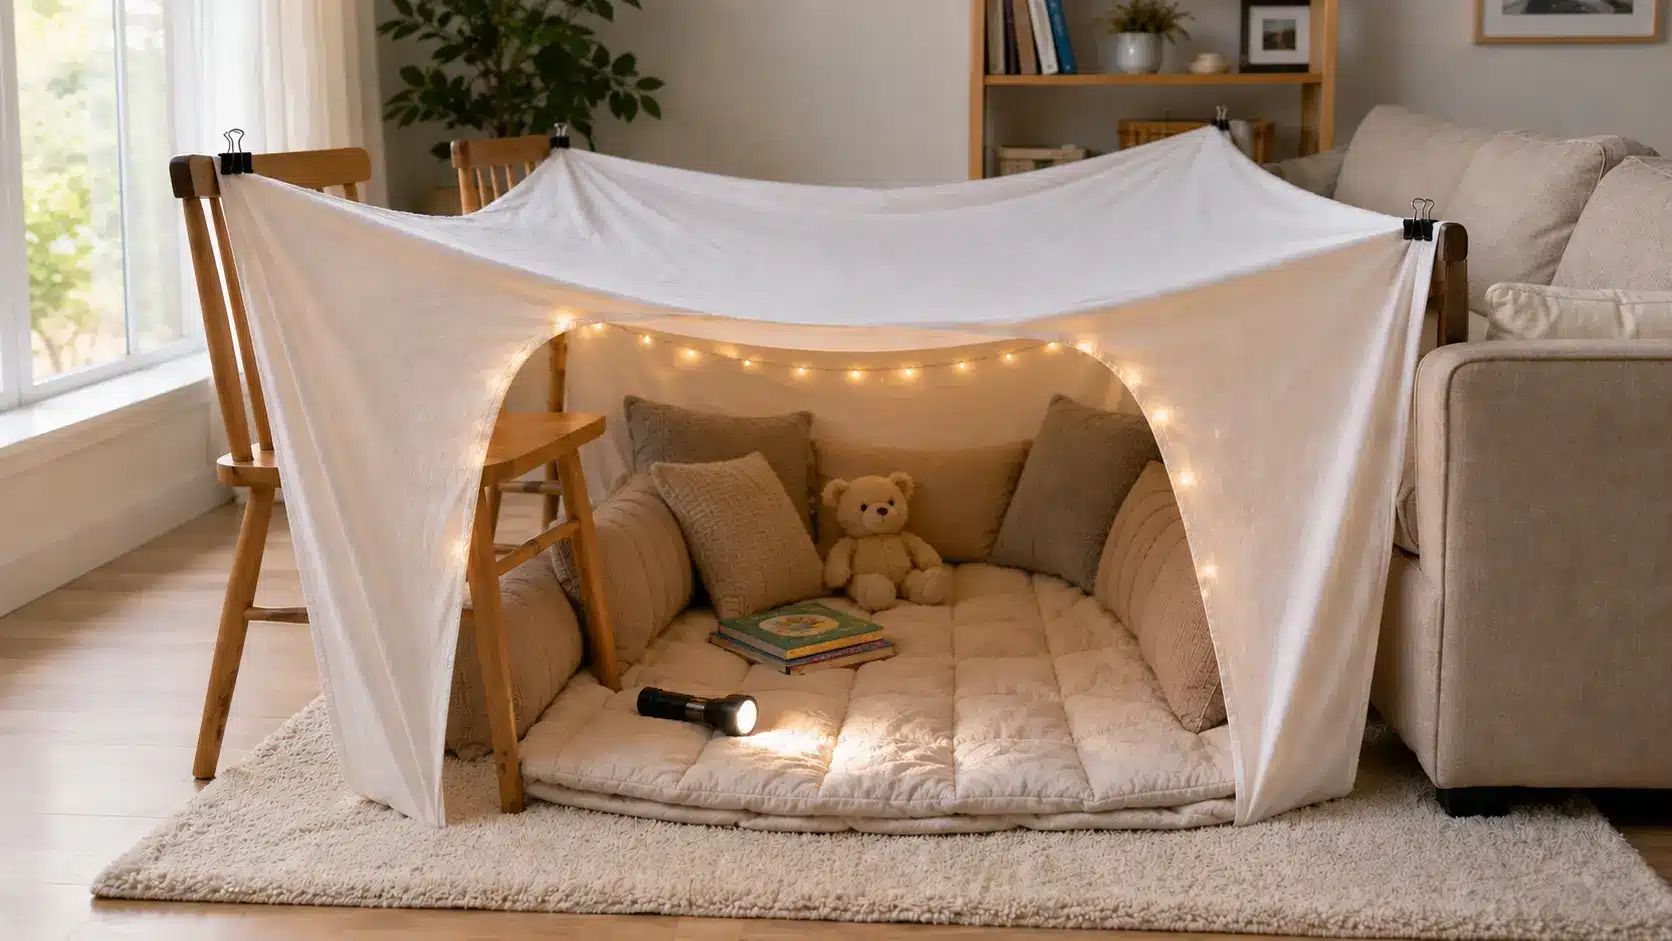
Use a flashlight or battery-powered lights inside the fort. Gentle light makes the space better for reading or quiet play.
Avoid lamps, candles, plug-in lights, or anything that gets hot. Fabric and heat should never sit close together. Use lights with a closed battery case, and keep loose batteries away from young kids.
Step 5: Bring in Fun Extras
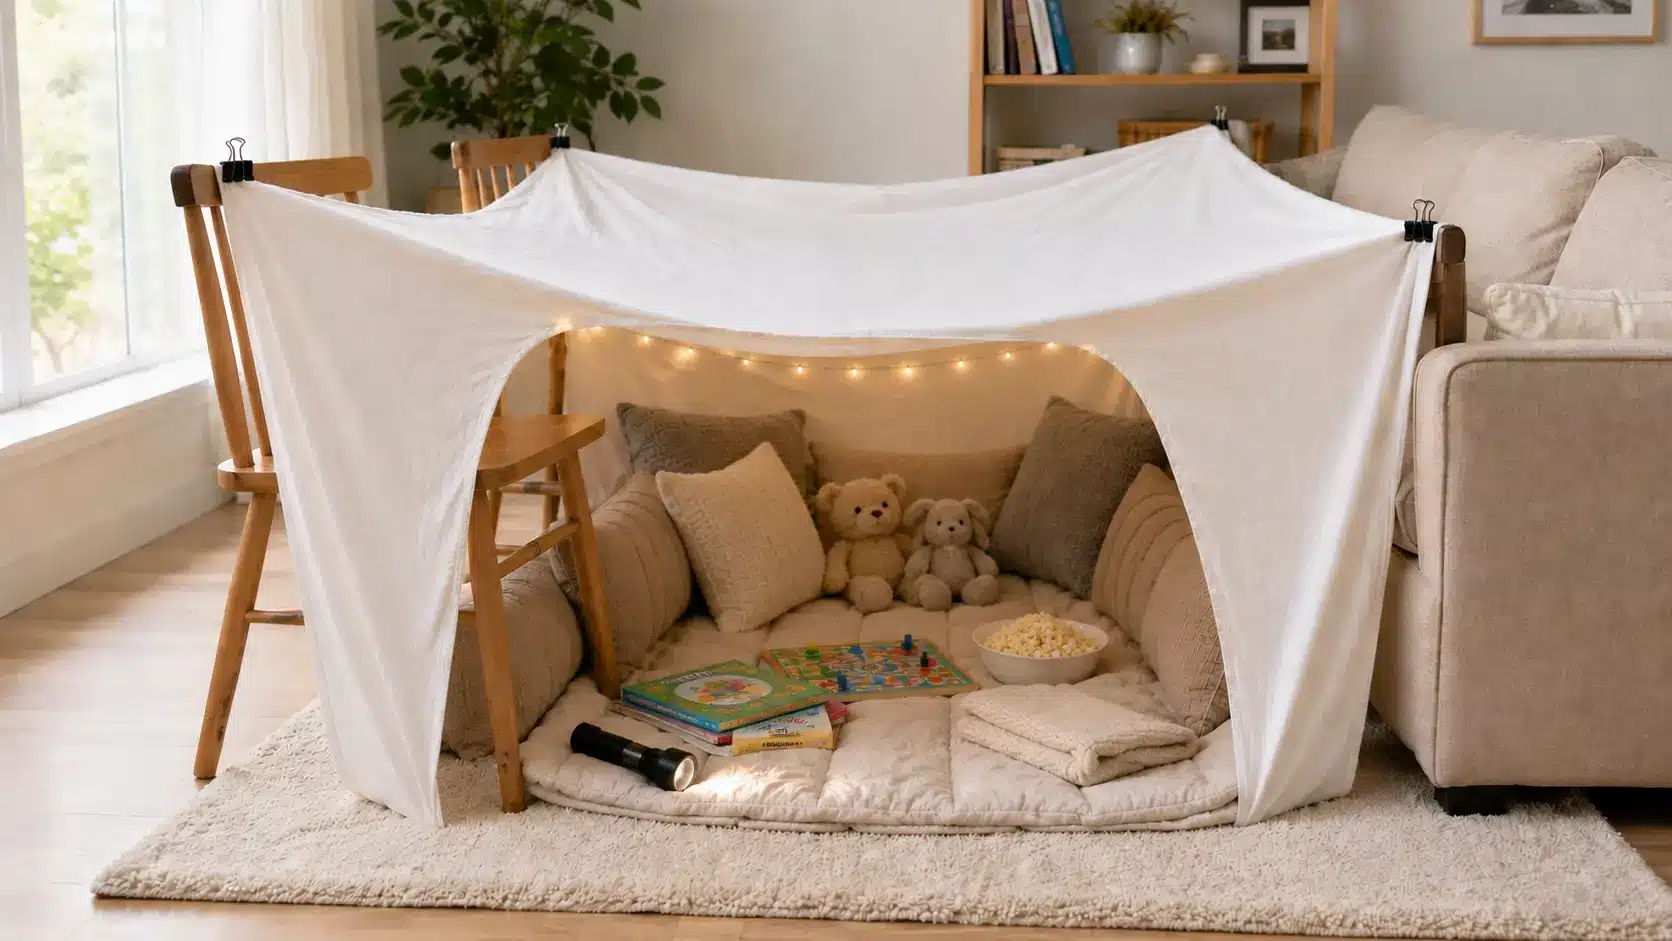
Once the fort is stable, add small items that match what your child wants to do.
Good options include:
- Books
- Stuffed animals
- Board games
- A snack tray
- A small pillow pile
- A tablet for movie time
- A blanket for resting
Keep food simple. Dry snacks work better than drinks or messy treats inside the fort.
Easy Fort Variations for Different Spaces
Once you know the basic setup, you can adapt the fort to the space and items you have. These versions still use blankets, pillows, beds, tables, and couches, so they stay close to the main intent.
- Bed fort: Tuck one side of a light sheet under the mattress, then pull the other side over the headboard, footboard, or a nearby chair. Add pillows along the edges to keep the inside soft and steady.
- Chair-free fort: Use a dining table as the main support. Drape a large sheet over the table and let the sides hang down. You can also tuck one edge of the blanket behind the couch cushions and stretch the other edge toward a bed or low table.
- Small pillow fort: Stack pillows into two short walls, leaving a front opening. Lay one blanket across the top, then tuck the edges under the pillows. Keep it low so the blanket stays in place.
These small changes help you build a fort that fits your room instead of forcing one setup everywhere. Pick the version that matches your space, keep the frame steady, and use lighter sheets so the fort stays up longer.
Easy Ways to Keep the Roof From Falling
A falling roof is the most common fort problem. The fix is usually simple.
Use a bedsheet instead of a thick blanket. Sheets weigh less, so they stay up better. Pull the fabric tight across the top before you clip it.
Try these quick fixes:
- Move the supports closer together
- Use more clips on the corners
- Place books on fabric edges at floor level
- Use couch cushions to hold the sides
- Keep the roof lower if the fabric is too heavy
- Add a steady center support if the sheet still sags
A couch back, table, or bedpost can help lift the sheet without making the fort unsafe. Just make sure the support is steady before kids go inside.
Safety Checks Before Kids Crawl Inside
A fort should feel fun, but it also needs to be safe. Take one minute to check the setup before play starts.
Make sure the entrance is easy to open. Kids should be able to crawl out without pulling the whole fort down. Keep one side partly open so air can move through.
Check these safety points:
- No candles or hot lights nearby
- No cords across the entrance
- No heavy books or objects above the roof
- No sharp corners inside
- No blocked doorways
- No wobbly chairs or tables
- No glass items near the fort
If young kids are playing, stay close enough to check on them. A safe fort lets everyone enjoy the moment without worry.
Fun Things to Do Inside
Once the fort is built, it can become a simple spot for reading, quiet play, or pretend games. Use this table to choose an activity based on the mood.
| Activity | Best For | What to Add |
|---|---|---|
| Read picture books | Quiet time | Books, pillows, soft light |
| Tell made-up stories | Creative play | Stuffed animals, flashlight |
| Watch a short movie | Rest time | Tablet, blanket, pillows |
| Play a card game | Simple play | Cards, small cushion table |
| Have a snack picnic | Short break | Dry snacks, napkins |
| Make shadow shapes | Light play | Flashlight, plain sheet wall |
This keeps the fort useful after it is built, while still keeping the focus on simple, safe indoor play.
Cleaning Up Without a Big Mess
A fort can be fun without leaving the whole room upside down. Before building, pick items that are easy to put back.
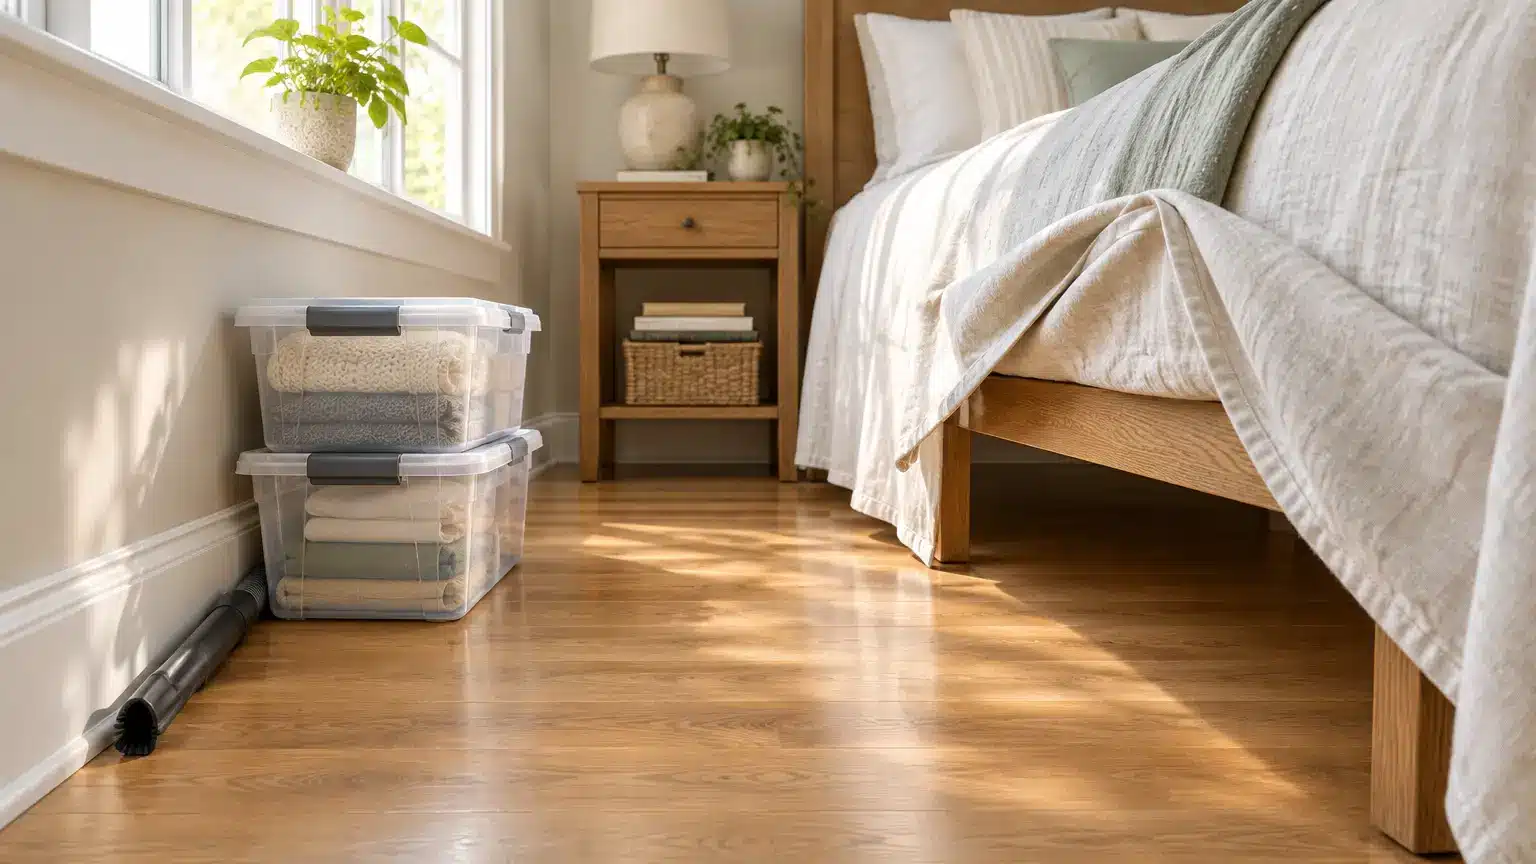
Use one basket for clips, small toys, flashlights, and books. Keep pillows and blankets from one room if possible, so cleanup is faster.
When playtime ends, remove lights and small items first. Then take down the roof, fold the blanket, and return the pillows. If kids helped build the fort, let them help take it down too.
This keeps the activity simple from start to finish. It also makes it easier to say yes next time they ask to build one.
Frequently Asked Questions
How long does a blanket fort usually stay up?
A simple fort can stay up for a few hours if the sheet is light, the corners are clipped well, and the supports are steady.
Can toddlers use one safely?
Toddlers can use a low fort with adult supervision. Keep the entrance open, avoid heavy items, remove loose cords, and use soft cushions instead of tall furniture.
What should I avoid using for support?
Avoid rolling chairs, unstable stools, glass tables, lamps, stacked boxes, and anything that tips easily. Use steady furniture that can hold fabric without shifting.
How do I store the supplies after play?
Keep clips, flashlights, small toys, and books in one basket. Fold sheets and blankets together so the next fort setup is faster and easier.
Final Thoughts
Now that you know how to make a fort, you can turn a normal room into a playful spot with items you already own.
I like this kind of project because it does not need perfect supplies or a lot of planning. You just need a steady base, a sheet roof, and a comfortable place to sit. Kids get a space that feels like their own, and you get an easy activity that can fill an afternoon.
Start with one simple version today, then change it next time with a bed setup, couch setup, or pillow fort. Try it at home and share your favorite fort idea below.