

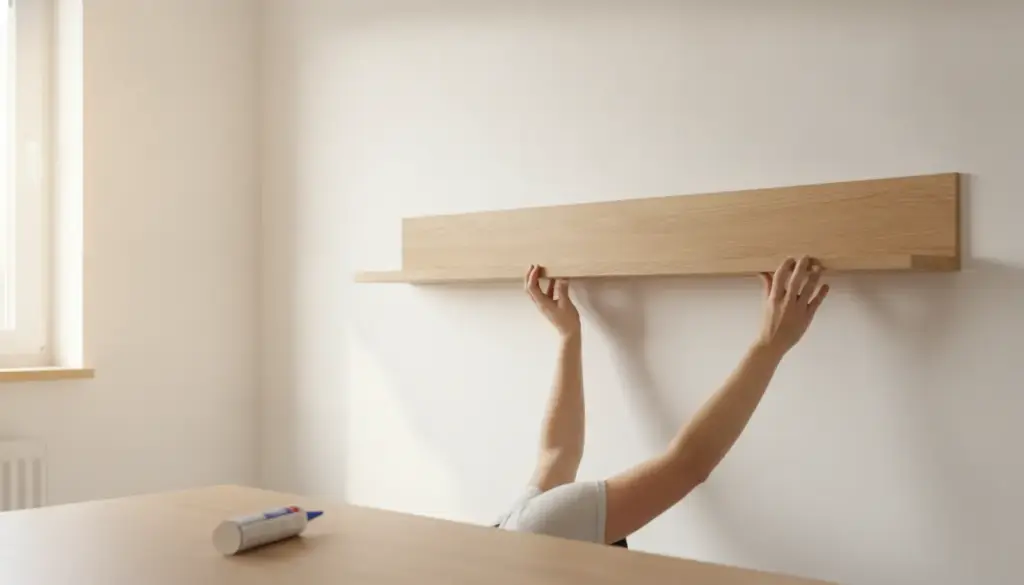
Drilling isn’t always practical when you’re assembling furniture or adding storage to a room. Renters may want to protect the walls, while homeowners may prefer a cleaner finish without visible screw heads.
Adhesives can handle many furniture-building and mounting jobs, but only when the adhesive, surfaces, and load are compatible. This guide explains where adhesive bonding works well, how to prepare a reliable joint, and when mechanical fasteners are still the safer choice.
Know Which Furniture Projects Are Suitable for Adhesive Mounting
The first question isn’t which glue to buy. It’s whether the project should be bonded without screws in the first place.
Adhesives are particularly useful for furniture components that have a broad contact area and aren’t responsible for supporting a person or a substantial suspended load. Think decorative trim, lightweight panels, drawer dividers, edge pieces, small organizers, and some wall-mounted accessories.
A bedroom is a good example. Instead of drilling several holes to add cable clips beside a nightstand, you can attach lightweight clips with removable adhesive strips. A decorative upholstered panel may also be bonded to a backing board rather than screwed through its face.
Building furniture with adhesive is different from mounting furniture to a wall. A bonded joint between two prepared pieces of wood can have a large, controlled contact area. A floating shelf attached to painted drywall has to resist the weight of the shelf, everything placed on it, and forces created when someone bumps or pulls it.
That distinction matters.
Large furniture, overhead pieces, shelves expected to carry substantial weight, wall-mounted cabinets, and anything that could injure someone if it fell shouldn’t be converted to adhesive-only mounting simply to avoid drilling. Follow the furniture manufacturer’s installation instructions and use suitable anchors or other mechanical hardware where required.
If you’re trying to make a small room feel less crowded, there are also alternatives that don’t require attaching furniture to the wall. A narrow freestanding piece or raised design can provide storage without occupying as much visual space. Easy Rest’s discussion of wood furniture for small spaces offers examples of how furniture shape and placement can make compact rooms feel more open.
Match the Adhesive to Both Materials and the Job
“Strong adhesive” isn’t a useful shopping category on its own. The right choice depends on what you’re joining.
Wood, painted drywall, metal, glass, laminate, plastic, and fabric all behave differently. An adhesive that forms an excellent wood-to-wood bond might perform poorly on a slick plastic coating. Some products can also damage paint or leave residue when removed.
For furniture assembly, wood glue is commonly suited to close-fitting wood joints. Construction-type adhesives may be appropriate for larger panels or mixed materials when their product instructions specifically list those surfaces. Double-sided mounting tapes and removable adhesive strips make more sense for lightweight accessories where you want a clean installation and possible removal later.
When comparing adhesive products, look beyond the word “strong” on the label. Check the listed substrates, whether the bond is intended to be permanent or removable, the required cure time, and the conditions the bond will experience after installation.
Pressure-sensitive adhesive products are a useful example of why the category matters. They form a bond through contact and applied pressure rather than curing like many liquid adhesives. The Adhesive and Sealant Council’s classification manual also notes that proper surface wetting is a prerequisite for adhesion, which is one reason clean, compatible surfaces are so important.
Read the manufacturer’s instructions before treating any adhesive as a substitute for fasteners. Load ratings can depend on the surface, amount of adhesive used, direction of force, temperature, moisture, and curing conditions.
It’s also worth distinguishing between permanent and removable solutions. Permanent adhesive may be perfectly reasonable when assembling a furniture component that you never intend to separate. It may be a poor choice for a rental wall you expect to restore later.
Prepare the Surfaces Before You Bond Anything
Many failed adhesive projects aren’t really adhesive failures. They’re preparation failures.
Dust, grease, loose paint, sawdust, wax, and furniture polish can leave the adhesive attached to contamination rather than to the material underneath. The bond may initially seem firm, then release when it’s placed under sustained load.
Start by inspecting both surfaces. They should be stable, reasonably smooth, and free from anything that can flake or peel away. If you’re bonding to a painted wall, remember that the adhesive is ultimately relying on the paint’s connection to the wall as well.
Clean each surface using a method compatible with both the material and the adhesive manufacturer’s directions. Allow it to dry completely before bonding.
Wood pieces need another check: fit.
If two boards meet only at a few high spots because one is warped, adding more glue won’t create the same joint as two flat mating surfaces. Dry-fit furniture pieces first. Make sure the joint closes properly and the finished assembly will remain square before applying adhesive.
This approach is especially useful when you’re building something like a headboard, bedside organizer, or small shelving component. Easy Rest’s guide to building a custom headboard recommends dry-fitting and checking alignment before assembly because small dimensional errors can become much harder to correct after the pieces are joined.
For mounting strips and tapes, avoid assuming that more pieces automatically solve an unsuitable application. Follow the spacing, surface preparation, and maximum load instructions supplied with the specific product.
Apply the Adhesive With the Final Load in Mind
A reliable bond needs more than surface contact. You also need to think about how force will act on it once the furniture is in use.
Imagine a lightweight decorative panel bonded flat against a wall. Most of its weight acts close to the bonding surface. Now imagine a shelf projecting 10 inches into the room. Objects placed at the front edge create additional leverage that tries to pull the mounting point away from the wall.
Those are very different jobs even if the objects have similar total weights.
This is why adhesive mounting tends to work best when the object sits relatively close to the surface and provides a generous bonding area. Small wall organizers, cable management pieces, lightweight decorative panels, and some accessory holders are much more realistic candidates than deep shelves or cabinets.
For a liquid adhesive, apply the amount and pattern specified by the manufacturer. More isn’t automatically better. Excess adhesive can squeeze out, make alignment difficult, and increase cleanup without improving the joint.
Position the components accurately the first time when possible. Some adhesives allow adjustment for several minutes, while pressure-sensitive products may develop significant grab as soon as the surfaces make contact.
Furniture joints may also need clamps or another way to maintain steady contact while the adhesive cures. The purpose isn’t to crush the joint. It’s to stop the parts from shifting while the bond develops.
Then give it time.
There’s an important difference between an adhesive feeling dry and reaching the cure specified for loading. Don’t put a shelf into service or move a newly assembled piece simply because the exposed adhesive no longer feels wet. Follow the product’s stated curing instructions before loading the joint.
Test the Installation Before Trusting It With Everyday Use
Once the curing period is complete, inspect the bond before putting the furniture into normal service.
Look for movement, lifted edges, gaps, peeling paint, or separation between layers. With a small mounted accessory, apply a modest load gradually rather than immediately filling it to capacity.
Don’t deliberately overload it to “see how strong it is.” The goal is to confirm that the installation behaves as expected under normal use.
Furniture also experiences forces that aren’t obvious from its static weight. Opening a drawer can pull a unit forward. Reaching for something on a shelf creates movement. A cable can snag on an adhesive-mounted organizer. Heat from a nearby appliance or moisture in a bathroom can change the environment around a bond.
Check adhesive-mounted pieces periodically, especially during the first few weeks. If an edge begins lifting or the item shifts, remove the load and investigate rather than pressing the failing section back into place and hoping it holds.
For removable wall products, follow the removal instructions just as carefully as the installation directions. Pulling a removal tab in the wrong direction or prying an adhesive pad directly away from the wall can damage paint that might otherwise have remained intact.
Know When Not Drilling Creates More Problems Than It Solves
A drill-free project should be chosen because the mounting method suits the application, not because avoiding a hole is always better.
There are plenty of situations where adhesive installation makes sense. It can keep visible furniture surfaces clean, reduce the number of holes in a rental, simplify small DIY projects, and make it easier to add lightweight organization to a bedroom.
But adhesives aren’t universal replacements for screws, brackets, anchors, or joinery.
If a piece is heavy, projects far from the wall, supports people, hangs above a bed or seating area, or could cause injury if it detached, use the fastening system designed for that load. The same applies to furniture that manufacturers instruct you to anchor for stability.
Sometimes the best no-drill solution is also not to mount the furniture at all.
A freestanding nightstand, leaning shelf, tension-based organizer, or furniture piece with built-in storage may solve the same problem without depending on either adhesives or holes. For bedrooms in particular, renter-friendly storage ideas can provide useful alternatives when permanent wall changes aren’t practical.
The decision comes down to matching the method to the job. If the item is light, the surfaces are compatible, and the adhesive is rated for the application, bonding can produce a clean and practical result. If the installation depends on structural support, mechanical fastening remains the better choice.
Build for the Load, Not Just the Look
Adhesives can make furniture assembly and mounting cleaner, particularly when you’re working with lightweight components or want to avoid unnecessary holes. The quality of the result depends on choosing a compatible adhesive, preparing the surfaces properly, allowing the bond to cure, and understanding how the finished piece will actually be used.
Before committing to a drill-free installation, ask one simple question: what happens if this bond lets go? If the answer is little more than picking up a lightweight accessory, adhesive mounting may be a sensible option. If failure could bring down heavy furniture or hurt someone, use the appropriate mechanical hardware instead.