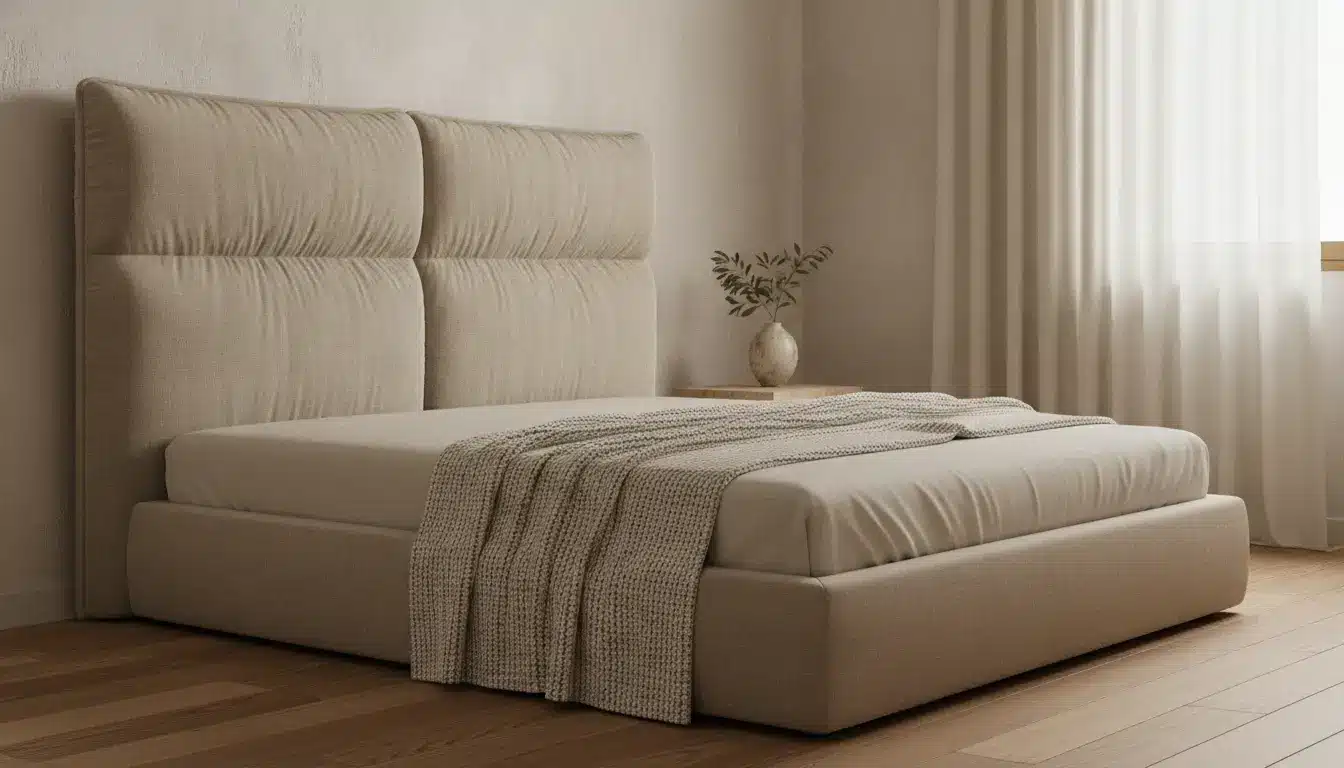
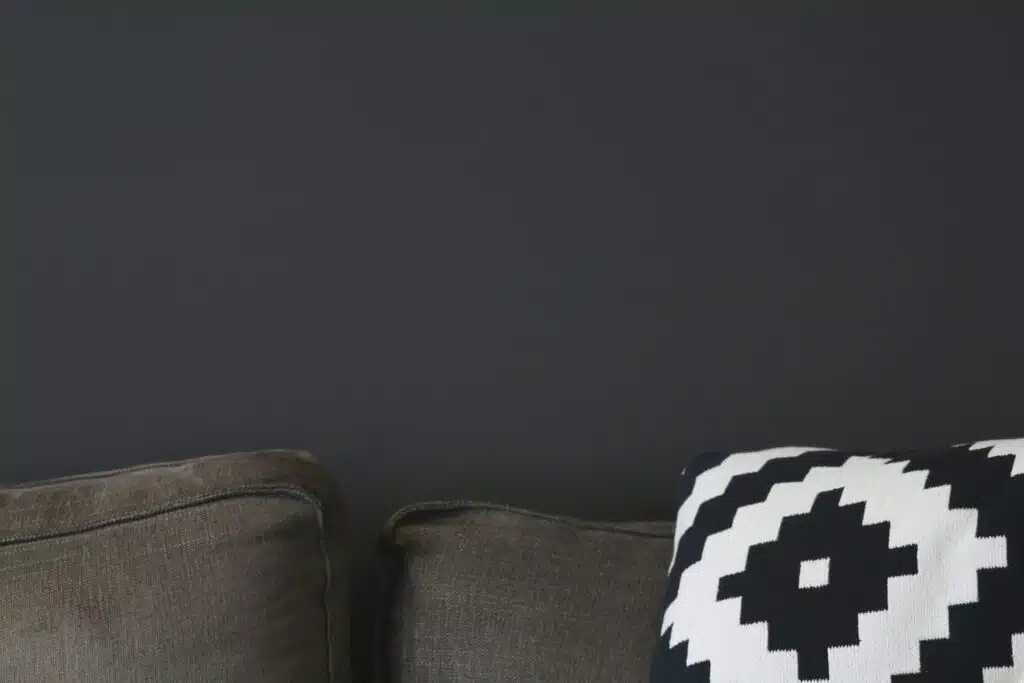
You picked the perfect dark color. Navy, charcoal, black, deep forest green — something with actual mood to it. You rolled it on, stepped back, and instead of that moody, magazine-worthy wall, you got streaks. Visible roller tracks. Uneven patches where the color looks lighter in some spots and darker in others. Maybe a weird banding effect where your roller strokes overlapped.
It’s not the paint’s fault. And it’s probably not your walls. Dark colors are just unforgiving in a way that lighter shades aren’t, and the technique that worked fine when you painted your bedroom Agreeable Gray will fall apart on a wall of Tricorn Black.
Here’s why it happens and what you can actually do about it.
Dark Colors Expose What Light Colors Hide
With a white or off-white paint, minor inconsistencies in film thickness are basically invisible. The color is so close to the primer and the wall itself that small variations blend together. Your eye can’t pick up on them.
Dark paint is the opposite. Any difference in thickness — even fractions of a millimeter — changes how much light the surface absorbs versus reflects. Thicker spots look deeper and more saturated. Thinner spots look washed out or chalky. The result is visible streaking, even if you applied the paint the same way you always have.
This also means dark paints show lap marks more aggressively. A lap mark happens when you roll over an area that has already started to dry. With a light color, the overlap is barely noticeable. With a dark one, you’ll see a visible ridge or band where wet paint met dry paint.
Your Roller Technique Matters More Than You Think
Most streaking on dark walls traces back to how the paint went on, not the paint itself. The three most common culprits are uneven pressure, inconsistent loading, and letting your working edge dry out between passes.
If you press harder on one side of the roller than the other, you squeeze extra paint toward the edges and leave less in the middle. That creates visible tracks. On a light wall, those tracks disappear once everything dries. On a dark wall, they’re still there — sometimes more visible than when the paint was wet.
The fix is more about discipline than skill. Load your roller evenly, roll in a W or M pattern to distribute the paint across a section, then go back over it with light vertical strokes to smooth everything out. Keep the pressure consistent and let the weight of the roller do most of the work. With lighter colors you can get away with minor inconsistencies, but dark paint turns every lapse into a visible flaw. The techniques that prevent roller lines when painting walls — maintaining a wet edge, back-rolling each section, choosing the right nap size — aren’t optional here the way they might be with a lighter shade.
The Finish You Choose Changes Everything
Paint sheen has a bigger effect on streaking visibility than most people realize, and this is where dark colors get tricky.
Flat and matte finishes absorb light. They scatter it in all directions, which helps disguise minor imperfections in the paint film. If you’re painting a dark accent wall in a bedroom or living room, matte is the most forgiving option. Roller texture, small lap marks, slight thickness variations — a flat sheen smooths all of that out visually.
Eggshell and satin reflect more light, which means those same minor imperfections now catch the light at different angles and become visible. A dark navy in eggshell can look flawless at noon and streaky by late afternoon when the sun hits it sideways.
This doesn’t mean you should never use eggshell or satin with dark colors. In kitchens and bathrooms, you need the washability. But you should know going in that your technique has to be more precise, and your expectations for “perfect” need to account for how light interacts with sheen.
If you’re set on a satin or semi-gloss dark wall, apply thinner coats and plan on three coats instead of two. The extra coat helps build a more uniform film.
Slow Down the Drying Time
Dark paints tend to show streaks more in warm, dry rooms because the paint sets up faster than you can work. When paint starts drying before you’ve had a chance to blend each section into the next, you get hard edges between passes. Those hard edges are lap marks, and they’re permanent once the paint cures.
A paint conditioner like Floetrol (for latex paint) or Penetrol (for oil-based) slows the drying process and helps the paint self-level. Self-leveling means the paint flows out slightly after you apply it, filling in minor roller texture and evening out thickness differences on its own.
Mix about 8 ounces of Floetrol per gallon of paint. It won’t change the color or the coverage. What it will do is buy you an extra few minutes of working time, which is often the difference between a smooth dark wall and a streaky one.
This is especially useful if you’re painting in a room with poor ventilation, direct sunlight, or forced-air heating — all of which accelerate drying.
Check Your Lighting Before You Blame the Paint
Sometimes the wall isn’t actually streaky. Sometimes the light is just doing something unflattering.
A single overhead light or a lamp positioned close to the wall creates raking light — light that hits the surface at a sharp angle. Raking light exaggerates every tiny imperfection, including roller stipple, minor texture differences, and even the nap pattern of the roller cover. On a dark wall, this effect is amplified because the contrast between the peaks and valleys of the paint film is more pronounced.
Before you sand everything down and start over, try evaluating the wall under different lighting conditions. Move a lamp to the opposite side of the room. Check it during the day with curtains open. If the streaks disappear when the light changes, the issue is the lighting, not the paint job.
If you find that your lighting consistently creates raking light on a dark wall, switching to a flatter sheen is the simplest fix. Going from satin to matte on a dark wall can make a dramatic difference in how smooth it appears under typical lighting.
Fixing Streaks That Have Already Dried
If the damage is done and you’re staring at a dark wall full of roller marks, don’t paint over it immediately. That will just add another uneven layer on top of the first one.
Let the paint cure fully — at least 24 hours for latex. Then lightly sand the worst areas with 220-grit sandpaper. You’re not stripping the paint off. You’re just knocking down the raised ridges and leveling out the texture so the next coat goes on smoother.
Wipe the sanding dust off with a damp cloth and let the wall dry. Then apply a thin, even coat using proper rolling technique. One well-applied coat usually fixes the problem.
For walls that are really bad — heavy lap marks, multiple visible roller tracks, patchy coverage — it might be worth applying a tinted primer before your fix coat. Have the primer store-tinted to a shade close to your topcoat color. This creates a more uniform base so the dark topcoat doesn’t have to do as much heavy lifting, and it reduces the chance of the streaks showing through again.
Two Coats Minimum, Three if You’re Smart
The single biggest mistake with dark paint is trying to get full coverage in one thick coat. Thick coats dry unevenly, sag, and leave roller marks. Two thin coats will always look better than one thick one.
With very deep colors — true black, dark navy, dark emerald — a third coat isn’t unusual. Each coat builds density and evens out the color. By the third coat, you’ve buried any minor inconsistencies from the first two layers.
Use the same amount of paint on your roller for each coat. Don’t load heavier on the first coat thinking you’ll save time. Even, consistent coats are the entire game when you’re working with dark colors.
What If It’s Still Not Working?
Some rooms fight you. Bad wall texture, aggressive lighting, dry air, awkward dimensions that make it hard to maintain a wet edge — these all stack up. If you’ve tried proper technique, used a paint conditioner, chosen the right sheen, and applied multiple thin coats, and the wall still looks off, there might be an underlying surface issue.
Old walls with inconsistent texture, poorly skimmed drywall, or multiple layers of different paints underneath can all cause uneven absorption. In those cases, a full coat of high-build primer (sanded smooth) before your topcoat is sometimes the only way to get a uniform result.
Dark paint rewards patience more than any other color. Take your time, work in sections, keep your edge wet, and don’t skip the prep. The payoff when it’s done right is a wall that actually looks like the swatch you fell in love with at the paint store.