There’s something deeply satisfying about looking at a plain wooden chair or table and seeing what it could become. Wood has been a canvas for human creativity for thousands of years, and the good news is that you don’t need professional training or an expensive workshop to transform ordinary furniture into something genuinely beautiful. Whether you’re working with a thrift store find or a piece that’s been sitting in your garage, the right techniques can turn it into a showstopper.
Start With What You Already Have
How to Spot a Good Candidate
Before spending a single dollar, take stock of what’s around you. Old dressers, side tables, chairs, and even wooden crates are all fair game. The key is to look past the current condition and focus on the structure. A wobbly leg can be fixed. Scratched paint can be sanded away. What you’re really looking for is solid wood with good bones.
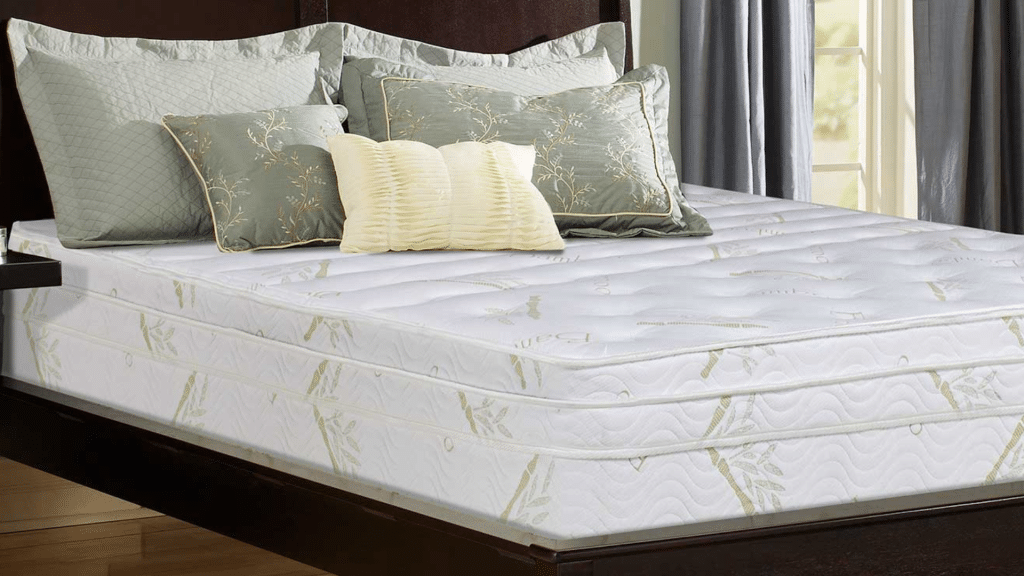
Good pieces to look for include:
- Dressers and chests — large flat surfaces are perfect for patterns and engraving
- Side tables and coffee tables — tabletops are great for bold paint or wood burning designs
- Wooden chairs — chair backs and legs offer lots of surface area for detail work
- Crates and shelving — simple shapes that respond well to color and texture
Prep the Surface First
Once you’ve picked your piece, give it a proper clean. Wipe down the surface, remove any hardware, and sand it lightly to open up the grain. This prep work makes a massive difference in how your finished project looks. Skipping it is the number one reason DIY furniture makeovers fall flat.
Add Texture and Pattern With Wood Engraving
Why Engraving Works So Well on Furniture
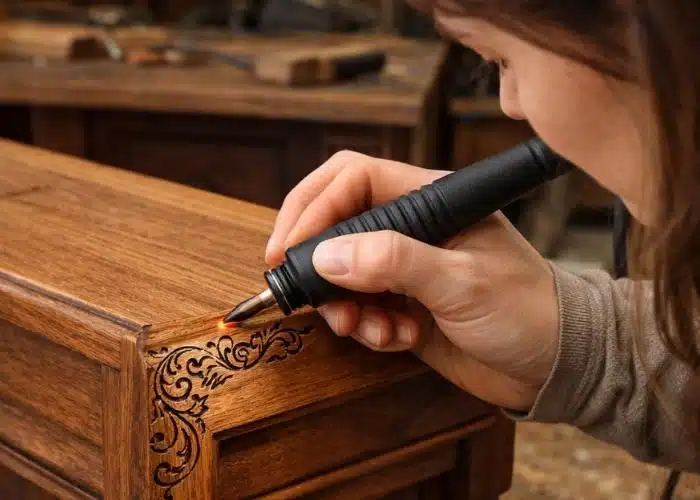
This is where things get genuinely exciting. Engraving is one of the most underrated ways to add character to wooden furniture, and it’s far more accessible than most people think. You don’t need to be an artist. Simple geometric patterns, floral borders, initials, or even abstract lines can completely change the personality of a piece.
A quality wood engraver gives you precise control over depth and detail, letting you work freehand or trace a design you’ve printed out. Resparked’s engraving pen has been used by more than 650,000 people — many of them complete beginners — which says a lot about how approachable the process actually is. Start with a scrap piece of wood to get comfortable with pressure and speed before moving on to your furniture.
Best Spots to Engrave on Furniture
Not every surface needs to be covered. Focus your engraving on areas that draw the eye naturally:
- Drawer fronts — a repeating pattern here transforms an entire dresser
- Tabletop edges — a simple border design adds elegance without overwhelming the surface
- Chair backs — floral or geometric motifs make chairs feel custom-made
- Cabinet door panels — central medallion designs work beautifully here
- Shelf edges — subtle line patterns add detail without being too busy
Use Paint Strategically, Not Broadly
Think in Contrast, Not Coverage
Painting an entire piece the same color is the safe choice, but it’s rarely the most interesting one. Instead, think about paint as a tool for contrast and emphasis:
- Paint just the legs of a table while leaving the top as natural wood
- Paint the inside of a bookshelf a deep, rich color so displayed items pop
- Use color blocking with tape to create clean divisions across different sections
- Apply two or three complementary colors for a look that feels intentional
Get That Vintage Feel
If you want a more aged or textured finish, chalk paint is your friend. It goes on thick, dries matte, and can be distressed with sandpaper afterward to reveal the wood underneath. The result looks genuinely vintage rather than artificially aged.
Key tips for using chalk paint:
- Apply in thin layers and build up gradually
- Sand lightly between coats for a smoother base
- Distress edges and corners after the final coat — these are the spots that would naturally wear first
- Seal with wax or matte varnish to protect the finish
Combine Materials for Visual Interest
Mix Wood With Other Textures
Wood plays well with other materials, and mixing them is one of the easiest ways to elevate a basic piece. You don’t need to overhaul the whole furniture item — small additions go a long way.
Ideas worth trying:
- Woven rattan panels inserted into cabinet doors for a boho-meets-modern look
- Ceramic or brass hardware to replace plain drawer pulls instantly
- Thin strips of contrasting wood or tile are inlaid along a tabletop edge
- Natural rope or leather cord wrapped around legs or stool bases
- Pressed flowers or decoupage paper sealed under a clear resin coat on tabletops
Keep It Cohesive
The risk with mixing materials is ending up with something that feels cluttered. A good rule of thumb is to pick one accent material and use it consistently across the piece. If you go with brass hardware, for example, carry that finish into any other metal elements you add. Restraint is what separates a thoughtful makeover from a messy one.
Finishing Touches That Make a Big Difference
The Details People Actually Notice
Once the main transformation is done, it’s the small finishing details that pull everything together. Resparked customers often pair engraving work with these final steps to really complete a piece:
- Replace old hinges with matching decorative ones
- Add felt pads to the bottom of legs for a polished, furniture-store feel
- Touch up engraved areas with a thin wash of stain to make the design stand out
- Apply a protective top coat — matte for a natural look, satin for something slightly more refined
Style the Finished Piece
How you style the piece after finishing matters just as much as the transformation itself. A beautifully engraved side table displayed with a simple plant and a candle tells a much better story than one sitting bare in a corner. Think about where it will live and what will sit on or around it before you even start the project.
Conclusion
Transforming wooden furniture doesn’t require a big budget or years of experience. It requires curiosity, a little patience, and the willingness to see potential where others see something plain and forgettable. The process itself is half the reward. Pick one piece, commit to it, and see where it takes you. You might be surprised how quickly a simple project becomes a genuine creative obsession.