Building a bunk bed may seem like a daunting task, but it’s a project you can definitely tackle with a little time and effort.
If you’re looking to save space in a small room or create a custom design, this project offers endless possibilities. I know you might feel unsure about where to start, especially when it comes to choosing materials or ensuring safety.
But don’t worry, I’m here to guide you through every step of the process. From cutting the wood to adding finishing touches, you’ll find practical tips to help you create a sturdy and stylish bunk bed.
Let’s get started and turn your ideas into a functional and beautiful piece of furniture!
Why Choose to DIY Bunk Beds?
Building your own bunk bed offers unmatched personalization; you can design it to perfectly fit your space and needs, whether it’s for a child’s room, a guest room, or to maximize limited space.
Cost-effectiveness is another advantage, as creating a DIY bed can be more affordable than buying a pre-made one, with the added bonus of customizing it exactly how you want.
There’s a deep sense of satisfaction and pride in creating something functional and stylish with your own hands.
Plus, a DIY bunk bed made with high-quality materials tends to last longer and be more durable than mass-produced versions, ensuring that your hard work and investment stand the test of time.
Step-by-Step Guide to a DIY Bunk Bed
Step-by-step DIY bunk bed plans provide clear instructions for every phase of building your bunk bed.
If you’re constructing a simple bed for a small space or adding extra features, having a detailed plan will help ensure a successful build.
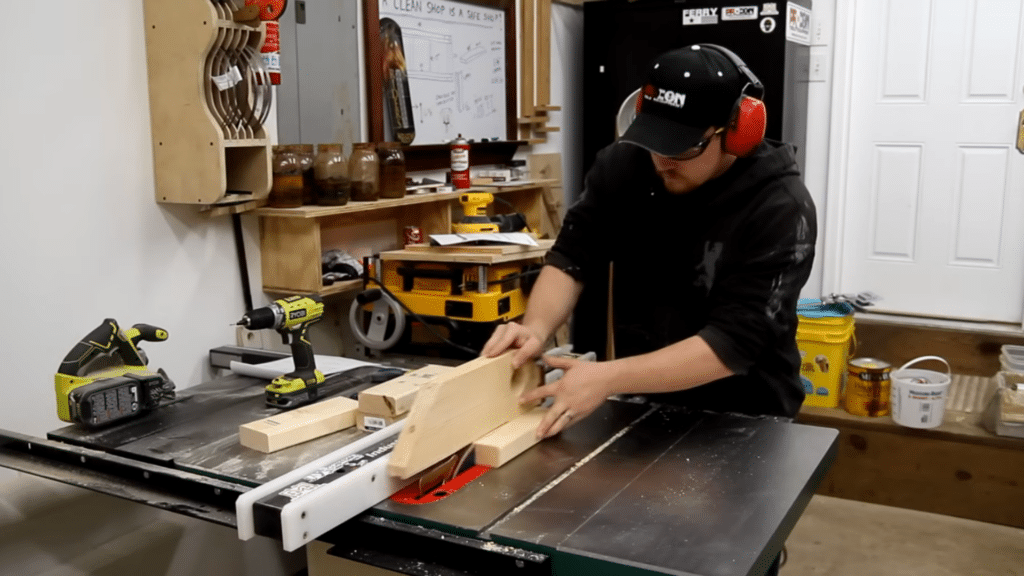
Step 1: Cut Your Wood Pieces

Start by measuring and cutting all the wood pieces you’ll need for the bed frame, slats, and legs. The frame will be built using 2x6s, while the slats will be cut from 2x4s.
Ensure accurate cuts and label each piece as you go to avoid confusion later. For smooth edges, run the wood through a thickness planer to remove any rough spots or manufacturer marks.
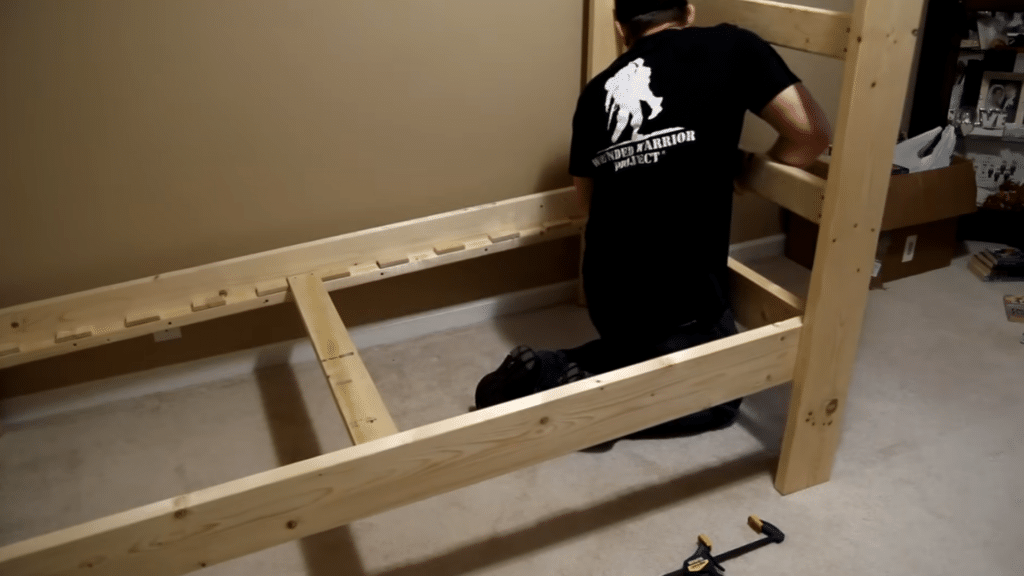
Step 2: Assemble the Bed Frame
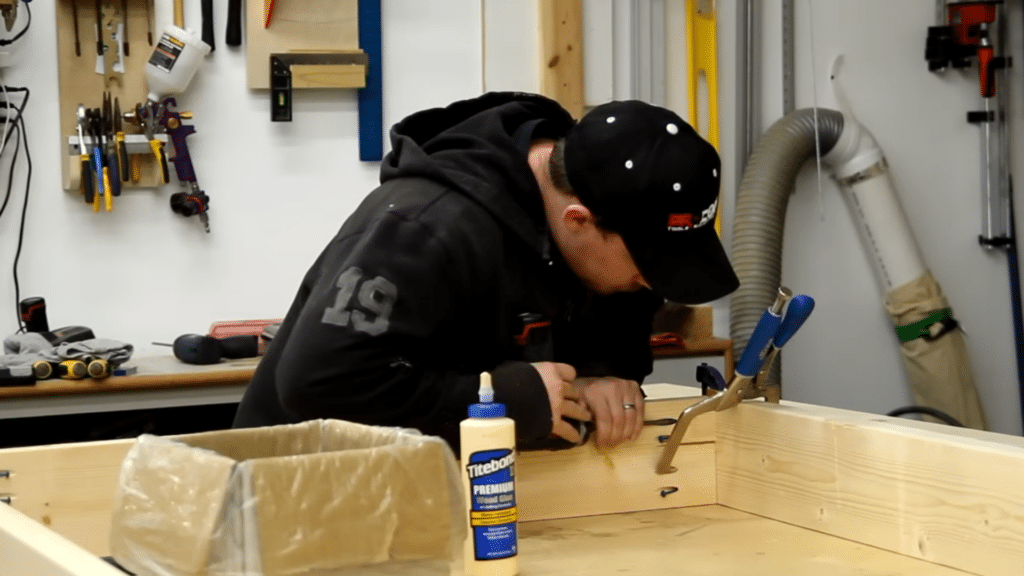
Begin by building the bed frame using 2x6s, securing the pieces with pocket holes and screws. Attach the sides of the frame to the bottom, ensuring everything aligns properly.
Use wood glue for added stability and drive screws to firmly secure the pieces together. Make sure the frame is square and level as you assemble it to avoid issues later.
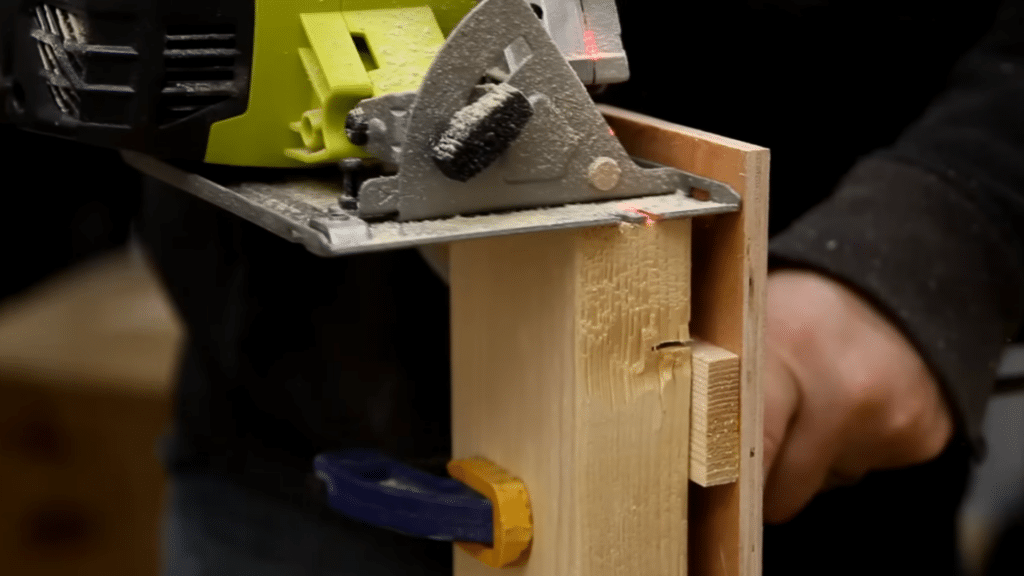
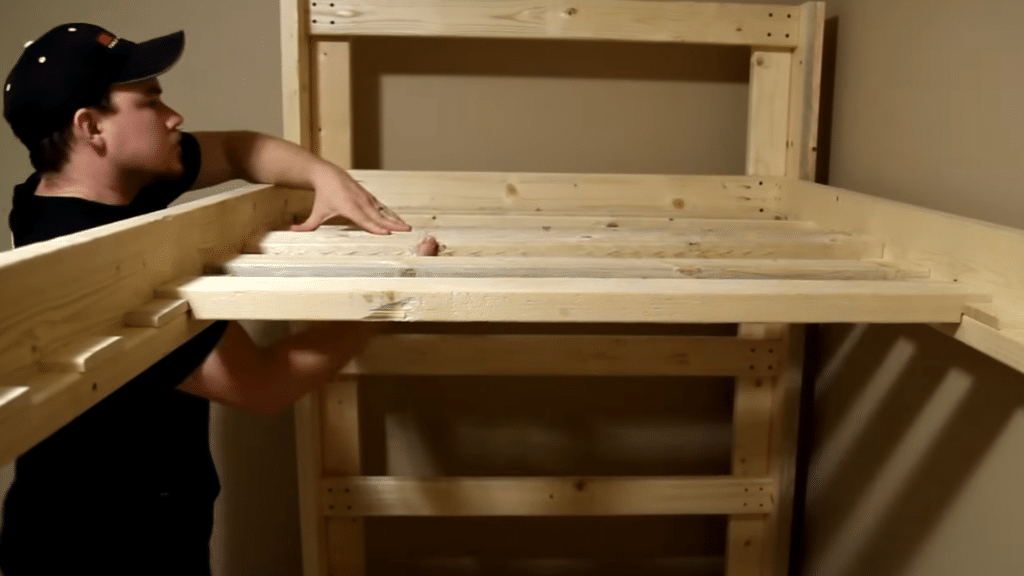
Step 3: Add the Mattress Slats

Cut 2x2s or 2x4s for the slats that will support the mattress. If you don’t have a table saw, consider buying pre-made 2x2s. Attach the slats to the frame, ensuring they are evenly spaced for proper support.
Use pocket holes and screws to secure the slats in place. If necessary, use a jig to make precise cuts for the slat grooves.
Step 4: Build the Legs
The legs of the bunk bed will be made from 2x4s, assembled into an L-shape. Use pocket holes to attach the legs to the frame, keeping the screws hidden inside the bed.
Position the legs at each corner to ensure the structure is sturdy and balanced. Reinforce the joints carefully to provide additional strength and stability.
Step 5: Sand and Finish the Bed Frame
Once the frame is fully assembled, sand down any rough edges using a block plane and round over the edges as needed.
You can leave some imperfections for character or smooth everything out for a more refined look. If desired, apply a wood finish or stain to protect the wood and give the bed a polished appearance.
Step 6: Install the Ladder and Final Assembly
Once the main frame is complete, attach a ladder to the bunk bed for easy access to the top bunk. Use the remaining 2x4s to form a ladder system.
Ensure that all parts are tightly secured and stable. Double-check the entire bed structure for any loose parts or wobbles before finishing the assembly.
Step 7: Add the Finishing Touches
For the final touches, consider applying a protective finish to the bed, such as a coat of wax or a steel wool vinegar solution.
If you wish to paint the bunk bed, ensure all surfaces are clean and smooth before applying primer and paint. Once finished, let the bed dry fully before use.
Common Mistakes to Avoid in DIYing a Bunk Bed
When building a DIY bunk bed, it’s important to avoid certain pitfalls that can affect its stability, safety, and functionality. Here are some common mistakes to watch out for:
- Inaccurate Measurements: Always measure twice before cutting to avoid errors that can affect the overall structure.
- Poor Wood Selection: Using low-quality wood can compromise the bed’s durability and safety.
- Ignoring Safety Features: Failing to install proper guardrails and secure ladders can lead to accidents or falls.
- Overlooking Weight Capacity: Ensure the frame is strong enough to support the intended weight, including mattresses and sleepers.
- Skipping the Square Check: Not checking for square during assembly can result in an unstable or crooked bunk bed.
- Neglecting Wood Finishing: Not sanding or sealing the wood can lead to splinters and a rough finish.
- Using Inadequate Fasteners: Avoid using weak or improper fasteners that may not hold the bed frame together securely.
- Not Securing the Bunk Bed: Not anchoring the bed to the wall can cause it to tip over, especially in high bunks.
- Choosing the Wrong Mattress Size: Ensure the mattress fits properly in the frame for safety and comfort.
- Skipping Safety Testing: Always test the stability of the bed after assembly, checking for wobbling or weak points.
DIY Bunk Bed Ideas for Every Space
Here are some great DIY bunk bed plans you can use, perfect for any room, especially for DIY bunk beds for small rooms that need a space-saving solution.
From lofted designs with desks underneath to corner beds, each design maximizes your room’s potential.
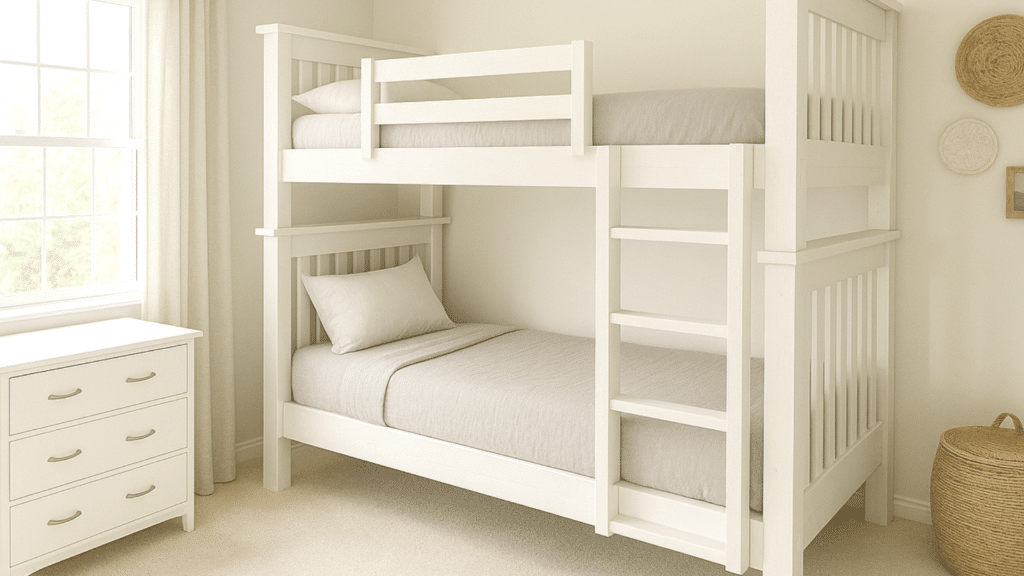
1. Simple Wooden Bunk Bed
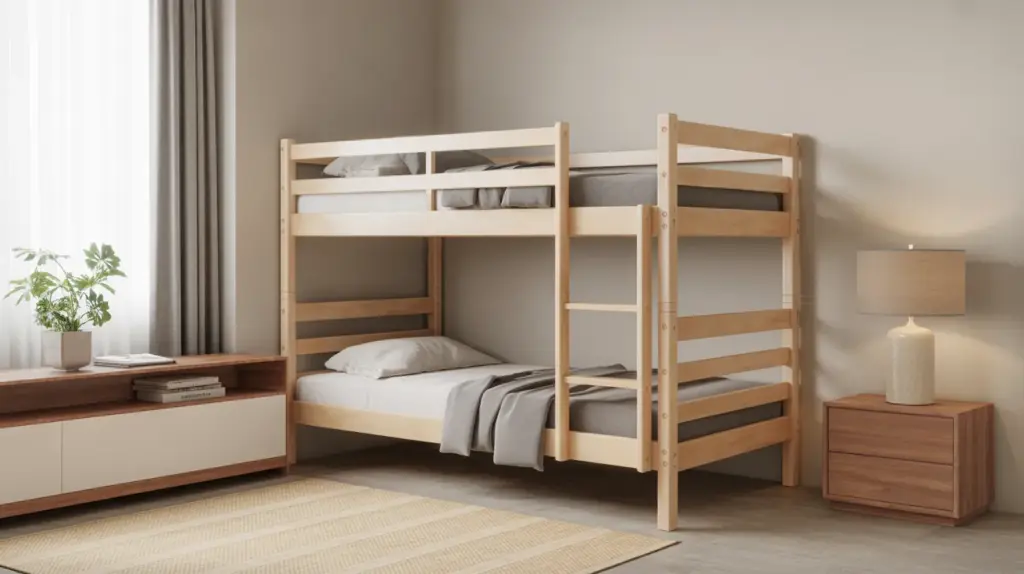
A simple wooden bunk bed is a classic and sturdy option for any space. Made from basic wood like pine or oak, this design is cost-effective and easy to customize.
With just two levels, it provides ample sleeping space for kids or guests while maintaining a minimalist art. This style works well in various room sizes, providing a versatile and durable solution without any unnecessary frills or complications.
2. Industrial Style Bunk Bed
An industrial-style bunk bed combines raw, exposed materials like metal and wood, offering an edgy and modern look. Typically featuring black metal frames paired with wooden slats, this design is both strong and stylish.
It’s perfect for lofts or modern spaces, providing a chic, sturdy bed. The metal construction ensures durability, and its urban vibe makes it ideal for adults or teens, offering both functionality and a trendy aesthetic.
3. Lofted Bunk Bed with Desk Underneath
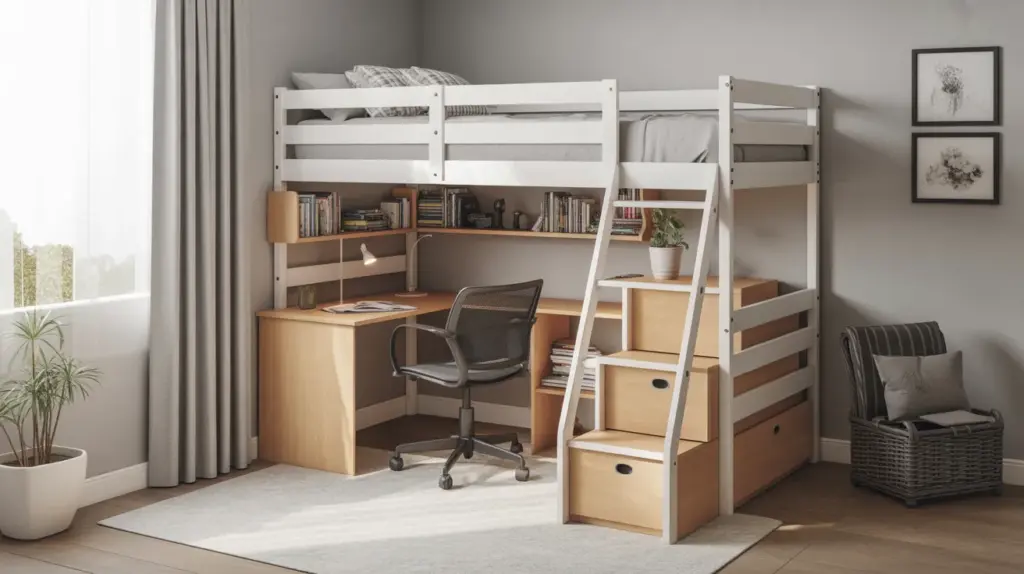
A lofted bunk bed with a desk underneath is a fantastic solution for small rooms or shared spaces. By raising the top bunk, you create valuable extra space beneath, which can be used for a desk, reading nook, or additional storage.
Ideal for students or those who need a workspace, this design maximizes vertical space while providing both sleeping and working areas. It’s a great space-saver without sacrificing comfort.
4. Built-In Bunk Bed with Shelves
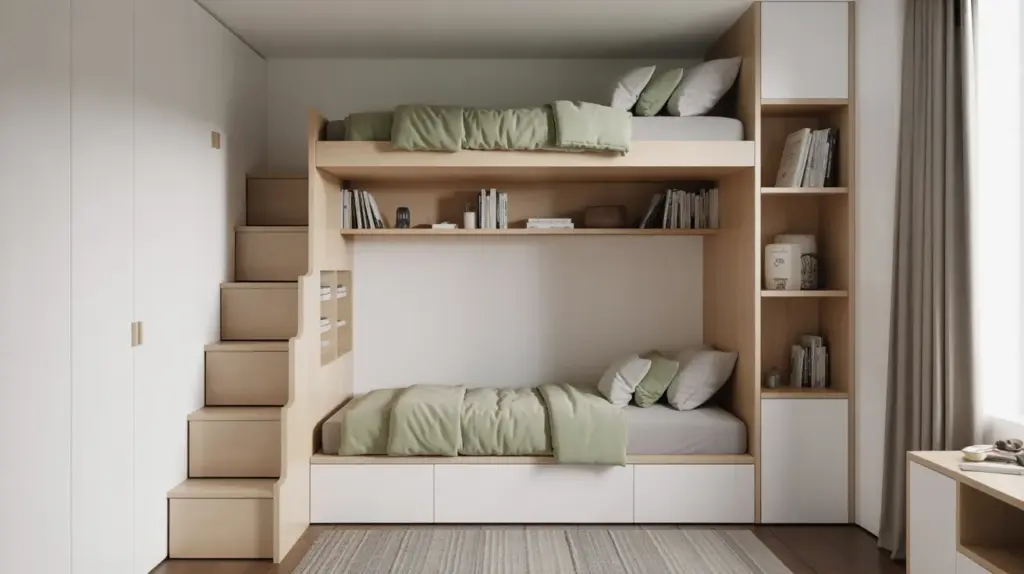
A built-in bunk bed with shelves is a fantastic way to integrate storage into your design. Built directly into the walls, this style saves space while providing a safe and durable bed setup.
The shelves can be used for books, decor, or personal items, offering easy access to essentials. This design is perfect for smaller bedrooms, as it combines sleeping and storage functions into one seamless, space-efficient design.
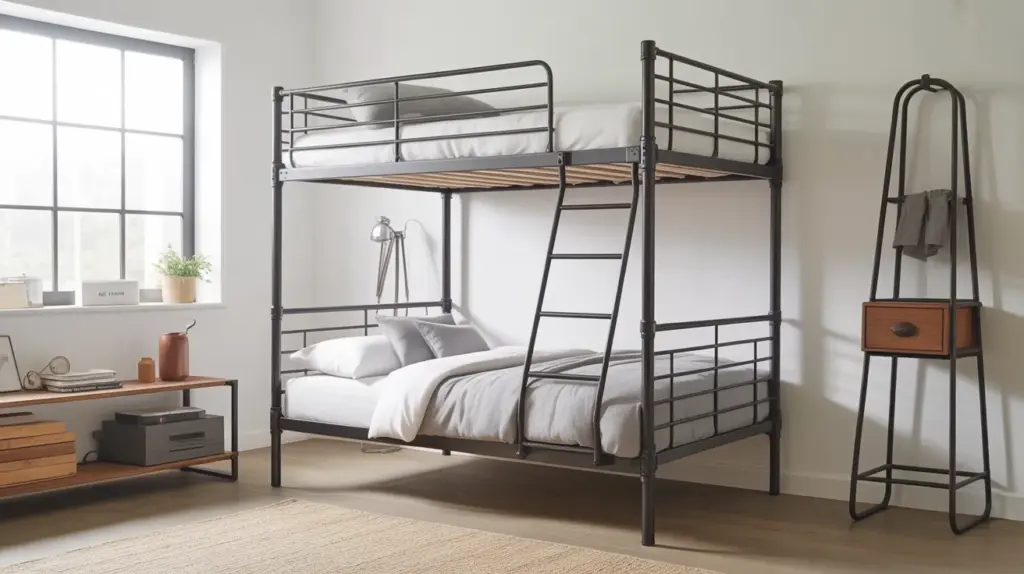
5. Modern Metal Bunk Bed
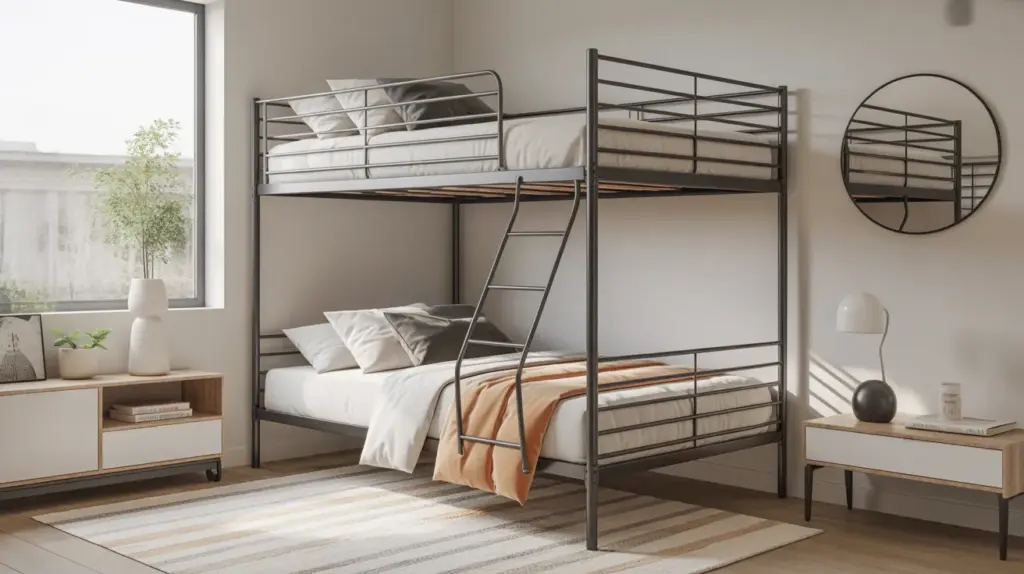
A modern metal bunk bed features sleek, minimalist lines with a metal frame, offering a contemporary and durable design. This style is often lightweight yet strong, making it easy to move and rearrange.
Its clean, streamlined look is perfect for modern bedrooms or apartments, where space and style are key. Available in various colors and finishes, the modern metal bunk bed fits well with different decor styles and is easy to maintain.
6. Corner Bunk Bed for Small Rooms

A corner bunk bed is an excellent option for maximizing space in small rooms. By utilizing the corner of a room, this design makes the most of otherwise unused space, providing two sleeping areas without taking up extra floor space.
Ideal for kids’ rooms or studio apartments, this bed creates a cozy sleeping nook while leaving more room for play or other furniture. It’s a smart and efficient design choice for tight spaces.
7. Rustic Farmhouse Bunk Bed
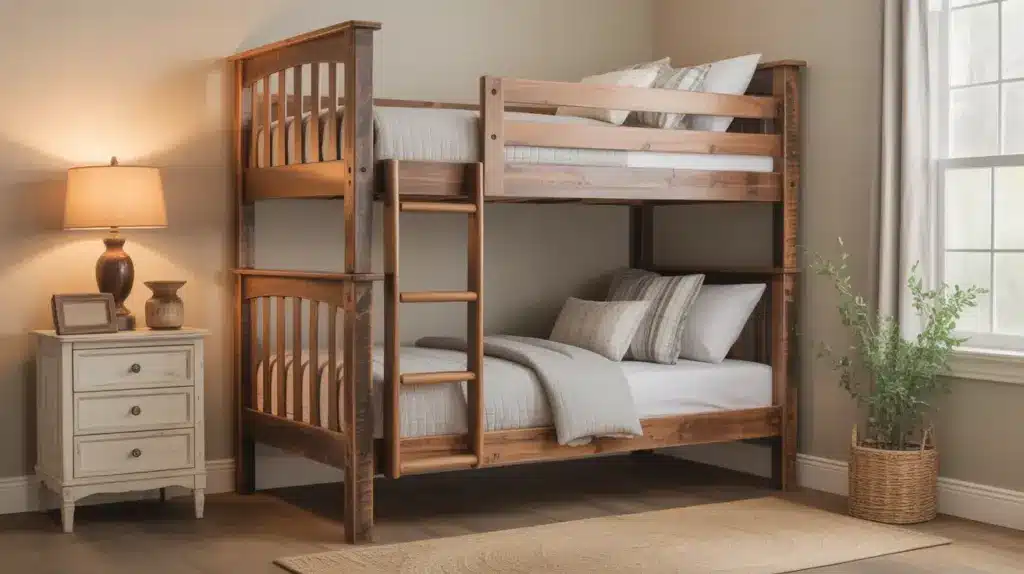
A rustic farmhouse bunk bed brings a warm, cozy feel to any room with its natural wood finishes and vintage-inspired details. This style often features reclaimed wood, adding a charming, rustic touch to the design.
The sturdy frame and classic design work well in both traditional and modern homes, offering a comfortable sleeping arrangement that complements a country-inspired or cozy decor theme. It’s perfect for a cabin, farmhouse, or nature-themed room.
8. Bunk Bed with Stairs and Drawers
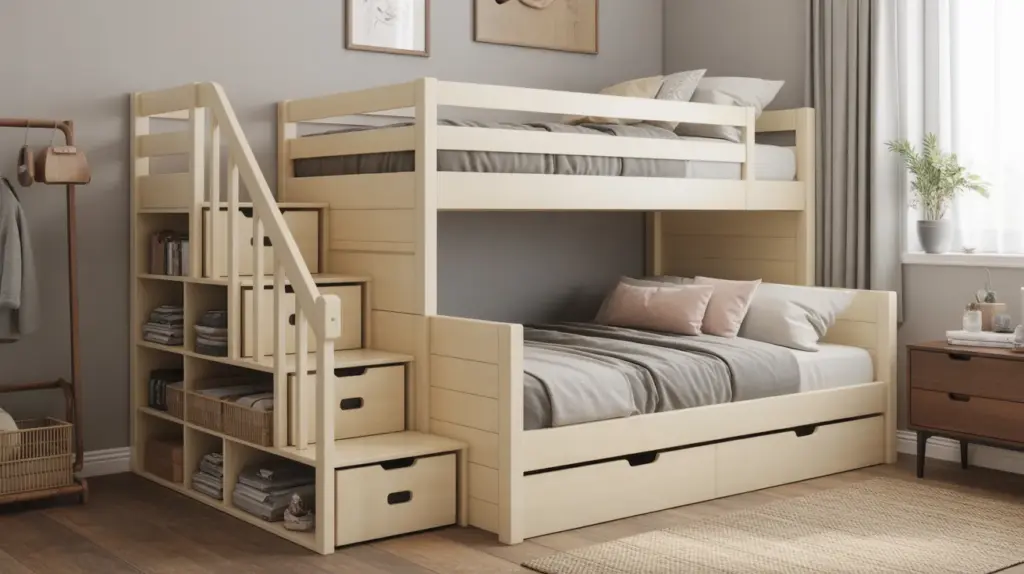
A bunk bed with stairs and drawers is an innovative design that combines practicality with style.
The stairs leading to the top bunk often include built-in drawers for added storage, perfect for clothes, toys, or books. This design not only provides easy access to the top bunk but also optimizes space by offering convenient storage.
It’s an ideal choice for families with limited closet space or those who want a more organized room.
9. DIY Triple Bunk Bed
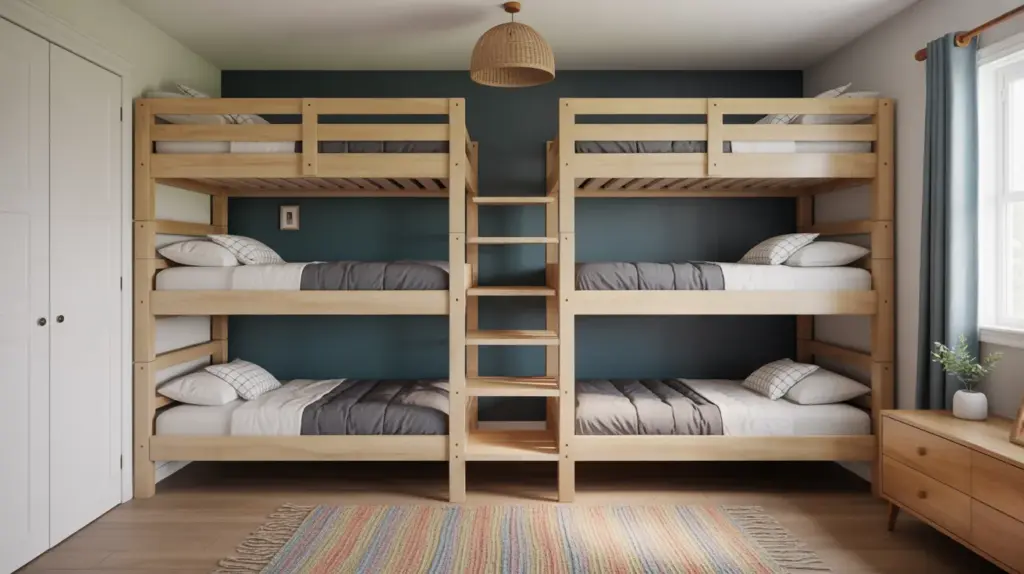
A DIY triple bunk bed is a creative solution for large families or shared bedrooms. It allows for three sleeping areas while occupying minimal floor space.
Often built with sturdy wood or metal, this design can be customized to fit the room’s dimensions and style. Perfect for kids’ rooms, a triple bunk bed allows siblings to share a space without compromising on comfort, providing more sleeping arrangements in a compact footprint.
10. Bunk Bed with a Slide
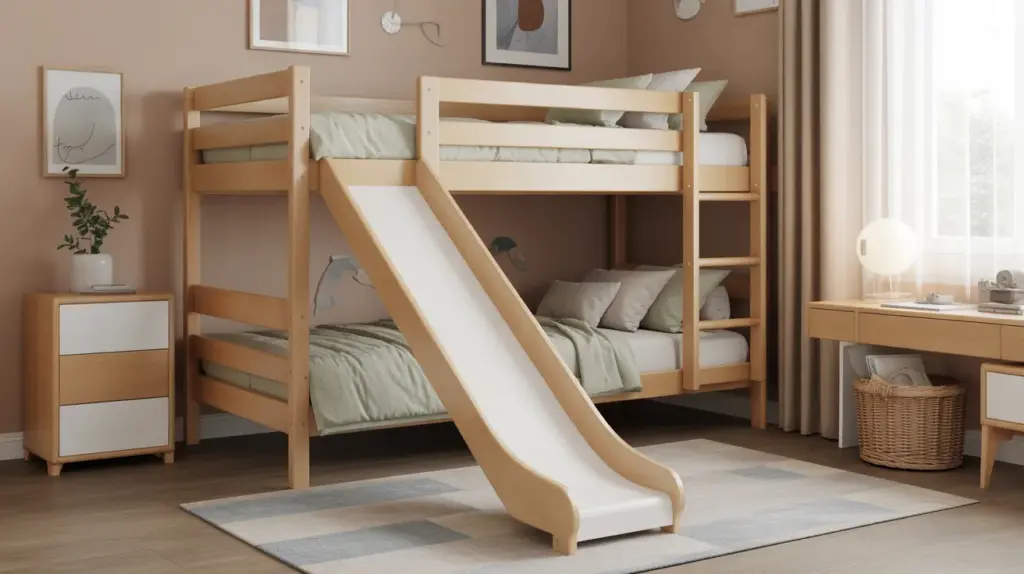
A bunk bed with a slide adds an element of fun to the traditional design. Kids can climb up the ladder to reach the top bunk and then slide down for a playful exit. This style is perfect for a child’s room, adding both excitement and practicality.
The slide also encourages physical activity and is a great way to make bedtime more enjoyable. It’s a fun, functional design that kids will love.
Wrap Up
Now that you’ve learned how to build a DIY bunk bed, it’s time to put those steps into action! By following the guide, you can create a custom, space-saving solution for your home.
Keep in mind that accuracy is key, from measuring to assembling each part. Don’t rush the process; taking your time will ensure a sturdy, well-built bed.
I’m confident that with the right tools and materials, you can create a beautiful, functional bunk bed that fits your needs perfectly.
So, go ahead and give it a try! And if you’re looking for more home project ideas, check out my other blogs for more inspiration and helpful tips.