

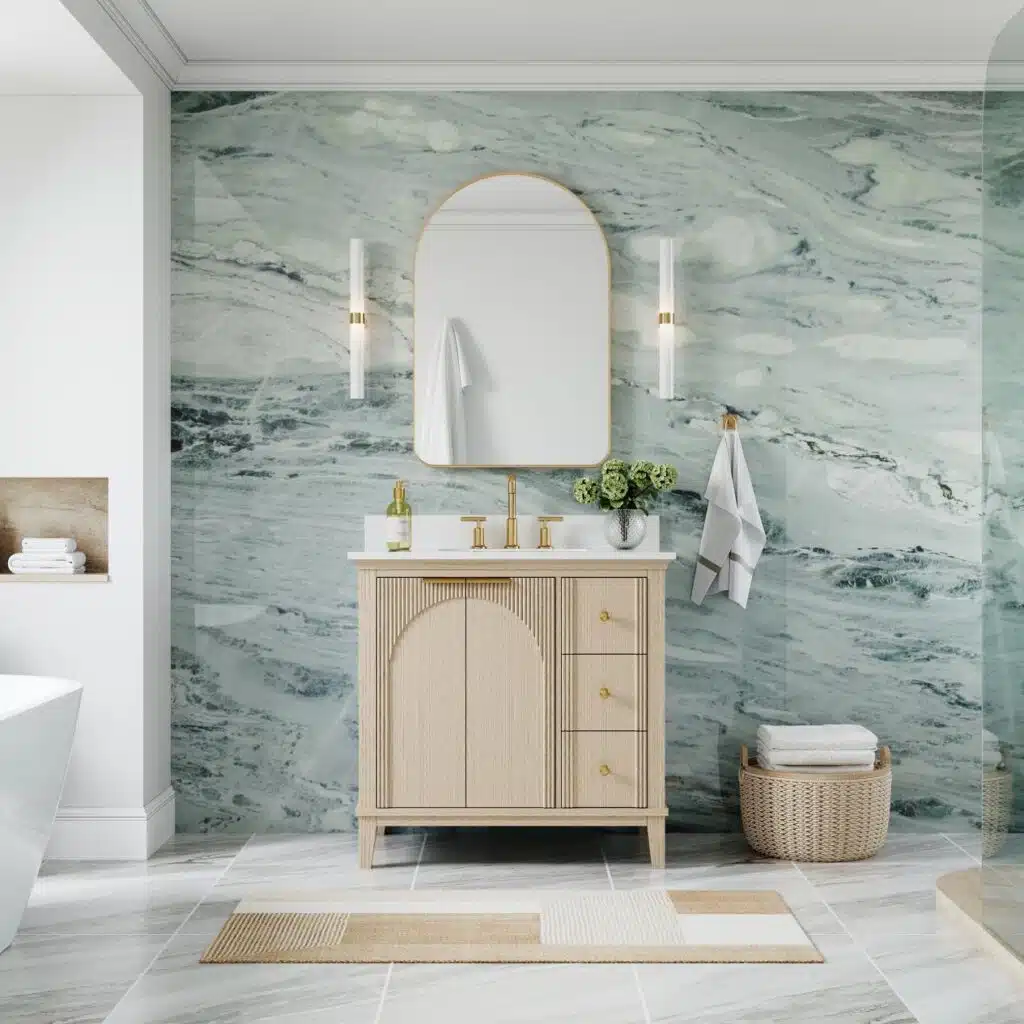
Shopping for 36 inch vanities for bathroom projects requires more than measuring 36 in. across a wall. The title may describe the cabinet, while the countertop is wider. Baseboards, trim, plumbing, outlets, and uneven walls reduce usable space. Careful measurements prevent a vanity that fits on paper but blocks a door or forces plumbing changes.
Start With the Product’s Exact Dimensions
Not every “36 in.” vanity has the same footprint. One may have a cabinet under 36 in. with a 36 in. top; another may pair a 36 in. cabinet with a 37 in. top. Backsplashes, hardware, and decorative feet also affect fit.
Record overall top width, cabinet width, maximum depth, and finished height from the specification sheet. Also note basin depth, which may interfere with drawers, shelves, or the P-trap.
Use the largest published dimension for clearance. If the listing and drawing disagree, ask the seller to confirm.
Measure the Wall at Three Heights
Walls are not always square. Measure width near the floor, at cabinet height, and at countertop height. Record to the nearest 1/8 in. and use the smallest reading.
Check rear corners with a square or long level. A bowed wall creates backsplash gaps, while a tight corner may prevent the top from sliding in. Leave a small installation allowance rather than planning a friction fit.
Measure baseboards separately and decide whether they stop at the vanity, are removed, or require notching.
Confirm Depth and Walking Clearance
Measure from the finished wall to the vanity’s frontmost point. The top, pulls, or sink apron may extend beyond the cabinet. Mark the full depth with painter’s tape.
Walk through the taped outline. Check entry, the route to the shower, and whether someone at the sink blocks the doorway.
Lowe’s recommends opening the entry and shower doors before measuring so you can identify possible collisions with cabinet doors and drawers. It also advises checking the toilet centerline in relation to the vanity edge. (Source: Lowe’s, “How to Measure for a Bathroom Vanity.”)
Local requirements vary, so retailer guidance does not replace code review.
Test Every Door, Drawer, and Swing
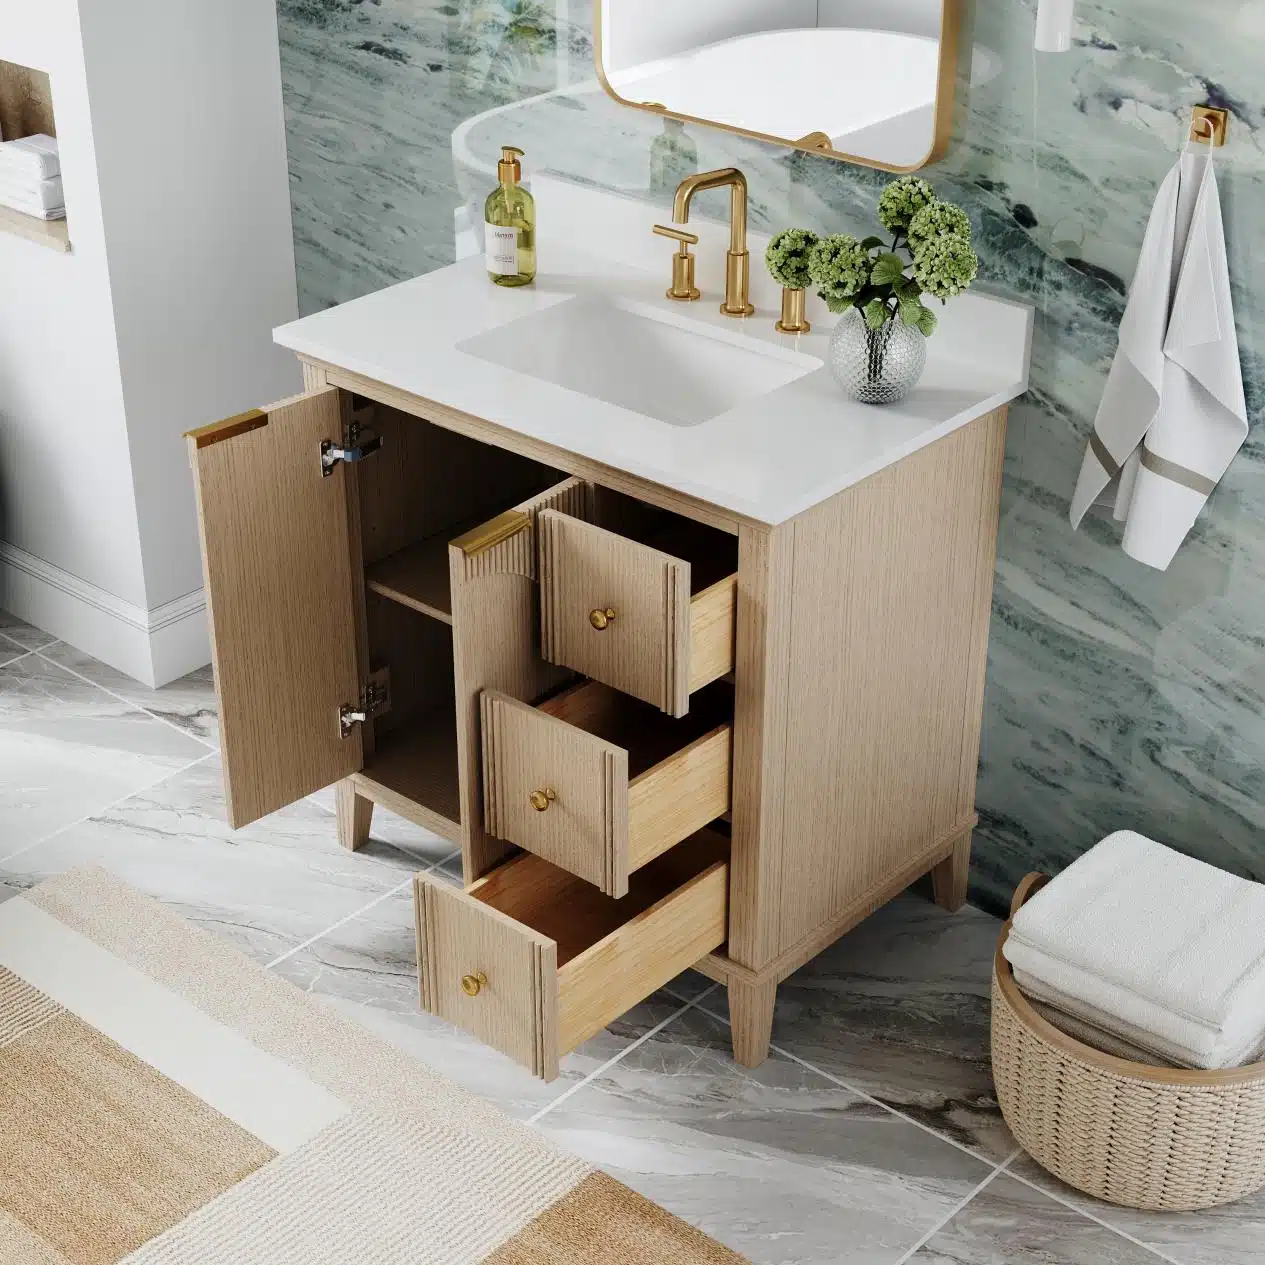
Open the bathroom and shower doors fully and mark their arcs. Repeat for nearby closets and pullouts. A vanity may fit the wall but place a drawer behind the room door.
Check whether vanity doors strike the toilet, trim, towel bar, or radiator. Long pulls add projection. In a corner, confirm drawers clear the casing and the top clears the door frame.
Map the Plumbing From Fixed Reference Points
Measure the drain and supplies from the finished side wall and floor—not from the old vanity. Record drain centerline, pipe height, valve spread, and projection.
Compare them with the open back, sink centerline, drawers, shelves, and dividers. Even an open back cannot prevent a drawer from blocking the P-trap.
The Home Depot recommends measuring pipe openings after positioning and leveling the vanity and following brand-specific instructions. (Source: The Home Depot, “How to Install a Bathroom Vanity and Sink.”)
Check Height, Mirror, Lighting, and Outlets
Map finished countertop height, mirror or medicine cabinet, faucet, backsplash, outlets, switches, and lights. A tall faucet can conflict with a low cabinet door; a 4 in. backsplash may cover an outlet.
If accessibility is part of the project, a standard cabinet-style vanity is not automatically compliant. The 2010 ADA Standards specify a maximum accessible lavatory or counter height of 34 in. and require applicable knee, toe, and clear-floor space. Private residences may be governed differently, so review the design with a qualified professional. (Source: U.S. Department of Justice, 2010 ADA Standards for Accessible Design, Sections 305, 306, and 606.)
Inspect the Floor and Wall Before Ordering
Place a level where the feet or toe kick will sit. Note slopes, tile edges, vents, and transitions. A severe slope affects top alignment and backsplash gaps.
Locate studs and determine whether blocking or anchors are needed. Repair water damage, loose drywall, or mold before covering the area.
Create a Simple Measurement Record
Draw a top view and front elevation. Label the narrowest width, maximum depth, door arcs, toilet centerline, plumbing, outlets, backsplash, and mirror clearance. Compare it with the manufacturer’s drawing.
Ask a second person to verify critical numbers. Houzz found that 47% of renovating homeowners selected vanities 48 in. wide or smaller, but common sizing does not guarantee a model fits your room. (Source: Houzz, 2025 U.S. Houzz Bathroom Trends Study.)
Do Not Forget the Delivery Path
A vanity that fits the bathroom must also reach it. Measure the narrowest doorway, hallway turn, stair landing, and elevator opening between the delivery point and the room. Compare these numbers with the packaged dimensions, not only the installed dimensions. Protective foam and cartons can add several inches.
Find out whether the top ships attached or in a separate box. A stone-top vanity may be much heavier and harder to turn than the empty cabinet. If necessary, confirm with the manufacturer whether the top can be removed without affecting the warranty or damaging factory seals. Never assume doors, drawers, or a mounted sink are designed to serve as lifting points.
Before delivery, clear the route and protect finished floors. If the unit requires two people or professional handling, arrange that help in advance rather than discovering the problem while the freight carrier is waiting.
The Final Check Before You Buy
A 36 in. vanity is often a balanced choice for a guest bath, hall bath, or larger powder room. Before ordering, confirm the exact top width, the narrowest wall measurement, full projection, door and drawer clearance, plumbing alignment, finished height, and delivery path.
The most important measurement is not “36 in.” It is the complete relationship between the vanity and everything around it. When your room sketch and the specification drawing agree, installation becomes faster, cleaner, and far less likely to require expensive changes.