
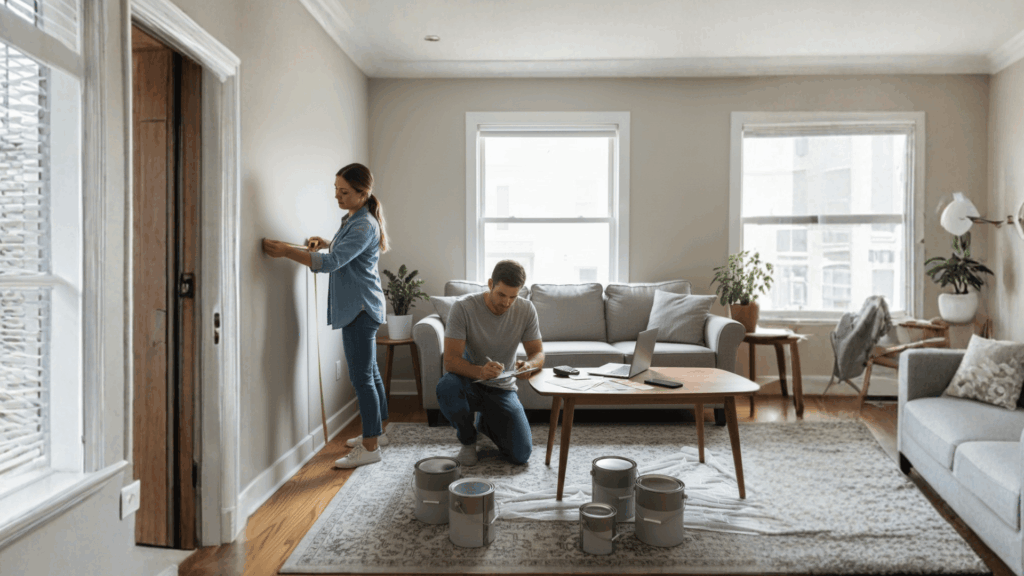
When you’re trying to figure out how much it costs to paint a room, the answer depends on more than just the color you pick.
Room size, wall condition, paint quality, and whether you hire a pro or do it yourself can all change the final price. That’s why this guide breaks the cost down simply.
You’ll learn the average cost to paint a room, what factors raise or lower the price, and how labor and materials are usually charged. By the end, you’ll have a clear idea of what to budget before you buy paint or book a painter.
How Much Does It Cost to Paint a Room?
The cost to paint a room usually falls between $400 and $1,600, with most homeowners spending around $1,100.
This price typically includes both labor and materials. Smaller rooms cost less, while larger rooms, high ceilings, wall repairs, and detailed trim work can raise the price. Paint quality, number of coats, and local labor rates also affect the final cost.
While these numbers give a good starting point, the exact price depends on the room’s size, condition, and the amount of prep work needed before painting begins.
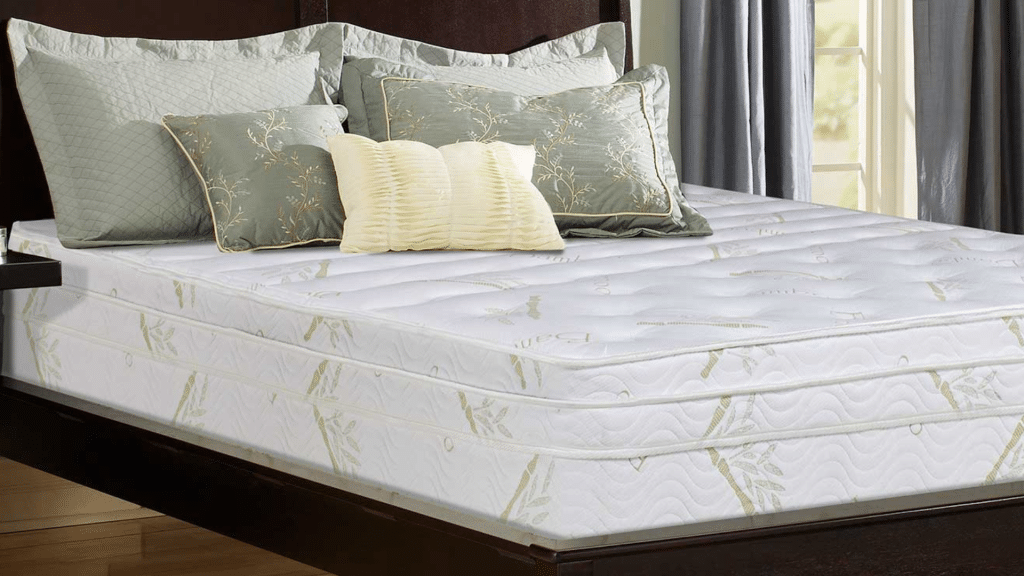
Average Cost by Room Size
Room size is one of the quickest ways to guess the painting cost. Bigger rooms have more wall space to cover, so they usually need more paint and more labor time.
- Small room (10×10): Lower cost due to less wall space and faster labor.
- Medium room (12×12): Mid-range pricing and the most common project size.
- Large room (16×16): Higher cost because of more paint, time, and labor.
Painting a room usually costs $2–$10 per square foot, including labor and paint. Prices increase for tall ceilings, heavy prep work, or premium paint choices.
Key Factors That Change the Cost to Paint a Room
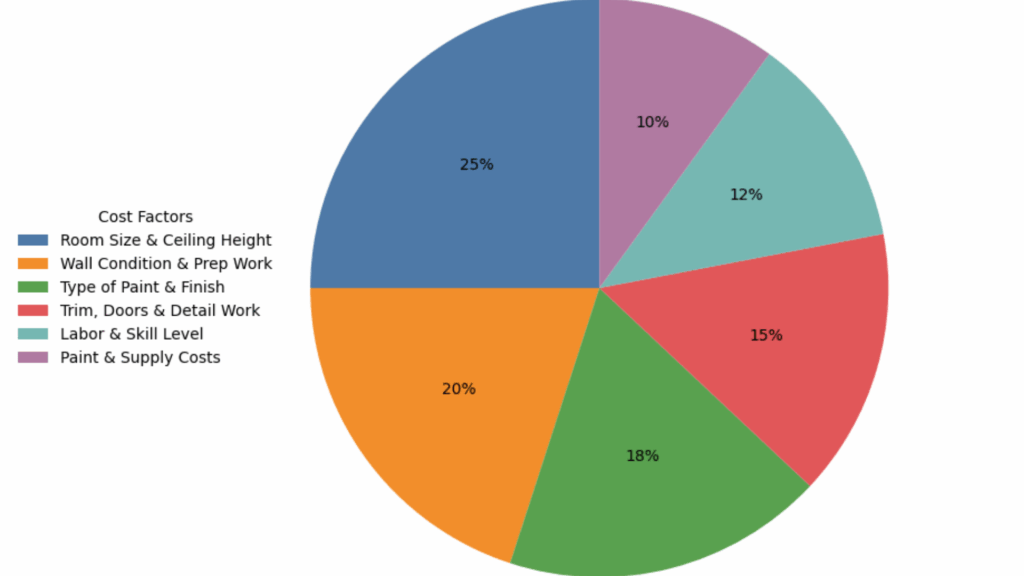
The final cost to paint a room depends on more than just square footage. These factors help determine how long the project takes, how much paint is required, and how skilled the labor needs to be, all of which directly affect the overall cost.
1. Room Size and Ceiling Height
Larger rooms usually cost more to paint because there’s more wall space to cover, which means more time and more paint. Ceiling height matters too.
Taller ceilings increase the total surface area and often require extra tools, such as extension ladders or scaffolding, which can add labor time.
Rooms with open layouts, vaulted ceilings, or tricky angles also slow the process down because cutting in along edges takes longer, and rolling evenly can be harder. The more difficult the space is to reach, the higher the cost tends to go.
2. Wall Condition and Prep Work
Clean, smooth walls are faster (and cheaper) to paint. But if there are nail holes, cracks, dents, stains, or peeling paint, extra prep is needed before any color goes on.
That usually means patching, sanding, wiping down the walls, and sometimes adding primer so the finish looks even.
Dark old colors can also bleed through, and watermarks often need a stain-blocking primer to keep the spot from showing later. More prep time means higher labor cost, but it also makes the final result look much better.
3. Type of Paint and Finish
Premium paint usually costs more at the start, but it can be more brilliant because it often covers better and holds up longer.
That can mean fewer coats, which may save time and reduce labor. The finish also matters. Flat paint hides bumps well but can be harder to clean, while eggshell and satin are easier to wipe down and work great for most rooms.
In high-traffic areas like hallways, kids’ rooms, and kitchens, washable and scuff-resistant paints are a better fit, but they cost more per gallon. The right paint choice affects both the price and how long the room stays looking fresh.
4. Trim, Doors, and Detail Work
Trim, doors, and detailed edges can raise the cost because they take more time than rolling large walls. These areas require careful taping, clean-cut lines, and steady brushwork to avoid drips and uneven edges.
If a room has lots of baseboards, window frames, crown molding, or built-ins, the painter has to work in smaller sections.
Doors also often require additional steps, such as light sanding, priming, and multiple thin coats, to achieve a smooth finish. The more detail a room has, the more labor hours it usually requires.
6. Paint and Supply Costs
Paint and supply costs include more than just the paint itself. You may also need primer to help paint stick and block stains, especially when covering dark colors or patched walls.
Prep items like tape, plastic, drop cloths, rollers, brushes, spackle, and sandpaper also add to the total, but they help create clean lines and protect floors. Rooms with high ceilings or stairs may require ladders or scaffolding, which can increase costs.
Paint Cost and Wall Finish Guide
Here’s a quick guide to common paint finishes and their typical costs. It also shows how each one will look on your walls, so you can pick the right option faster.
| Paint Type | Avg Cost (Per Gallon) | How It Looks on the Wall |
|---|---|---|
| Flat / Matte | $15–$45 | Soft, no shine; hides flaws |
| Eggshell | $20–$60 | Low shine; smooth, warm look |
| Satin | $25–$70 | Gentle sheen; clean, even finish |
| Semi-Gloss | $30–$90 | Noticeable shine; crisp, bold look |
| High-Gloss | $40–$120 | Very shiny; reflective, “slick” look |
How to Budget for Painting a Room?
A simple budget starts with measurements and a rough paint estimate, then gets real with quotes. Add a small buffer so surprise wall fixes don’t mess up the plan.
Here’s a tighter version with the same meaning, just fewer words:
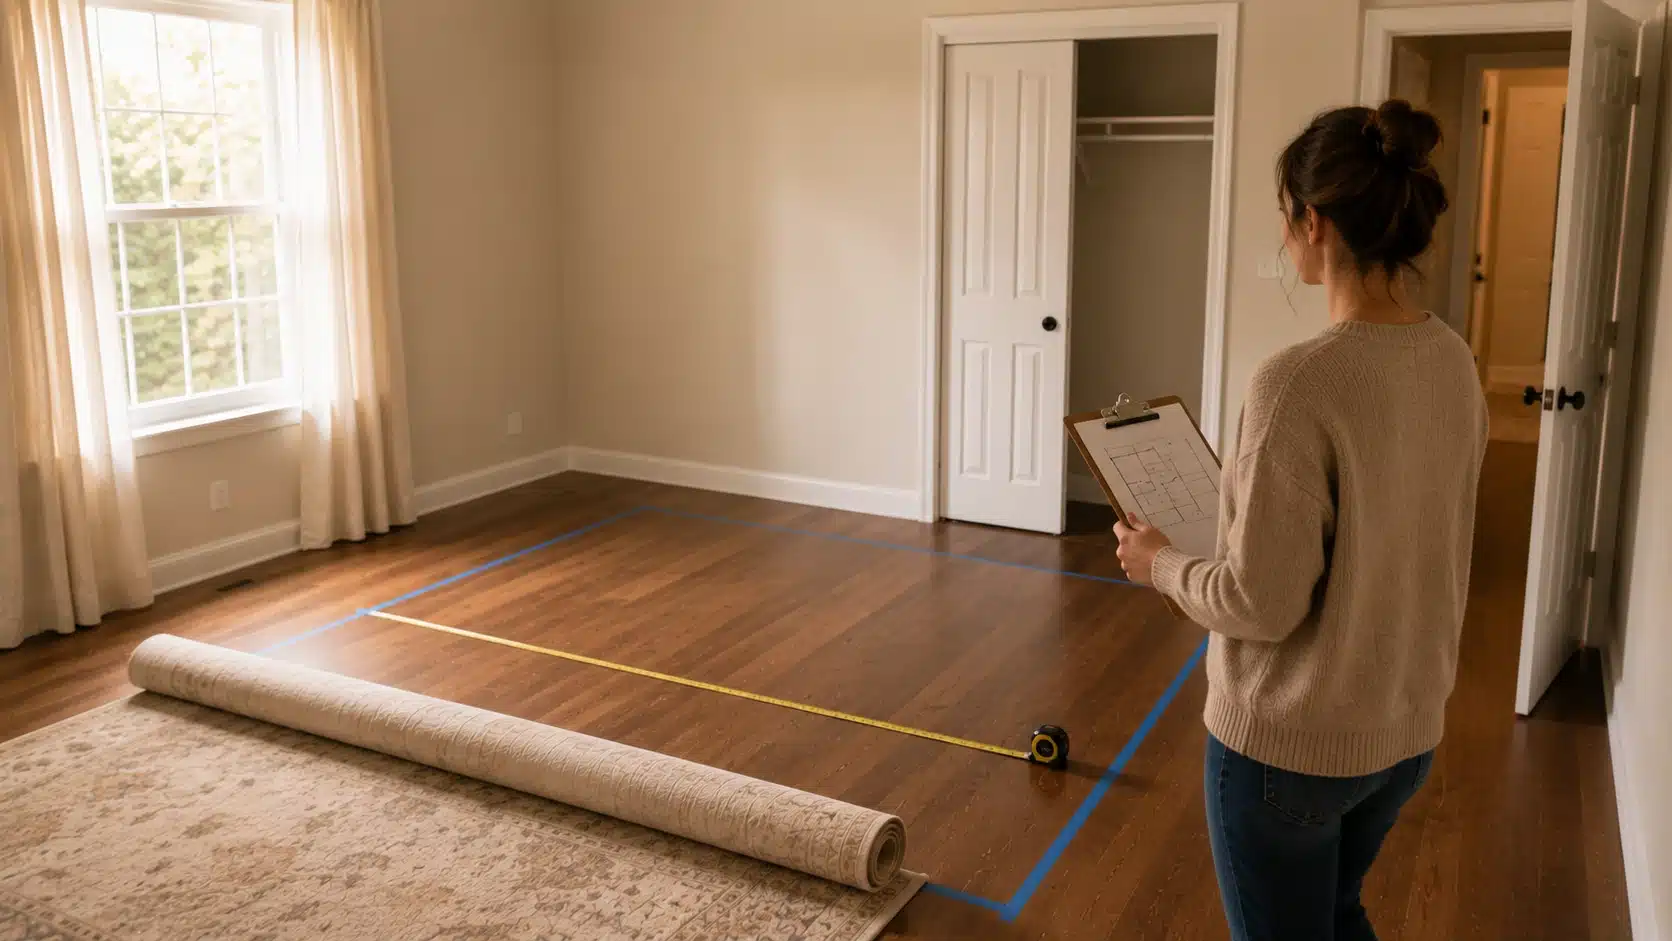
Step 1: Measure Your Room
Measure each wall for perimeter, multiply by the height to get square footage, and note trim, doors, ceilings, vaults, and soffits.
Quick tip: Write measurements down wall by wall to keep the math simple and accurate.
What most people miss: Note ceiling-height changes (vaults, soffits), as they increase the paintable area.
Step 2: Estimate Paint Needed
Estimate paint using 350–400 sq ft per gallon per coat; plan for two coats; add primer if needed; buy all at once.
- Coverage tip: Textured or rough walls use more paint than smooth walls.
- Smart move: Keep a small amount of leftover paint for future touch-ups.
Step 3: Get Multiple Quotes
Get 2–3 written quotes detailing prep, coats, paint, and cleanup. Avoid very low bids; compare the scope fairly.
- Coverage tip: Textured, patched, or uneven walls soak up more paint than smooth surfaces.
- Smart move: Save a small, labeled can of leftover paint for easy touch-ups later.
Step 4: Confirm What’s Included in the Price
Confirm what’s included: prep, cleanup, repairs, trim, ceilings, furniture moving. Compare the scope, ask the change policy, and get it written.
- Good to confirm: Prep work, number of coats, materials, and final cleanup.
- Smart check: Ask if touch-ups, minor repairs, and paint disposal are included.
Final Cost Checklist Before You Paint
Use this quick checklist before painting to avoid surprise charges. It helps you compare quotes fairly, confirm what’s included, and lock in clear pricing in writing.
☐ Check what the price includes: Confirm prep work, paint brand/type, number of coats, and cleanup are included
☐ Confirm what costs extra: Ask if repairs, priming, trim, doors, ceilings, or closets are priced separately
☐ Ask about furniture and protection: Make sure moving furniture, covering floors, and masking/taping are included
☐ Compare quotes the right way: Line up quotes side by side and match the scope, not just the final number
☐ Clarify change orders: Ask how pricing works if hidden damage, stains, or extra coats are needed mid-job
☐ Get it in writing: Request a written estimate/contract listing materials, timeline, and payment terms
☐ Confirm touch-ups: Ask if final touch-ups and a walkthrough are included before the last payment
Final thoughts
Now you know why painting costs can vary so much, and what usually makes the price go up or down. When I plan a paint job, I focus on the big drivers: how much wall space I’m covering, how much prep the walls need, and whether I’m paying for labor or doing the work myself.
I also think about paint quality because better paint can save time and last longer. Before you start, take a few minutes to measure the room, list any repairs, and decide what finish you want. That way, you won’t get surprised halfway through.
Next step: grab a tape measure, price out materials, and get 2–3 quotes to choose the best option for your home.