
You’re staring at your kitchen layout, tape measure in hand, wondering one thing: Why does choosing kitchen island dimensions feel harder than it should be?
I get why you’re stuck. On paper, an island sounds simple. Add one surface, gain more space, problem solved. But once you start planning, questions pile up fast.
Will it feel too bulky? Will it interrupt how you move through the kitchen? Will it actually help your daily routine, or just look good from a distance?
That’s where most advice falls short. It throws numbers at you without helping you imagine real life. Cooking, cleaning, sitting, walking, reaching, and even just standing around talking, all of that matters more than a single measurement.
In this guide, I’ll help you think through kitchen island dimensions in a way that fits how you actually use your kitchen. Not trends. Not showroom setups. Just clear thinking, practical decisions, and fewer second guesses when it’s time to commit.
Why Dimensions Matter for Functionality?
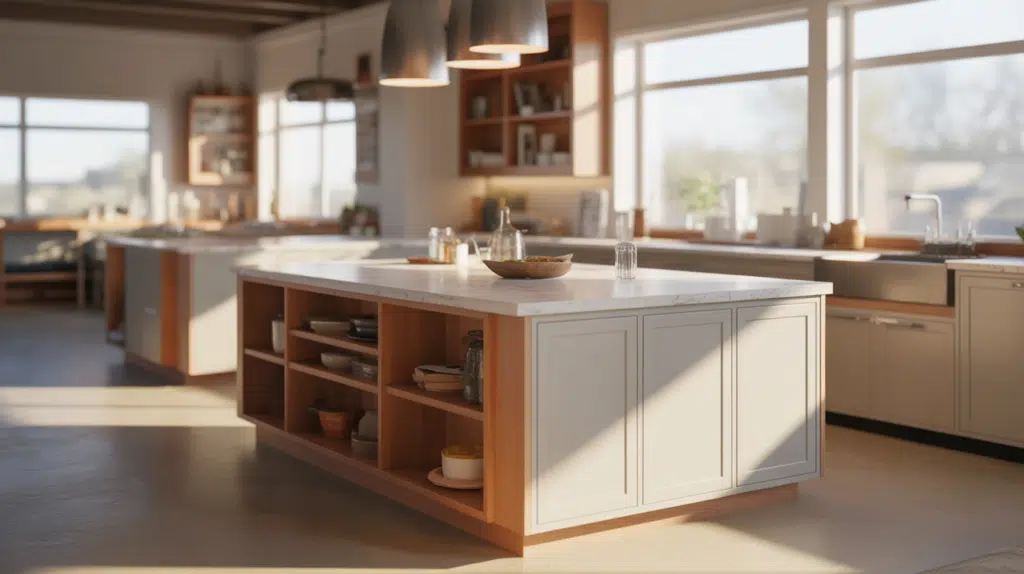
The right dimensions are crucial for a kitchen island to serve its intended purpose effectively. Kitchen islands are designed to enhance workspace, provide additional storage, and create a hub for social interaction within the home.
However, size directly impacts functionality. An island that’s too small fails to deliver these benefits, offering inadequate counter space and limited storage capacity that makes it essentially useless.
Conversely, an oversized island creates its own set of problems by obstructing traffic flow and disrupting the natural workflow between key kitchen zones.
The ideal dimensions strike a balance, ensuring the island enhances your kitchen’s efficiency without compromising movement or accessibility. Getting the measurements right transforms an island from a potential obstacle into a valuable asset.
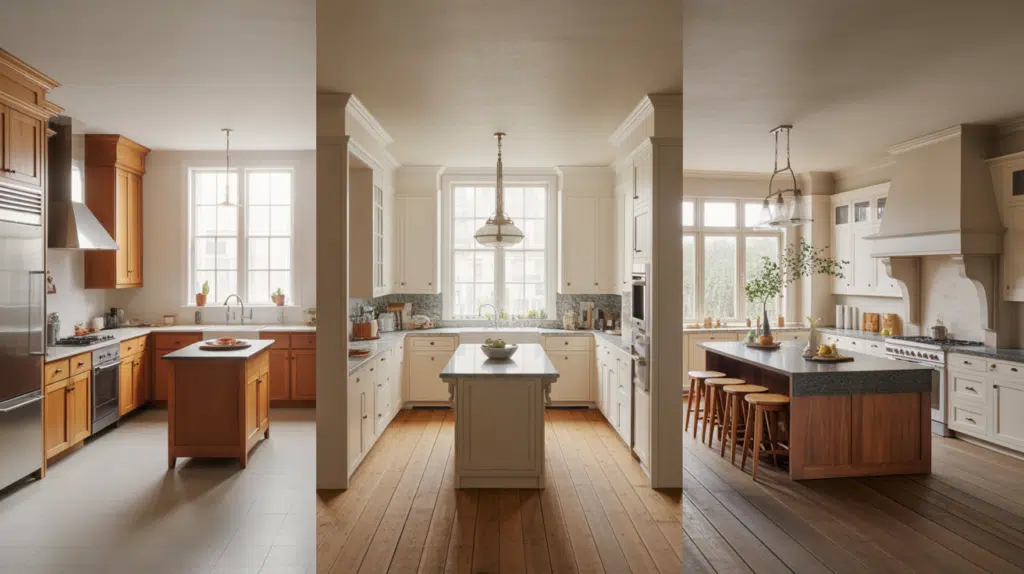
What Are the Standard Kitchen Island Dimensions?
Standard kitchen island dimensions vary based on kitchen size and function, but most islands range from 4 to 8 feet long, 2 to 4 feet deep, and stand at either 36 or 42 inches tall.
1. Standard Kitchen Island Sizes by Category
Island dimensions should correspond to your kitchen’s overall square footage to maintain proper proportion and ensure adequate clearance space around the perimeter.
- Small kitchens: ~4 ft × 2 ft (48″ × 24″)
- Medium kitchens (most common): ~6 ft × 3 ft (72″ × 36″)
- Large kitchens / open plans: 8 ft × 4 ft or larger (96″ × 48″+)
2. Standard Kitchen Island Height
Two height standards dominate kitchen island design, each serving different purposes and accommodating specific seating styles for optimal comfort and functionality.
- 36″ counter height (prep, cooking, most seating today)
- 42″ bar height (less common, mostly legacy designs)
- When taller or shorter users may need height adjustments
3. Standard Depth and Length Ranges
Depth and length measurements directly impact how many people can work or dine at the island and what functions it performs.
- Depth: 24″–36″ depending on prep space and seating
- Length: 48″–110″+ depending on function and kitchen size
How to Choose the Right Size for Your Kitchen Island
Choosing the right island size isn’t about picking standard measurements; it’s a step-by-step process. You need to evaluate your kitchen’s layout, consider how you’ll use the island, and ensure proper clearance. The perfect island fits your space, not the other way around.
Step 1: Start With Your Kitchen Size
Professional designers always start by measuring and evaluating the entire kitchen before choosing an island size. Your kitchen’s total square footage determines what size island will work without overwhelming the space or blocking movement.
Small kitchens (under ~70 sq ft)
- Limited floor space means tighter circulation paths.
- Islands must stay compact (around 4 ft × 2 ft) to avoid blocking movement between appliances and doorways.
Medium kitchens (~70–160 sq ft)
- Most flexible category for island sizing.
- Can support prep space, storage, and limited seating (typically 6 ft × 3 ft islands work well).
Large kitchens (160+ sq ft)
- Can accommodate longer or deeper islands (8 ft or more).
- Still require careful proportion and clearance planning to maintain good traffic flow.
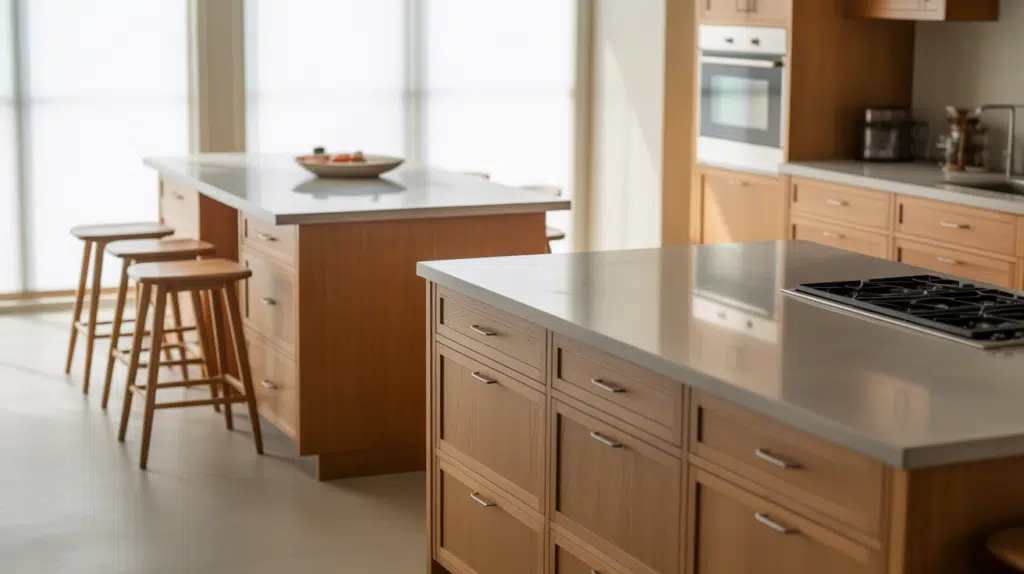
Step 2: Choose Island Dimensions Based on How You’ll Use It
Once you understand your kitchen’s space limits, the island’s intended purpose determines its final dimensions. Different functions require different sizes and configurations.
1. Prep-Focused Islands
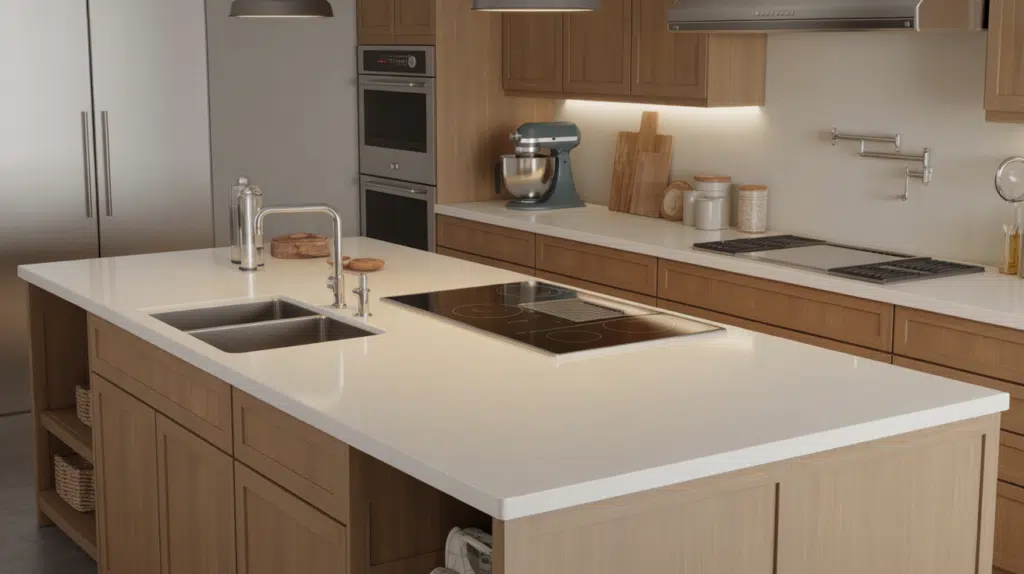
Islands for food preparation need adequate counter space for cutting, mixing, and working with ingredients without feeling cramped during cooking tasks.
- Depth should support cutting, mixing, and everyday prep.
- Allow space for small appliances to stay on the counter.
- Extra depth is needed when adding:
- A sink (requires plumbing and landing space)
- A cooktop with proper landing space for pots
- Shallow islands limit prep efficiency.
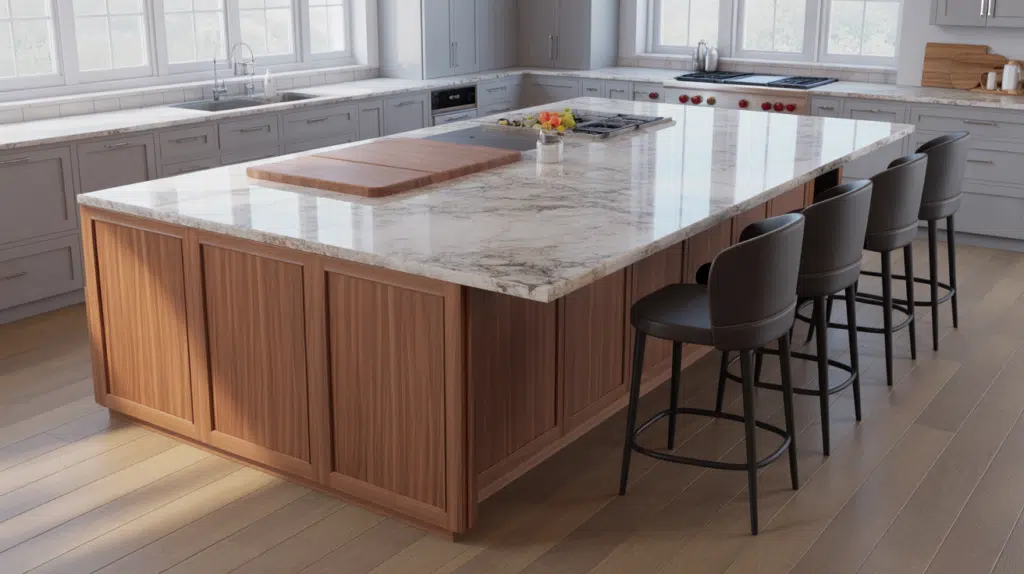
2. Seating and Dining Islands
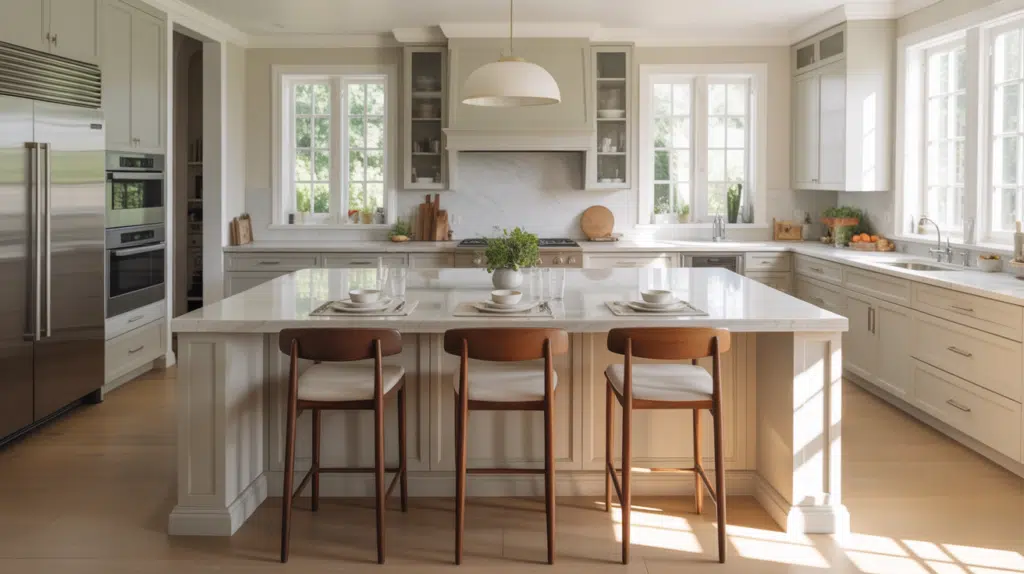
Adding seating transforms your island into a dining spot but requires careful planning for comfort and movement around the space.
- Allow 24″–30″ per person for comfortable seating.
- Use 12″–15″ overhang for knee clearance.
- Leave room behind stools for:
- Pulling chairs in and out
- Access to nearby walkways and appliances
- Seating increases both island size and clearance needs.
3. Storage-Heavy Islands
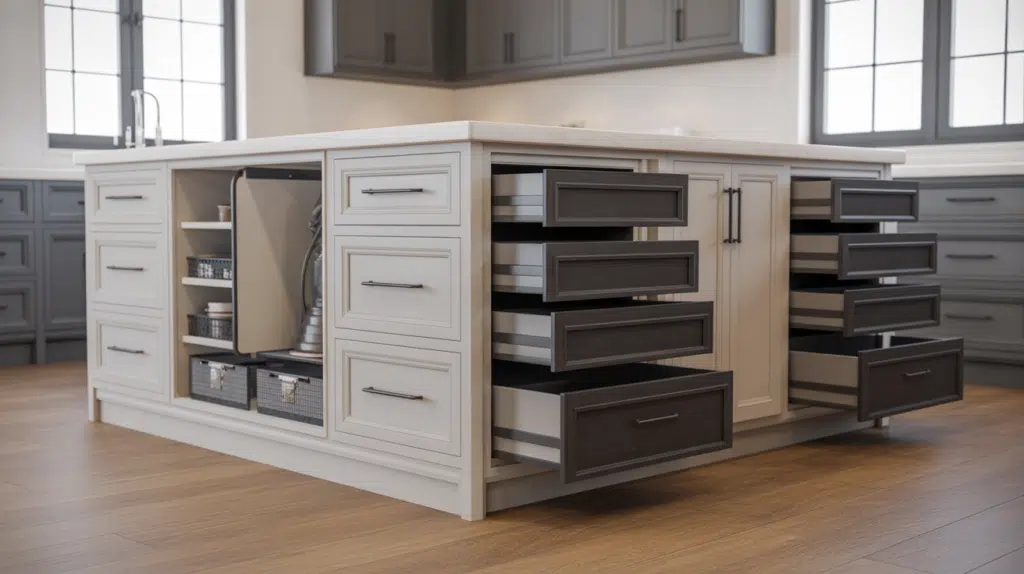
Islands focused on storage maximize organization capacity, but cabinet configuration directly impacts the island’s overall footprint and required depth.
- Drawer and cabinet depth affect overall island size.
- Single-sided storage needs less depth than double-sided.
- Deeper islands work best in larger kitchens.
- Consider what you’ll store to determine cabinet depths.
4. Multi-Functional Islands
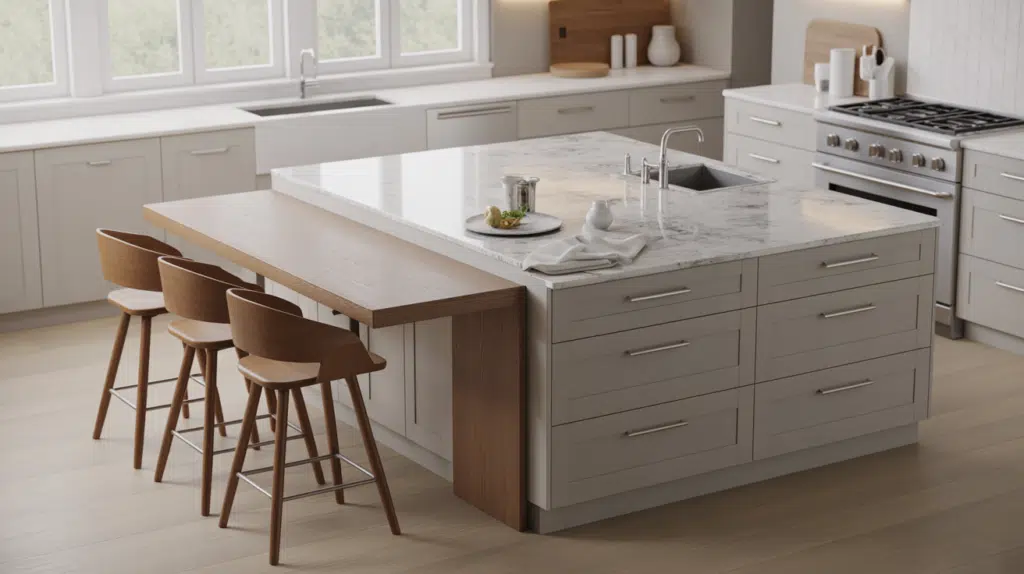
Combining multiple purposes creates versatility but requires careful planning to avoid overcrowding the space with too many competing features.
- Combining prep, seating, storage, and appliances requires more space.
- Each added function increases:
- Length (more counter space)
- Depth (accommodating zones)
- Clearance around the island (more traffic)
Step 3: Sanity-Check Size Before Finalizing
Before committing to your island dimensions, verify that the size works practically in your real-world kitchen layout and daily workflow.
- Make sure circulation paths stay clear with at least 36-42 inches on all sides.
- Confirm appliance doors won’t collide with stools or walkways when opened.
- Ensure the island supports daily use, not just visual appeal.
- Test the layout by marking the floor with painter’s tape to visualize the space.
Minimum Clearance and Spacing Rules
The space around your kitchen island matters even more than the island’s size. Proper clearance ensures you can move freely and work safely in your kitchen.
- Minimum clearance on all sides: Leave at least 36 inches so one person can walk by and you can open cabinets easily.
- Better clearance for busy kitchens: Aim for 42 to 48 inches if multiple people cook together, preventing bumping into each other.
- Extra space near appliances: Give more room around dishwashers, refrigerators, and ovens since their doors swing open and people need space to load/unload.
- Why spacing is so important: Too little space creates dangerous situations, makes cooking frustrating, and turns your island into a roadblock instead of something helpful.
- Think about traffic flow: Make sure your island doesn’t block the natural paths people walk between the sink, stove, and fridge.
Island Size by Kitchen Layout Type
Different kitchen layouts have unique requirements and constraints that determine what island size and configuration will work best in the space.
| Kitchen Layout | Island Considerations | Key Requirements | Best Practices |
|---|---|---|---|
| Galley Kitchens | Limited width between parallel counters | Minimum 42-48″ aisle width on both sides | Islands often don’t work; use rolling carts or narrow 24″ deep islands instead |
| L-Shaped Kitchens | Most flexible for island placement | Rectangle islands (6′ × 3′) work best | Position island to maintain work triangle between sink, stove, and fridge |
| U-Shaped Kitchens | Tight clearance on three sides | Minimum 42″ clearance on all sides | Consider a peninsula instead if space is limited; prevents feeling boxed in |
| Open-Plan Kitchens | Islands define kitchen boundaries | Larger islands (7-10 feet) anchor the space | Use island to zone cooking area from dining/living; add seating on the open side |
Understanding your kitchen’s layout type is the first step to determining if an island will improve or hinder your space’s functionality and flow.
Appliances and Features That Affect Island Size
Adding appliances and features to your island changes its minimum size requirements. Each element needs specific clearances and spacing to function safely and effectively.
1. Sink Dimensions and Clearance
Installing a sink in your island requires careful planning for plumbing access, adequate work surfaces, and proper clearances on both sides.
Rule: Add 18-24 inches of counter space on each side of the sink for dish prep and drying.
Practical Impact: A standard 30-inch sink requires a minimum 6-foot island length. Without adequate landing space, water splashes onto floors and you’ll lack room to work.
2. Cooktop Spacing Requirements
Cooktops create heat and require ventilation, making proper spacing essential for safety, functionality, and protecting nearby surfaces from heat damage.
Rule: Cooktops need 12-15 inches of landing space on each side and 9 inches behind for safety.
Practical Impact: A 30-inch cooktop requires minimum 54 inches of length. Insufficient clearance creates burn hazards when moving hot pots and limits your workspace dramatically.
3. Drawer and Cabinet Module Sizes
Standard cabinet dimensions determine your island’s final measurements, and working with these modules helps control costs and simplifies the installation process.
Rule: Standard cabinet modules come in 3-inch increments (12″, 15″, 18″, 24″, etc.).
Practical Impact: Custom island sizes may require expensive modifications. Stick to standard module combinations (like 72″ total from 24″+24″+24″) to control costs and simplify installation.
4. Electrical Outlets and Seating Safety
Building codes mandate outlet placement for countertop appliances, but positioning must balance accessibility with safety, especially around seating areas where people gather.
Rule: Outlets must be 20 inches above counter height and positioned away from seating areas.
Practical Impact: Plan outlet locations before finalizing dimensions. Outlets too close to seating create safety hazards, while poorly placed outlets force awkward appliance positioning during daily use.
Common Mistakes to Avoid
Many homeowners make preventable sizing errors when planning kitchen islands. Understanding these common mistakes helps you avoid costly renovations and ensures your island actually improves your kitchen’s functionality.
- Copying islands from larger homes: What works in a 300 sq ft kitchen won’t fit a 100 sq ft space. Always size based on your actual kitchen dimensions.
- Ignoring clearance for appliances: Failing to account for dishwasher, refrigerator, and oven door swings creates dangerous collisions and blocks access during use.
- Oversizing for looks instead of function: A dramatic 10-foot island looks impressive but blocks traffic flow. Prioritize movement and usability over visual impact.
- Forgetting reach, cleaning, and daily movement: Islands over 42 inches deep make reaching difficult, create hard-to-clean areas, and force awkward stretching during prep.
- Choosing dimensions before finalizing layout: Selecting island size before mapping your kitchen leads to poor placement. Plan complete workflow first, then size accordingly.
Final Thoughts
Choosing the right kitchen island dimensions is less about chasing perfect numbers and more about making choices that work for your space and habits.
When the size fits how you move, cook, gather, and store things, the kitchen starts to feel easier to use every single day. I want you to walk away feeling clear, not second-guessing if the island will be too tight, too large, or just slightly off.
If you take one thing from this guide, let it be this: Good planning always beats last-minute fixes. When the dimensions make sense from the start, everything else falls into place more naturally.
If you’re still mapping out your kitchen, I’ve shared more practical guides that can help you move forward with confidence.
You’ll find posts on layout planning, spacing rules, storage decisions, and design choices that support real daily use. Take a look at those next and keep building a kitchen that actually works for you, not against you.