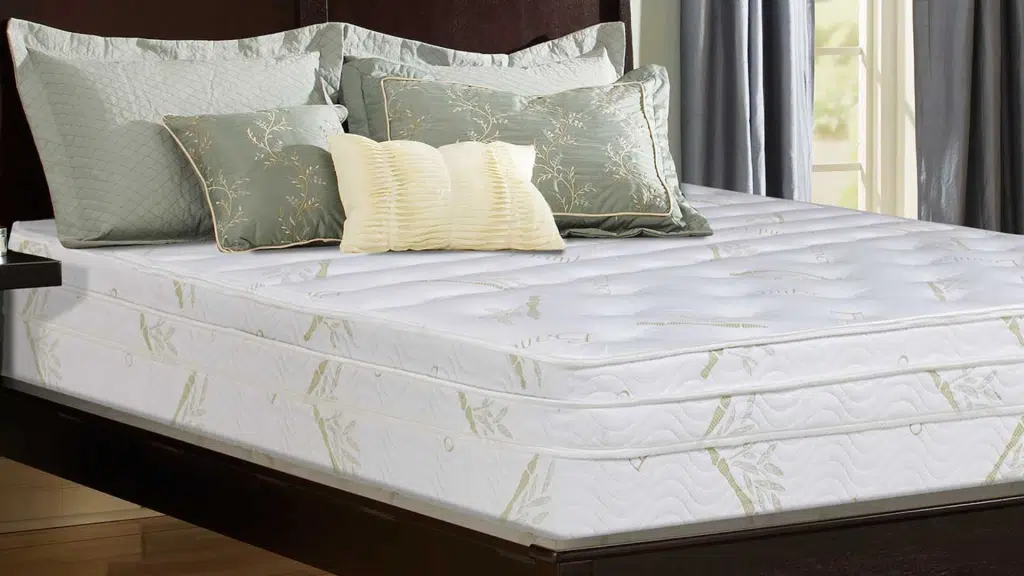

Ever wondered if you can cut a memory foam mattress without damaging it? The answer is yes, and it’s easier than you might think if you’ve got the right tools and techniques.
If you need it to fit a custom bed frame, a van build, or you’re just repurposing it for another project, it can be done.
Today, I’ll walk you through everything from picking the best cutting tools to step-by-step instructions. You’ll get tips for tricky situations, advice on post-cutting care, and ways to avoid common mistakes.
I’ll even share ideas for reusing leftover foam so nothing goes to waste. Let’s see exactly how to do it right.
Can You Cut a Memory Foam Mattress Safely?
Yes, you can safely cut a memory foam mattress as long as you use the right tools and take your time.
Memory foam is made of dense, flexible material that can be trimmed without losing its comfort or support, but the process needs careful handling to avoid jagged edges.
People cut their mattresses to fit custom bed frames, odd-shaped rooms, or tight spaces in vans, RVs, and campers. Others trim them to make cushions, pet beds, or reuse leftover foam for DIY projects.
By preparing properly, following safe cutting techniques, and working patiently, you can get a clean, precise cut that looks professional and keeps the mattress in great condition.
How to Cut a Memory Foam Mattress: Step-by-Step Guide
Cutting a memory foam mattress is simple if you’re prepared. With the right tools, proper setup, and careful technique, you can resize it for custom spaces or projects while keeping the foam’s comfort and quality intact.
Tools You’ll Need for a Clean Cut
Here’s a list of the tools used in the process:
- Electric carving knife: For making clean, even cuts through the memory foam.
- Razor blade: An alternative cutting tool for smaller adjustments.
- Sharpie marker: For marking precise cut lines on the mattress.
- Measuring tape: To confirm accurate dimensions before cutting.
- 2×6 board: Used as a straight-edge guide to keep the cut line even.
- New zippered mattress cover: Sized to the final dimensions for protection and a finished look.
- Gloves: For safe handling of tools and foam (implied for safety).
These tools will help you get a clean cut while keeping the foam’s shape and comfort intact. Choose based on your mattress thickness and the project you’re working on.
Step 1: Preparation and Measuring
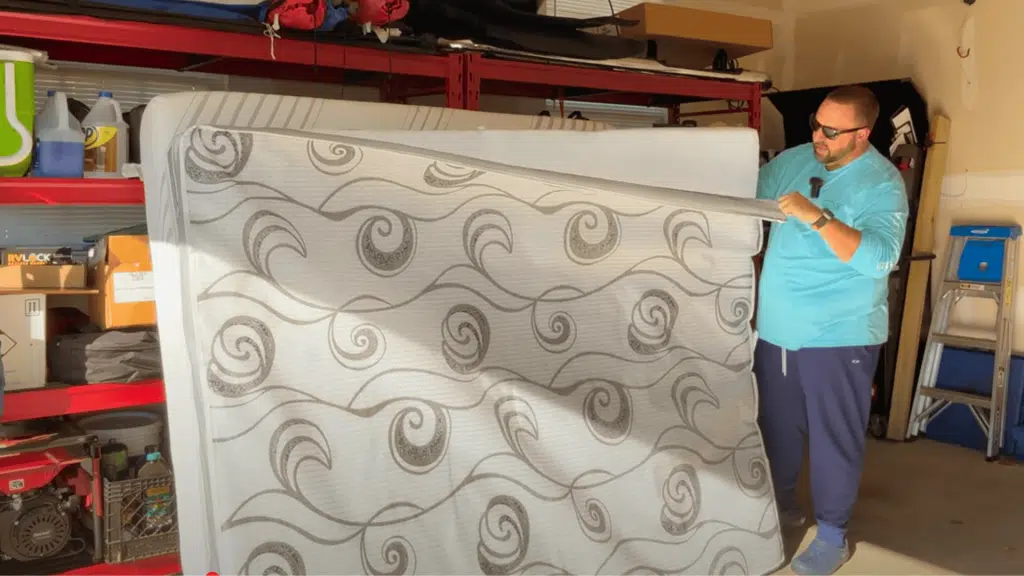
Start by removing the existing mattress cover so you can access the foam. Lay the mattress flat in an open space and measure the exact size needed for your RV bed frame.
Use the old mattress or a template to compare dimensions, then mark the cutting line clearly with a Sharpie. Double-check your measurements to avoid costly mistakes.
Step 2: Setting a Guide for Cutting
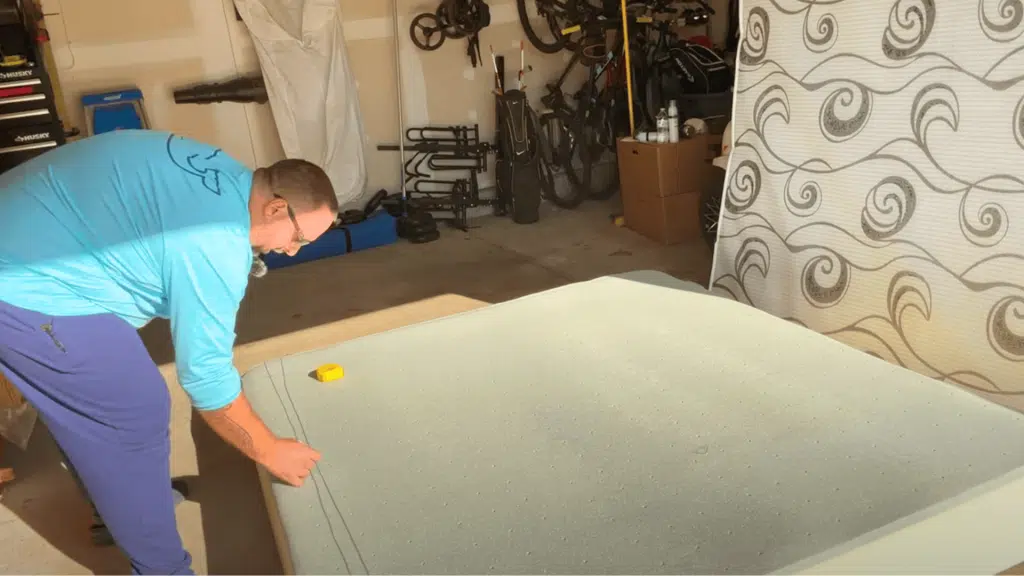
Place a straight, sturdy board such as a 2×6 along your marked line to serve as a guide. This helps keep the cut straight and prevents the blade from drifting. Make sure the foam is not overly compressed while setting up, as this can cause uneven cuts.
Step 3: Cutting the Foam
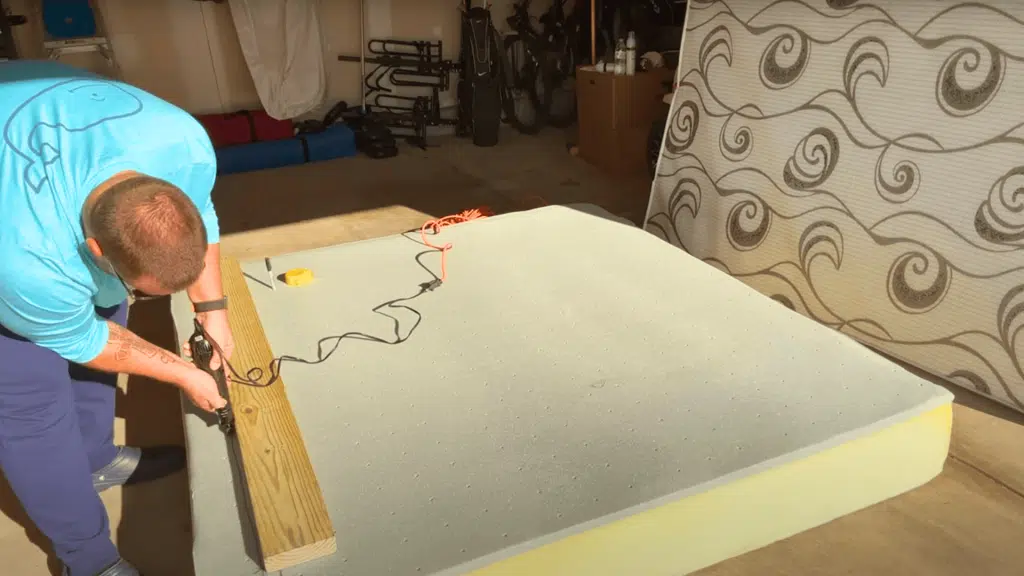
Use an electric carving knife for a clean, controlled cut. Begin with a shallow pass along the guideline, then work your way deeper until you cut through the entire thickness. Move slowly and steadily, peeling away the offcut as you go. Tidy up any uneven edges before proceeding.
Step 4: Re-covering and Test Fitting
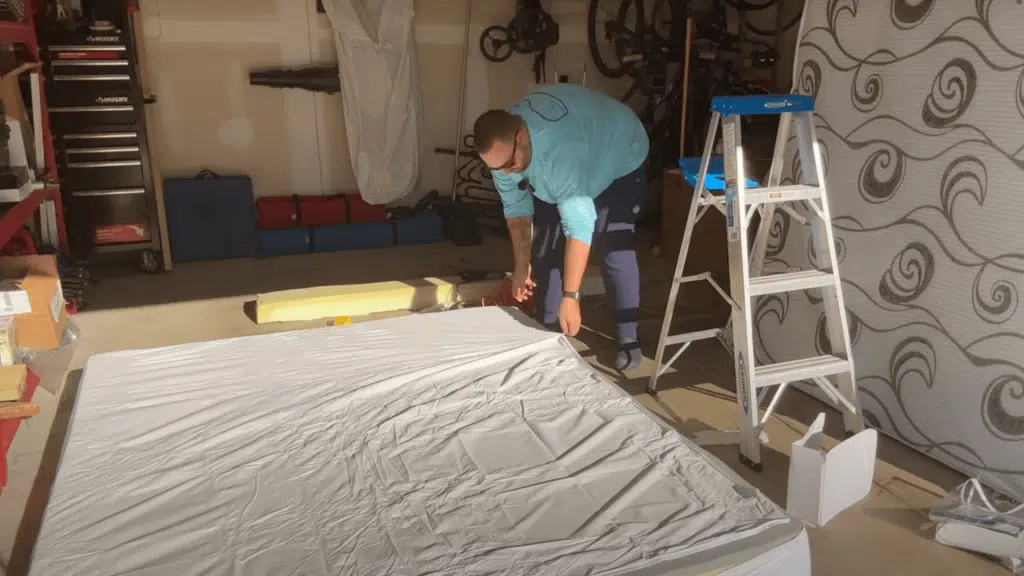
Once cut, place the mattress inside a new zippered cover sized to the final dimensions. This will protect the foam and give it a finished look.
Carefully move the mattress into your RV bed frame and test the fit. Add sheets and bedding, and your custom-sized memory foam mattress is ready for use.
With the right tools, careful preparation, and steady technique, you can cut a memory foam mattress cleanly and safely for any custom project.
Special Scenarios & Adjustments
Some projects require small changes to your cutting method. The right approach will help you get a perfect fit without damaging the foam.
- Cutting for a Van or RV Conversion: Measure carefully and make a paper or cardboard template for angled or curved cuts. Trace it onto the foam to match your van or RV space exactly.
- Modifying a Mattress Topper: Use a serrated bread knife or razor knife. Lay it flat, mark the line, and cut in one smooth motion to keep edges clean.
- Cutting a Gel Memory Foam Mattress: Use a sharp electric carving knife for dense gel foam. Cut slowly to protect the gel cells and maintain cooling performance.
- Trimming Height vs. Length: For height, shave off a layer evenly using a hot wire cutter or a long blade. For length or width, follow your marked guide with the standard cutting method.
By adjusting your tools and technique to the type of foam, you’ll get cleaner cuts and better results for any custom project.
How to Care for Your Mattress After Cutting
After cutting your memory foam mattress, a few extra steps will help protect it and keep it in good shape.
Handling and Protecting Raw Edges
Gently smooth the edges after cutting to remove any loose bits of foam. If possible, seal them with fabric tape or a fitted cover to prevent fraying or wear over time.
Re-covering or Wrapping the Mattress
If you removed or damaged the original cover, replace it with a new zippered cover or wrap the mattress in breathable fabric. This keeps the foam clean, extends its life, and maintains its comfort.
Maintaining Foam Shape After Cutting
Lay the mattress flat for several hours so it can fully expand and settle into its new size. Avoid placing heavy objects on it right away, as this could create dents or misshapenness.
With proper care after cutting, your memory foam mattress will stay comfortable, durable, and perfectly suited to its new size or purpose.
Disposal or Repurposing of Foam Scraps
Instead of throwing away leftover foam, look for eco-friendly disposal options such as recycling centers that accept polyurethane or memory foam, or take-back programs offered by some mattress retailers.
You can also repurpose scraps into seat cushions, pet beds, padded mats, pillow stuffing, or packing material, giving them a second life while reducing waste and getting more value from your purchase.
If you have larger leftover pieces, consider donating them to local schools, community centers, or animal shelters, where they can be used for art projects, play areas, or bedding.
This way, your foam benefits others while staying out of the landfill.
Common Mistakes to Avoid
Avoiding these common mistakes will help you achieve a clean, accurate cut and keep your mattress in great condition.
- Cutting too fast: Rushing through the process can cause the blade to drift, creating jagged edges and uneven cuts. Take slow, steady passes to maintain control and accuracy.
- Using dull tools: A dull blade will snag or tear the foam rather than slicing it smoothly. Always check your tools beforehand and, if needed, replace or sharpen the blade before starting.
- Over-compressing foam: While light compression can make cutting easier, pressing too hard can distort the foam’s shape and result in uneven edges. Keep compression gentle and even.
- Not marking clearly: Vague or crooked lines make it harder to stay on track, especially for long cuts. Use a ruler or straight edge to create bold, visible markings you can follow easily.
By avoiding these mistakes and focusing on precision, you’ll get a smoother cut and a more professional-looking finish.
Conclusion
Cutting a memory foam mattress is straightforward once you know the right tools, steps, and safety tips. Now that you’ve seen how it’s done, you can confidently resize yours for custom spaces or repurpose it for new projects.
I’ve found that working slowly, marking clearly, and caring for the foam afterward helps it last much longer.
So, if you’ve been wondering, can you cut a memory foam mattress without damage? You absolutely can, as long as you follow these guidelines.
For more smart DIY ideas and home improvement tips, take a look at our other blogs. You’ll find creative, practical ways to make your space more comfortable and functional.