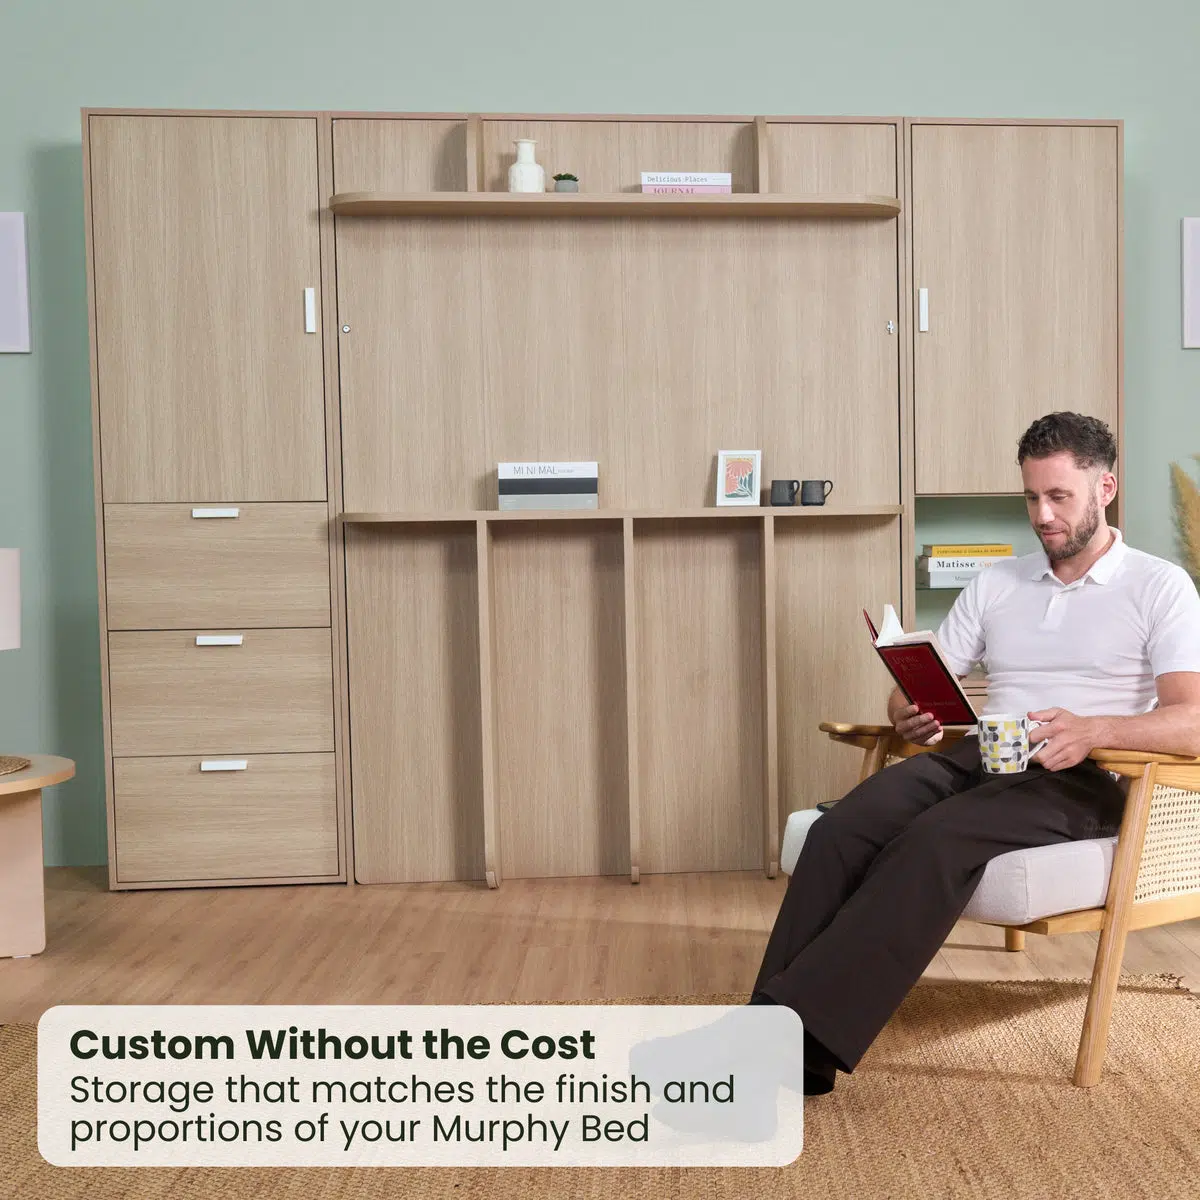

I know how confusing it can feel when you want to update your bedroom but don’t know where to start.
A headboard is one of the easiest places to begin, and you can build one that fits your style without spending a lot.
In this guide, I’ll walk you through how to make a headboard using simple steps, clear tools, and materials you can easily find.
You’ll learn how to plan your design, choose the right supplies, and build a padded, tufted, or wall-mounted piece.
I’ll also share tips to help you avoid common mistakes, so your project runs smoothly from start to finish. My goal is to help you build a headboard you’ll feel good about every day.
How to Plan Your DIY Headboard for Comfort and Better Sleep
A headboard can make a big difference in how comfortable you feel at night. A soft, padded surface supports your back when you sit up, and a taller height works well if you use extra pillows.
A steady, well-positioned headboard also helps your bed feel secure and keeps the room balanced.
If you want better rest, simple upgrades, like adding more padding, switching to a softer fabric, or raising the height slightly, can improve comfort without a full rebuild.
Start by measuring the width of your mattress. Note the height from the floor to the top of the mattress, and measure the distance from the mattress to the ceiling.
These numbers help you choose the right shape and height. Most headboards sit a little above pillow height, while taller rooms can handle something higher. Small rooms often look better with a shorter or medium height to avoid a crowded feel.
Choose Your Headboard Style
Think about the look you want and how much time you want to spend. Common styles include:
- A simple padded board
- A tufted board with buttons
- A wood panel or slatted board
- A wall-mounted version
- A fabric piece hung from a rod
Pick something that matches your bed frame and the rest of your room. Soft fabric works well in cozy spaces. Wood suits modern, classic, or rustic rooms. Wall-hung options fit well in tight spaces or rentals.
Set a Realistic Budget and Skill Level
Basic padded boards cost less because they need only foam, fabric, and a backing board. Wood builds run higher when you add boards, screws, glue, and finish.
Look at the tools you already own. Simple padded boards work well for beginners. Wood building needs cutting tools and a bit more practice.
Tools and Materials Required to Make a Headboard
Keep these on hand for almost any build:
- Tape measure
- Pencil
- Jigsaw or circular saw
- Drill or driver
- Staple gun
- Sander
- Level
Common Materials Based on the Type of Headboard
Before you pick a design, consider the materials you’ll need for each type of headboard. This quick table gives you a clear overview.
| Headboard Type | Common Materials |
|---|---|
| Upholstered or Tufted | Plywood or MDF, foam, batting, fabric, staples, buttons for tufting |
| Wood Slat or Panel | Boards, plywood backing, screws, wood glue, stain, or paint |
| Wall-Mounted or Hanging | French cleats, D-rings, anchors, hanging rod or dowel, fabric |
Use this list to check what you already have and what you need to buy before you begin your build.
Choosing the Right Fabric, Foam, and Finish
Use foam thick enough to feel soft when you lean back. Most people prefer medium-density foam, so it keeps its shape.
Choose a fabric that can withstand daily use, such as a linen blend, twill, or faux leather. For wood, decide whether you want paint or stain, and apply a clear coat to protect the surface.
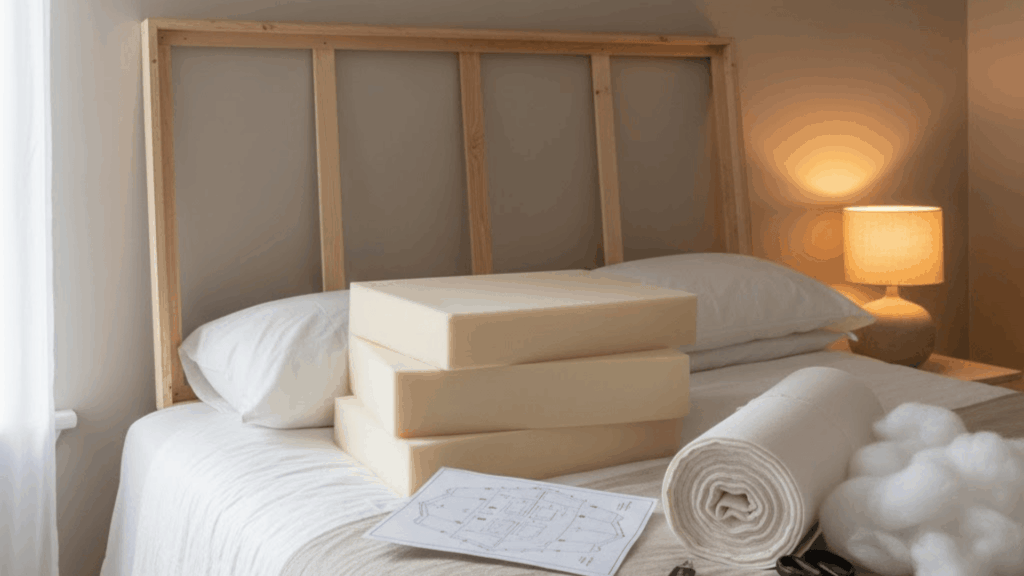
1. How to Make an Upholstered Headboard: Step-By-Step
You’ve gathered your tools and picked your style, so here’s a quick look at each step so you know exactly what to do next.
Step 1: Build the base by cutting your board, adding battens, attaching the mattress slip, and installing the tee nuts.
Step 2: Cut the foam so it slightly overhangs the edges, then glue and staple it in place.
Step 3: Add wadding and wrap the headboard with fabric, tightening it as you staple around the frame.
Step 4: Cover the mattress slip with fabric, secure it with a back-tack strip, and pleat the corners neatly.
Step 5: Finish the back with calico, trim extra fabric, and bolt the struts into the tee nuts.
These quick steps give you a clear path from a bare board to a fully finished headboard you can mount and use right away.
2. How to Make a DIY Tufted Headboard
Here’s a short breakdown of the main steps so you can follow the process with ease.
Step 1: Build the base by cutting a plywood board, attaching 1x4s for thickness, and adding a French cleat for hanging.
Step 2: Mark a grid across the board, drill holes at each intersection, and adjust spacing after testing through the foam.
Step 3: Add padding by gluing on thick foam, wrapping the edges with medium foam, and covering the surface with batting.
Step 4: Create the tufts by threading buttons through each hole with twine, tightening them, stapling the twine securely, shaping pleats, and mounting the headboard.
These steps give you a clear path from a plain board to a fully finished tufted headboard you can hang right away.
No-Headboard? Easy Wall-Mounted and Fabric Alternatives
If you want a simple setup without building a full headboard, these easy alternatives can give your bed a finished look.
| Alternative Type | How It Works |
|---|---|
| Wall-Mounted Cushion or Panel | Attach padded panels or cushions using Velcro, cleats, or picture hangers. |
| Curtain or Tapestry Headboard | Hang a rod above the bed and drape fabric, a curtain, or a quilt. |
| Peel-and-Stick or Painted Faux Look | Use peel-and-stick panels or paint to create a headboard shape on the wall. |
These options work well for tight spaces and rentals while still adding color and comfort to your room.
Common DIY Headboard Mistakes to Avoid
If something doesn’t look or feel right after you finish your headboard, these quick tips can help you fix the most common issues.
- Headboard looks too small or too big: Extend the sides, add a frame, or widen the shape with trim or paint.
- Fabric wrinkles or uneven tufting: Tighten the staples, smooth the corners, or rethread loose buttons to keep the fabric even.
- Wobbly or crooked headboard: Tighten the screws, add support boards, or switch to a wall mount for better stability.
With a few simple adjustments, you can smooth out these problems and get your headboard looking clean and steady.
Best Sleeping Positions for a Good Night’s Rest
Everyone sleeps a little differently, and the way you sleep can affect how your body feels in the morning. Here’s a simple guide to help you find the most comfortable position for your needs.
1. Side Sleepers
Side sleeping is one of the most common positions. It helps reduce pressure on your lower back and can ease snoring.
Keep your spine straight by using a medium-height pillow under your head and a small pillow between your knees. This keeps your hips level and prevents twisting.
2. Back Sleepers
Back sleeping supports your head, neck, and spine in a natural line. Use a pillow that lifts your head slightly without pushing your chin toward your chest.
A thin pillow under your knees can ease tension in your lower back. This position can feel even better with a padded headboard that supports you when you sit up.
3. Stomach Sleepers
Stomach sleeping can sometimes strain your neck or lower back because you need to turn your head to breathe.
If this is the only way you fall asleep, use a very thin pillow or no pillow at all. Placing a soft pillow under your hips helps ease pressure and keeps your lower back from sinking too far.
Simple Tips for Better Rest
- Use pillows to support your spine
- Keep your neck level with your back
- Adjust your bedding so you stay cool and comfortable
- Choose a headboard that feels good to sit against if you read or watch TV in bed
Wrap Up
I hope this guide made it easier for you to understand how to make a headboard in a way that fits your space and your comfort.
You learned how to plan your design, choose the right materials, and follow simple steps to build a style that feels right for your room.
My goal was to give you clear details so you can start your project with confidence and avoid the common issues that slow people down.
If you want more ideas to support your next home project, I’d love for you to look through a few more posts here. You may find something that helps you plan your next step with ease.