
Maximizing space in a small room can feel like solving a puzzle, especially when you need the room to serve multiple purposes. Imagine freeing up floor space without giving up a proper bed.
That’s exactly where a Murphy bed comes in, a clever, space-saving solution that folds neatly into the wall when not in use.
Here, I’ll show exactlyhow to build a Murphy bed from scratch, including a complete list of tools and materials, and step-by-step instructions to make the process smooth.
With practical tips, common mistakes to avoid, and options for both vertical and horizontal designs, this will help alter any small space into a stylish, functional, and versatile room that works for both living and hosting guests.
Why Build a Murphy Bed Yourself?
A Murphy bed is more than just a bed; it’s a clever way to save space. Building one yourself means you can make it fit perfectly in your room and match your style.
It’s also much cheaper than buying a ready-made Murphy bed, and you get to choose the materials, size, and finish exactly how you want. Plus, there’s a lot of satisfaction in creating something with your own hands.
A DIY Murphy bed gives you a flexible room that can switch from an office or living space into a guest room in seconds. It’s practical, fun, and a smart solution for making the most out of small spaces.
Step-by-Step Guide: How to Build a Murphy Bed
Building a Murphy bed is a practical way to maximize space in smaller rooms, such as home offices, guest rooms, or studio apartments. With the right materials and tools, it’s possible to create a sturdy, functional, and stylish bed that folds neatly against the wall.
Materials Required
Gathering all your materials before starting your project saves time and prevents frustrating trips to the hardware store. Here’s everything you’ll need to frame and finish a standard Murphy bed successfully:
- Plywood or solid wood for the frame and cabinet
- Wood screws
- Wood glue
- Edge banding
- Murphy bed hardware kit (pivots and hydraulic lifts)
- Handles for pulling the bed down
- Mattress straps
- Paint or stain
- Caulk
- Trim pieces for finishing
With all your materials ready and plans in hand, you’re ready to move on to the next step and learn how to make a Murphy bed safely and efficiently.
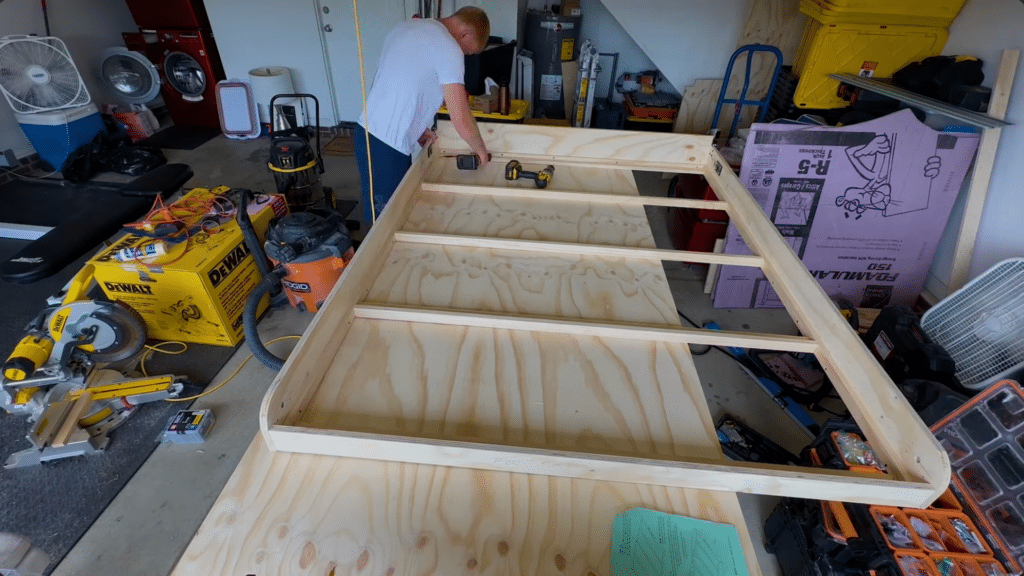
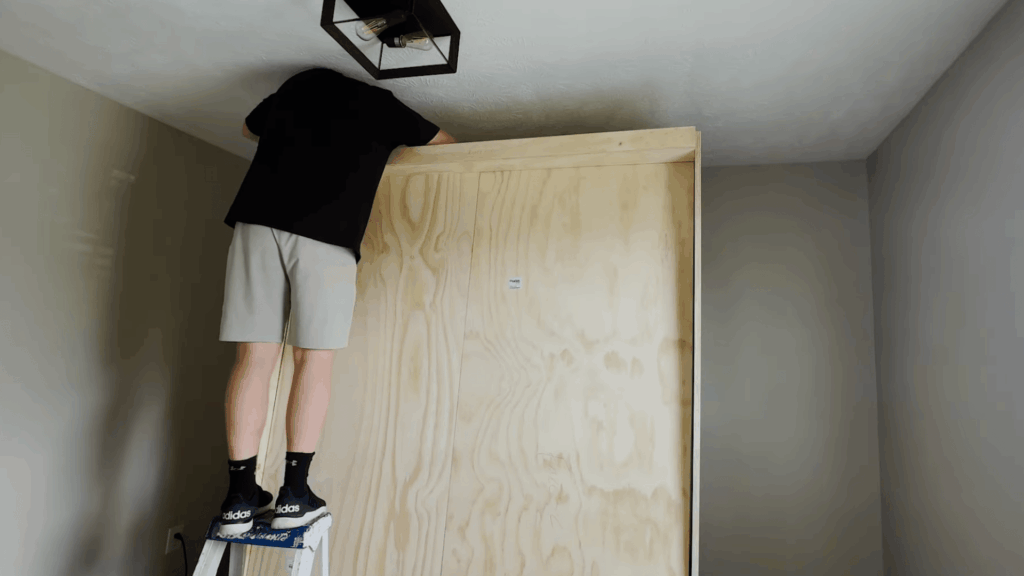
Step 1: Build the Inner Bed Frame
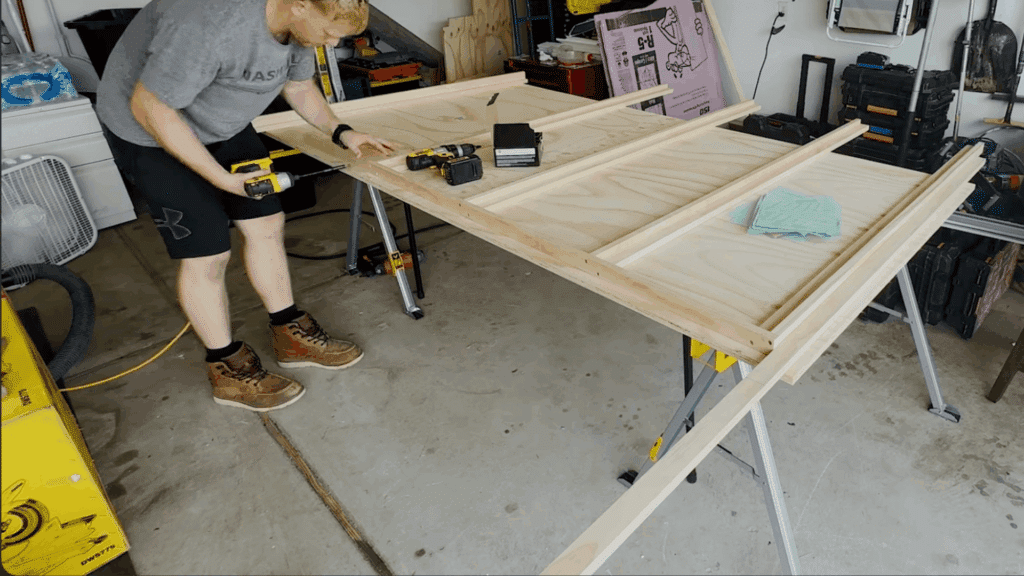
Start by assembling the inner frame using glued and pinned wood struts. Arrange the two frame sides side by side and carefully mark the strut positions so everything is identical.
Drill pilot holes and secure each strut with screws. This strong base ensures the mattress is well supported and provides a stable foundation for the rest of the Murphy bed.
Step 2: Prepare the Side Rails
Use templates from your plans to round over the side rails. This keeps the bed safe and prevents bumps or scrapes during use.
Make sure both side rails mirror each other so the folding mechanism works smoothly. Double-check measurements and take your time here, as mistakes can affect how well the bed opens and closes later.
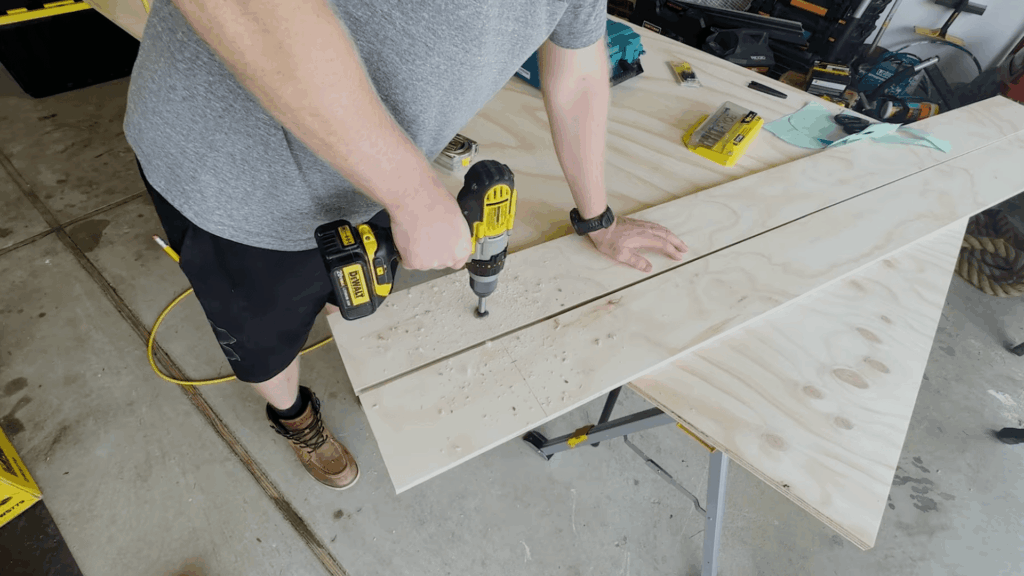
Step 3: Drill Holes for Pivot and Legs
Drill holes at the top of the side rails for the pivot plates and at the foot for the fold-down legs. These holes allow the bed to fold safely and support its weight.
To prevent wood tear-out, drill partially from one side, then finish from the other. Proper placement here is essential for smooth, balanced movement.
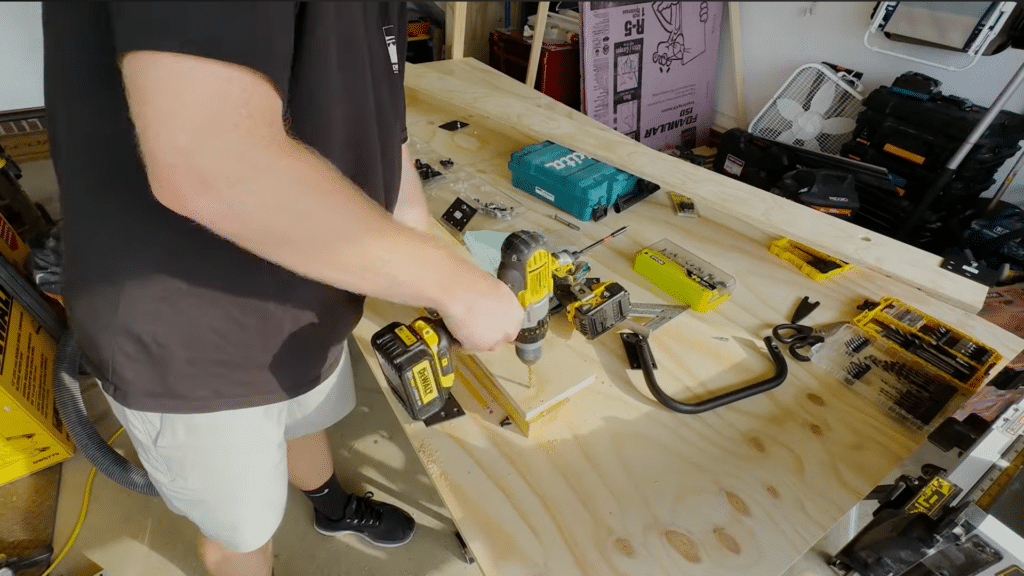
Step 4: Install the Hardware Plates
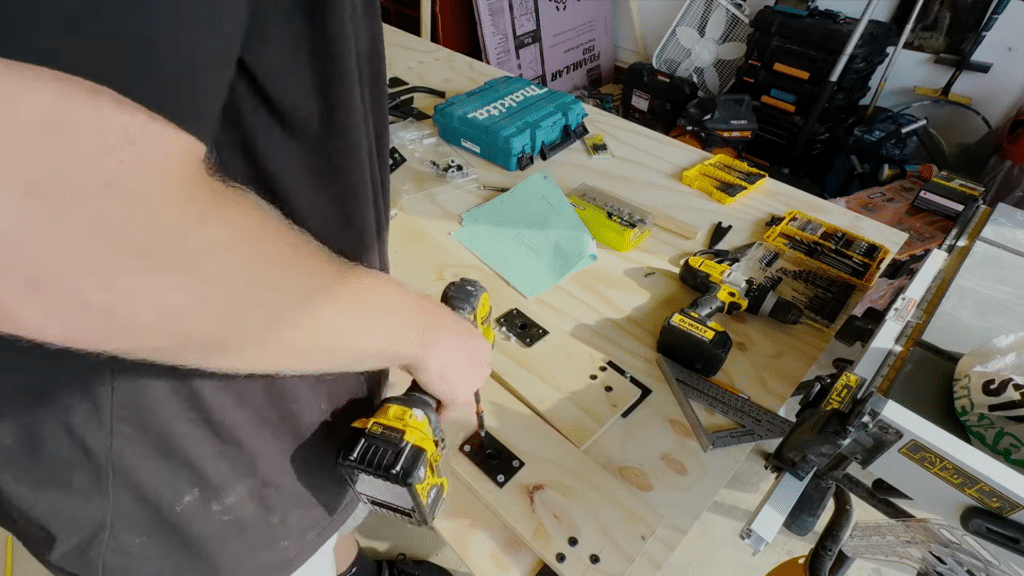
Attach the lower stud plate and pivot plates, which will help connect the hydraulic lift system and make opening and closing the bed easier.
Use the right screws and check alignment with a square to ensure accuracy. Well-installed hardware ensures the bed moves smoothly and safely every time it’s used.
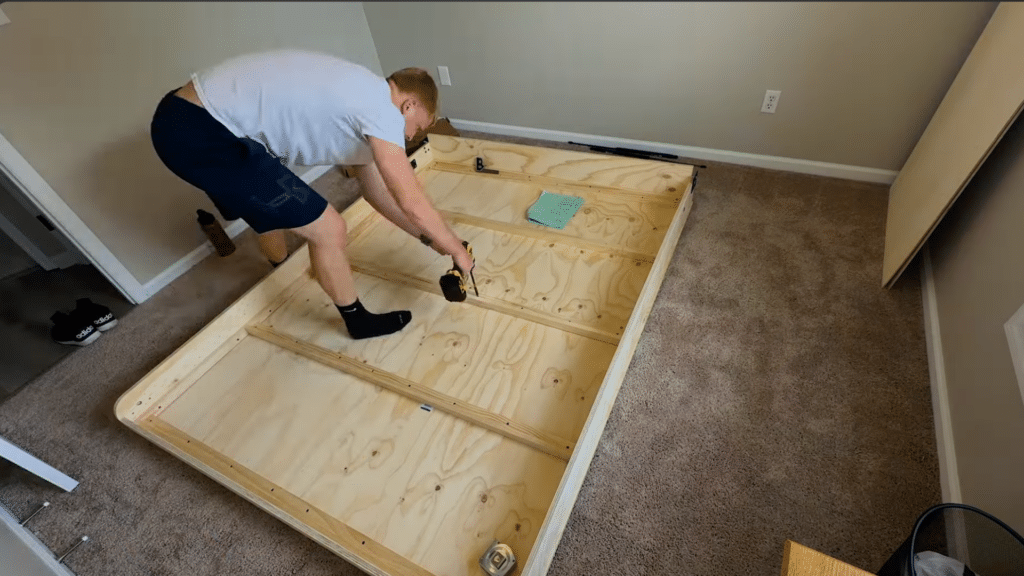
Step 5: Assemble Rails to the Frame
Attach the foot rail and head rail first, then sandwich them between the side rails. Secure with screws through the inner bed frame, checking that everything is square and level.
This step creates a strong, stable bed frame, providing proper support for the mattress and ensuring the folding mechanism works without putting stress on any of the components.
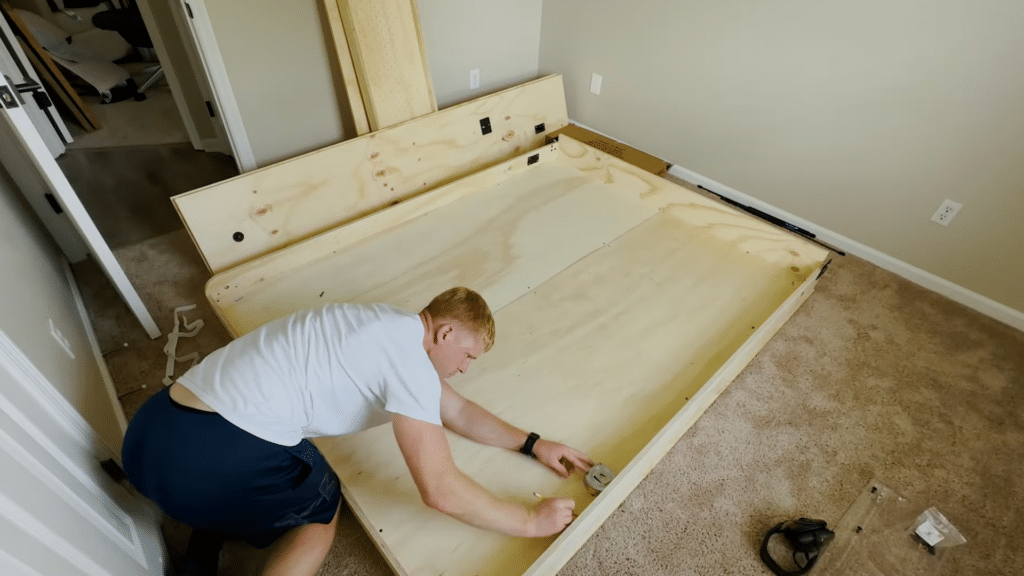
Step 6: Add Face Panels and Edge Banding
Cover plywood edges with edge banding, then attach the face panels to the frame using glue and screws. Leave a small reveal around the frame for smooth folding.
This step gives the bed a clean, professional look, hides raw edges, and protects the wood. Properly aligned panels make the Murphy bed look polished while remaining fully functional.
Step 7: Install Vertical Supports and Header
Attach the vertical supports and header board as specified in your Murphy bed plans. The verticals hold the pivot plates and hydraulic hooks, while the header adds structural support.
Use spacers for proper alignment and secure everything with screws and glue. Accurate placement ensures the bed folds safely, stays flush against the wall, and operates smoothly.
Step 8: Fasten Mattress Straps

Install straps across the mattress area to prevent the mattress from sliding when the bed is upright. Measure carefully, about 16 inches from each corner, and attach securely.
These simple straps keep the mattress in place, making the bed safe and comfortable to use. Proper placement ensures that the mattress stays stable during folding and unfolding.
Step 9: Secure the Bed to the Wall
Anchor the Murphy bed to wall studs through the header board to prevent tipping. Use a stud finder to locate studs and attach with strong screws.
Securing the bed to the wall is essential for safety, especially since it will support a mattress and the weight of anyone sleeping on it. A properly anchored bed operates smoothly and safely.
Step 10: Add Cabinets and Finishing Touches
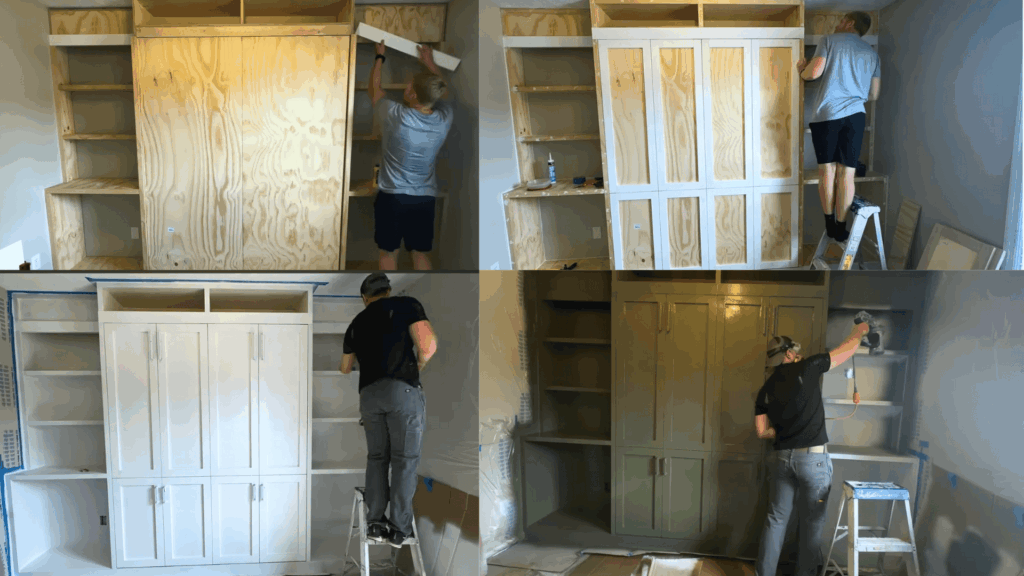
Finish the Murphy bed by adding cabinets, shelving, or trim around the bed as desired. Cover exposed plywood edges, attach handles, and paint or stain for a polished look.
These finishing touches make the bed blend into the room and add storage, while also improving safety and durability. Proper finishing ensures the bed is both functional and visually appealing.
For more information, watch the detailed video explanation by Satisfy DIY
Tips for a Smooth Finish
Learning how to make a Murphy bed properly ensures small details are handled correctly, so the bed operates safely and smoothly.
- Follow the plans closely: they are designed to balance weight and movement. Skipping steps or guessing measurements can cause alignment issues, making the bed hard to open or close.
- Always drill pilot holes: Pilot holes prevent wood from splitting, especially near edges. This keeps joints strong and helps screws go in straight, improving the overall durability of the bed frame.
- Use light coats of paint: Thick coats often cause drips and uneven finishes. Multiple light coats dry better, look cleaner, and give the Murphy bed a professional finish.
- Double-check all hardware: Before testing the bed, make sure every screw, pivot, and bracket is tight. Secure hardware ensures smooth movement and long-term safety.
A careful, patient approach will result in a Murphy bed that looks great, works smoothly, and lasts for years.
Final Thoughts
Knowing how to build a Murphy bed is a practical way to make the most of any room, adding both functionality and style. Following detailed Murphy bed plans and using the right materials ensures a smooth-operating bed.
Precision during assembly and careful installation of hardware are key to achieving the best results. With the steps and tips provided, you can create a space-saving solution that works effortlessly.
A DIY Murphy bed opens up opportunities to maximize floor space, accommodate guests, or create a flexible living area. If you run into questions or want to share your own wall-building stories.
Drop a comment below and join in. Your tips and questions help everyone learn and make future projects easier!